Reverse an iPhone video: step-by-step guide
If you have a clip on your iPhone that you’d like to play backwards for whatever reason, the good news is it's easier than you think. You can do it straight from a web browser on your device.
Here’s how to reverse a video on an iPhone in three easy steps...
Upload your clip
Open up your browser and head over to Clideo’s Video Reverser tool.
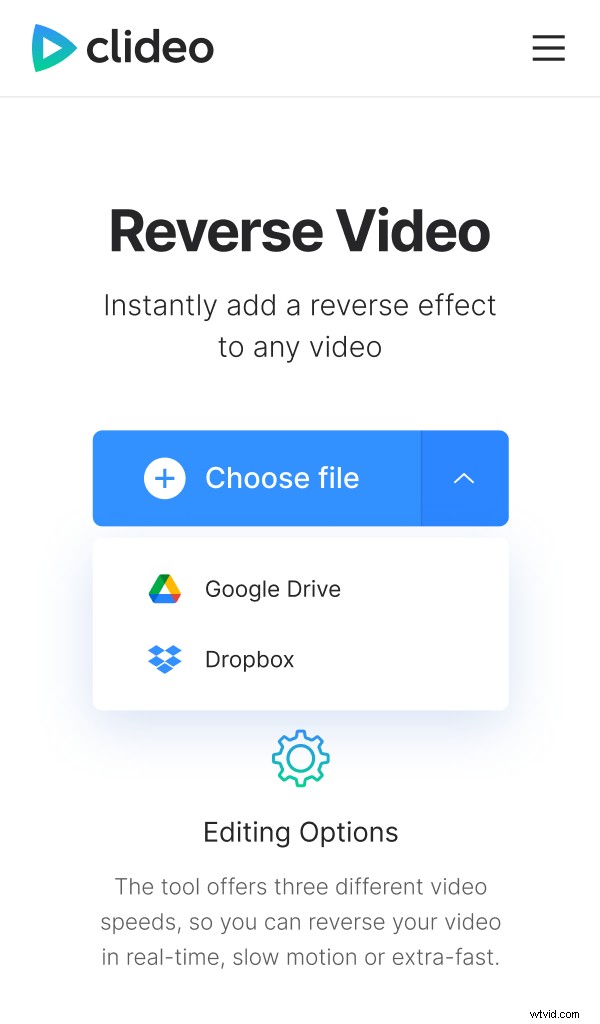
You’ll be greeted by a big blue ‘Choose file’ button in the centre of the page. Tap this and you’ll be given the option to upload a clip for reversing.
And in case you were wondering, the tool can be accessed from any browser and from any device - not just an iPhone. That includes Mac or Windows computer, iOS or Android.
If your movie is stored somewhere in a cloud account, you can upload it directly to Clideo’s tool. Simply select the down-arrow on the right-hand side of the button and a drop-down menu will appear with Google Drive and Dropbox options.
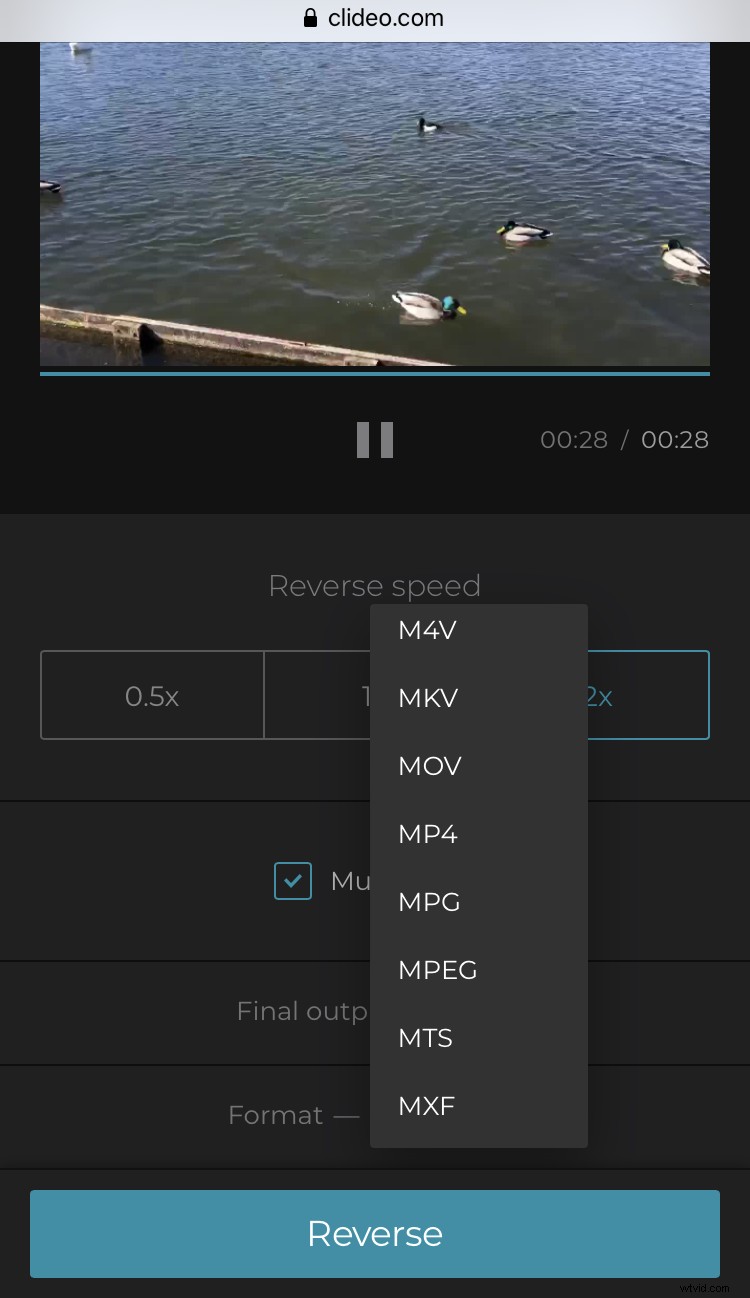
You should also note that the tool supports most major video formats, including MP4, AVI, MPG, VOB, WMV, MOV and more.
Reverse video on iPhone
When your video is added, you can choose from any of the three available reverse speeds: 0.5 (half the speed, at reverse), 1x (the same speed in reverse) and 2x (double the speed, at reverse).
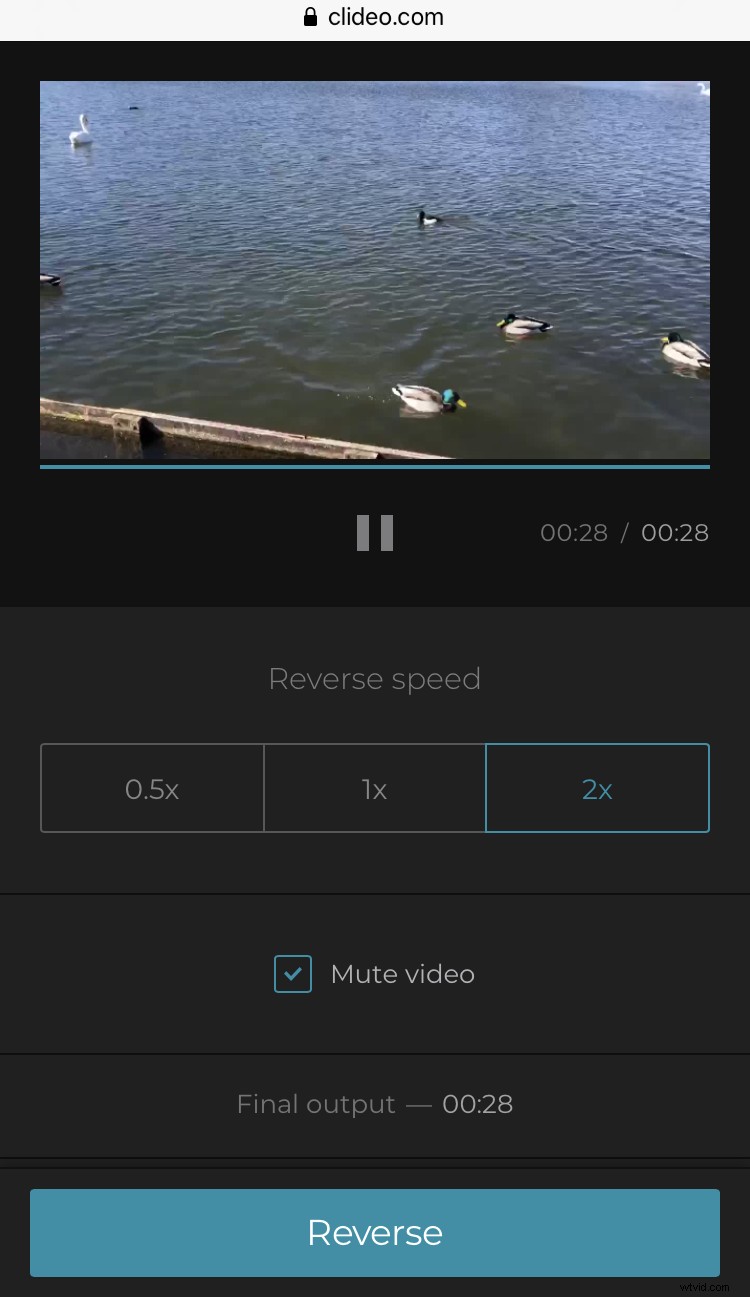
You might want to tick the ‘Mute’ box as the sound could be distorted as a result of the reversal. Although leaving it in could be cause for comedic effect.
On the bottom left, you’ll see an option to change the format of your video before it’s converted. MP4 is best recommended for playback on iPhone.
Tap the green Reverse button in the bottom-right corner. Your video will begin processing.
Save your new clip
Once done, your new reversed clip will be ready for downloading back to your device.
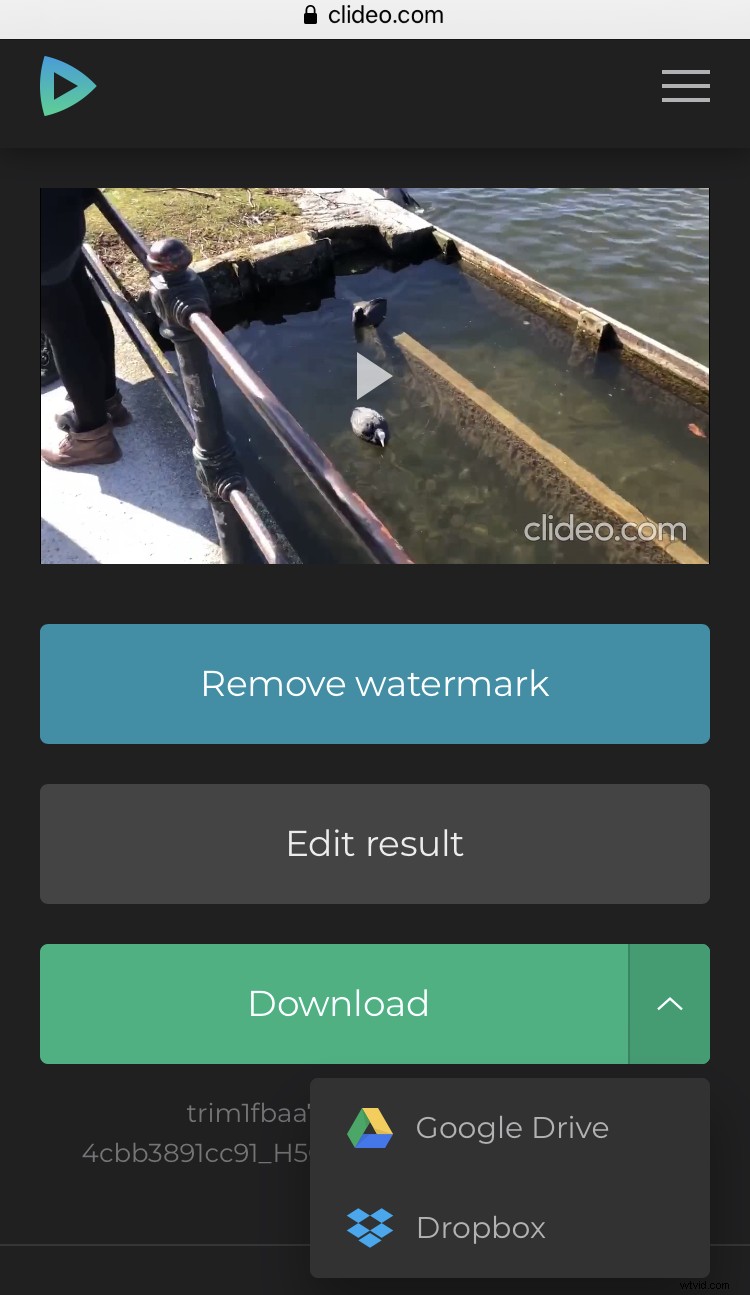
Before doing so, however, you can double-check that it’s been edited and converted to your liking by previewing it: just hit the play button.
If you’d like to make any changes, you can simply select the ‘Back to edit’ option and you’ll be taken to the editing screen once again - skipping the need to start from the beginning.