
An easy way to make important notes stand out is to pin them to the top of the Notes app list. If you regularly use the Notes app to take down notes, make to-do lists, and store other valuable information, you may have trouble finding some important notes, and the pinned note feature offers a simple solution to this, beyond just using Notes search to find stuff.
The Notes app that comes pre-installed on iPhones and iPads make it easy to store any sort of information. For people who use this app frequently, organizing all your notes could become a tedious process. Of course, you have the option to store your notes in folders, but sometimes, you might want to access a certain note quickly. By pinning notes, you can move these notes to the top of your notes list so that you’re able to easily find them no matter how many notes you have on the iPhone or iPad.
This article will cover how to pin a note to the top of your notes list on both the iPhone and iPad.
How to Pin a Note to the Top of Notes List on iPhone & iPad
Pinning and unpinning notes is a pretty simple and straightforward procedure regardless of whether you’re using an iPhone or iPad. Just follow the steps below to get started.
- Launch the stock Notes app on your iPhone or iPad.

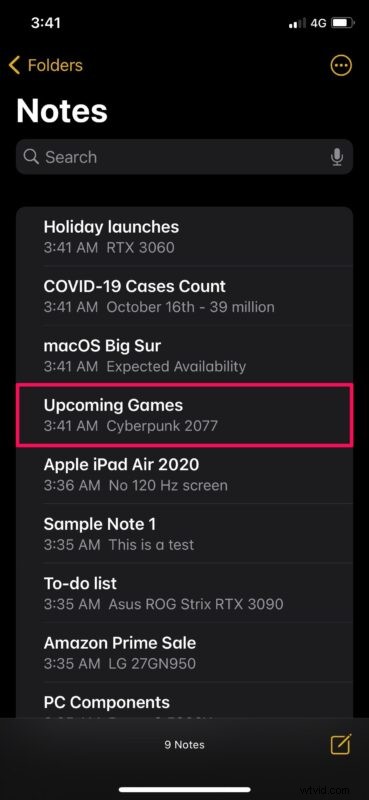
- Head over to the folder where you have all the notes stored. Long-press on the note that you want to pin from the list.
- This will bring up the actions menu. Here, choose “Pin Note” which is the first option, as shown below.

- The pinned note will now be moved right to the top of your list under a separate “Pinned” section as you can see here. To unpin a note at any point, long-press on the pinned note.

- Once the actions menu pop up, tap on “Unpin Note” and the note will go right back to its original location in your list.

There you go. Now, you have learned how to pin and unpin notes on your iPhone and iPad.
From now on, you can make sure that all your important notes stay at the top of your list for quick and easy access. It’s worth noting that if you delete a pinned note and restore it from the Recently Deleted section, it will still remain pinned until you manually unpin it.
If you have several pinned notes, you can collapse the Pinned category to access your other notes if necessary. Also, if you pin a note that’s stored on iCloud, the changes you made will be synced across all your other Apple devices.
Another way to organize all your notes is by segregating them into multiple folders. If you’re interested, you can read this to learn how you can move notes on your iPhone and iPad to a different folder, or between iCloud and the device itself. Also, if you use a Mac as your primary computing device, you’ll be pleased to know that you can pin notes right on your Mac pretty easily too.
We hope you were able to learn how to pin and unpin the notes on your iPhone and iPad for better prioritization. What’s your take on this handy feature? How many notes have you pinned so far? Do share your valuable thoughts and experiences in the comments section down below.