This article here introduces the fastest and easiest way to help you crop WMV files. And all you need is just a supper easy and yet powerful WMV cropper Wondershare Filmora (for Win and Mac). By using it, you can quickly and easily crop any screen area of the WMV video, so you can get rid of black bars around your video, or focus on some area, or reduce the WMV video size etc.
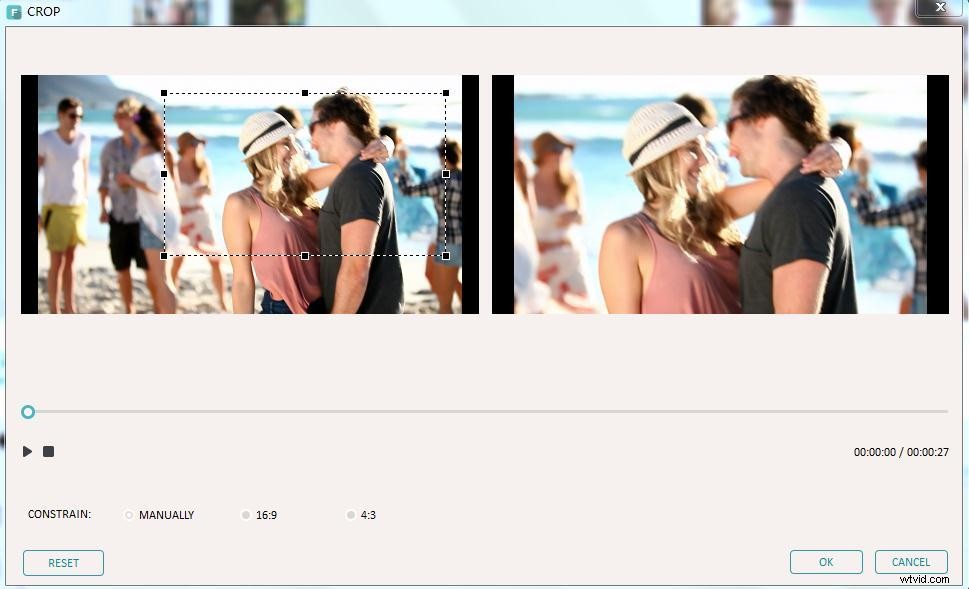
The operation is so damn easy. You just drag a dashed rectangle to select your wanted screen area of the WMV video and view the real-time effect on the right side. When it’s ok, click “OK” to save it and then export it. That’s all. And below is the detailed guide you can follow.
1 Import WMV videos to this WMV cropper
Double click this app’s desk icon to launch it and then choose“16:9 Widescreen” or “4:3 Standard” option to enter into the editing interface. Next, you need to import your local WMV files to this WMV cropper. To do it, just click the “Import” option in the top-left corner of the interface or drag and drop the target files from your computer to this app’s album. After that, continue to drag one of your WMV videos from this app’s the album to the Timeline, shown as follows.

2 Crop WMV files
There are two different ways to crop WMV files. One is to right click the WMV file on the Timeline and then select “Crop” option from the submenu, the other is to double click the file and then hit the “Crop” option at the bottom of the video editing panel. Both can bring you into the Crop interface, where you can do the cropping job quickly and easily.
First, press the “Play” button here, and then on the left window, you can feel free to drag any one corner of the dashed rectangle and move it to select your wanted screen area of the video. Immediately, you can preview the effect on the right window. When you finish it, just click “OK” to save it.
3 Export the new WMV file
At last step, you can select WMV as the output format in this app’s output format window by hitting the “Create” button. And the detail step is to go to “Format” >”WMV” and then hit the “Create” button again to let this app do the rest thing. Also, you can set some video parameters like frame rate, resolution, bit rate etc by hitting the "Advanced settings" option. To find the new WMV file, just open the output folder according to the output path you’ve set.
Alternative Way to Crop WMV Files with Wondershare Uniconverter
What is Wondershare Uniconverter, and how to crop our video clips there, and, more concretely, how to crop WMV files using that video editor? – these are questions we are going to answer in this article. First off, in order to let you know briefly, Wondershare Uniconverter is a video editor (which you already saw coming!), which offers many features to make your video editing process fast, smart, and enjoyable – these include the following: convert, download, preview, record, burn, transfer, screenshot, edit, merge, rip, GPU acceleration, fix media data, compress, CD burner, and subtitle search.
As for cropping, when it is something a video editor or any, even inexperienced user wants to do, that is mostly because they want to make the video better (as it goes for every kind of video manipulation and modification) – sometimes, there are things you want to hide, or else, highlight, and that’s mostly when cropping comes in play. And, on the other hand, there are a lot of video formats, so, we are going to focus on WMV files. To give you the initial hint, there are two different ways to crop WMV files with Wondershare Uniconverter, and we will discuss both of them, giving you a step-by-step guides on how to do that!
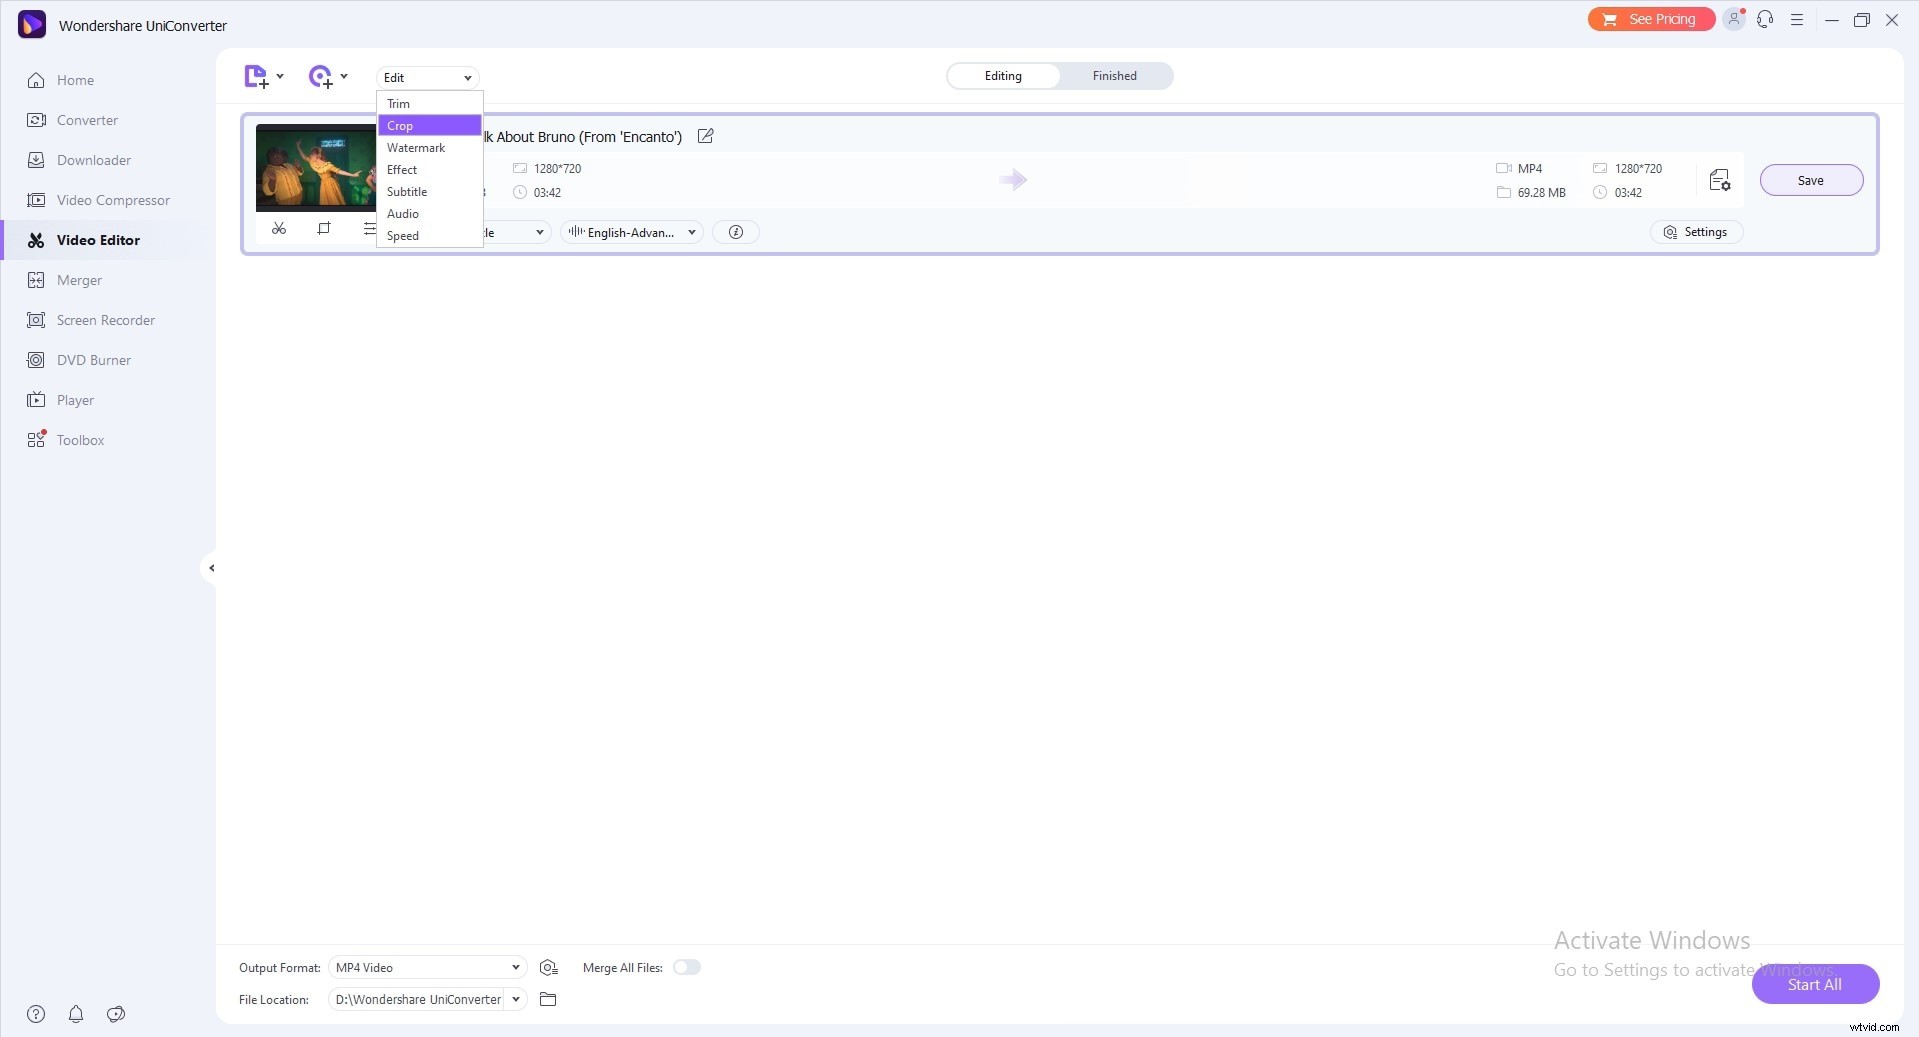
So, first, after launching UniConverter, you need to choose the Video Editor; then, hit on the Crop section.
The cropping window will appear, of which frame you can drag the corners, or you can enter the width and height to set the crop area size. At the same time, it shows the output preview, too. To set your desired aspect ratio, you choose the drop-down button for the aspect ratio, which lets you keep original, crop size, full screen, 16:9, e.x.
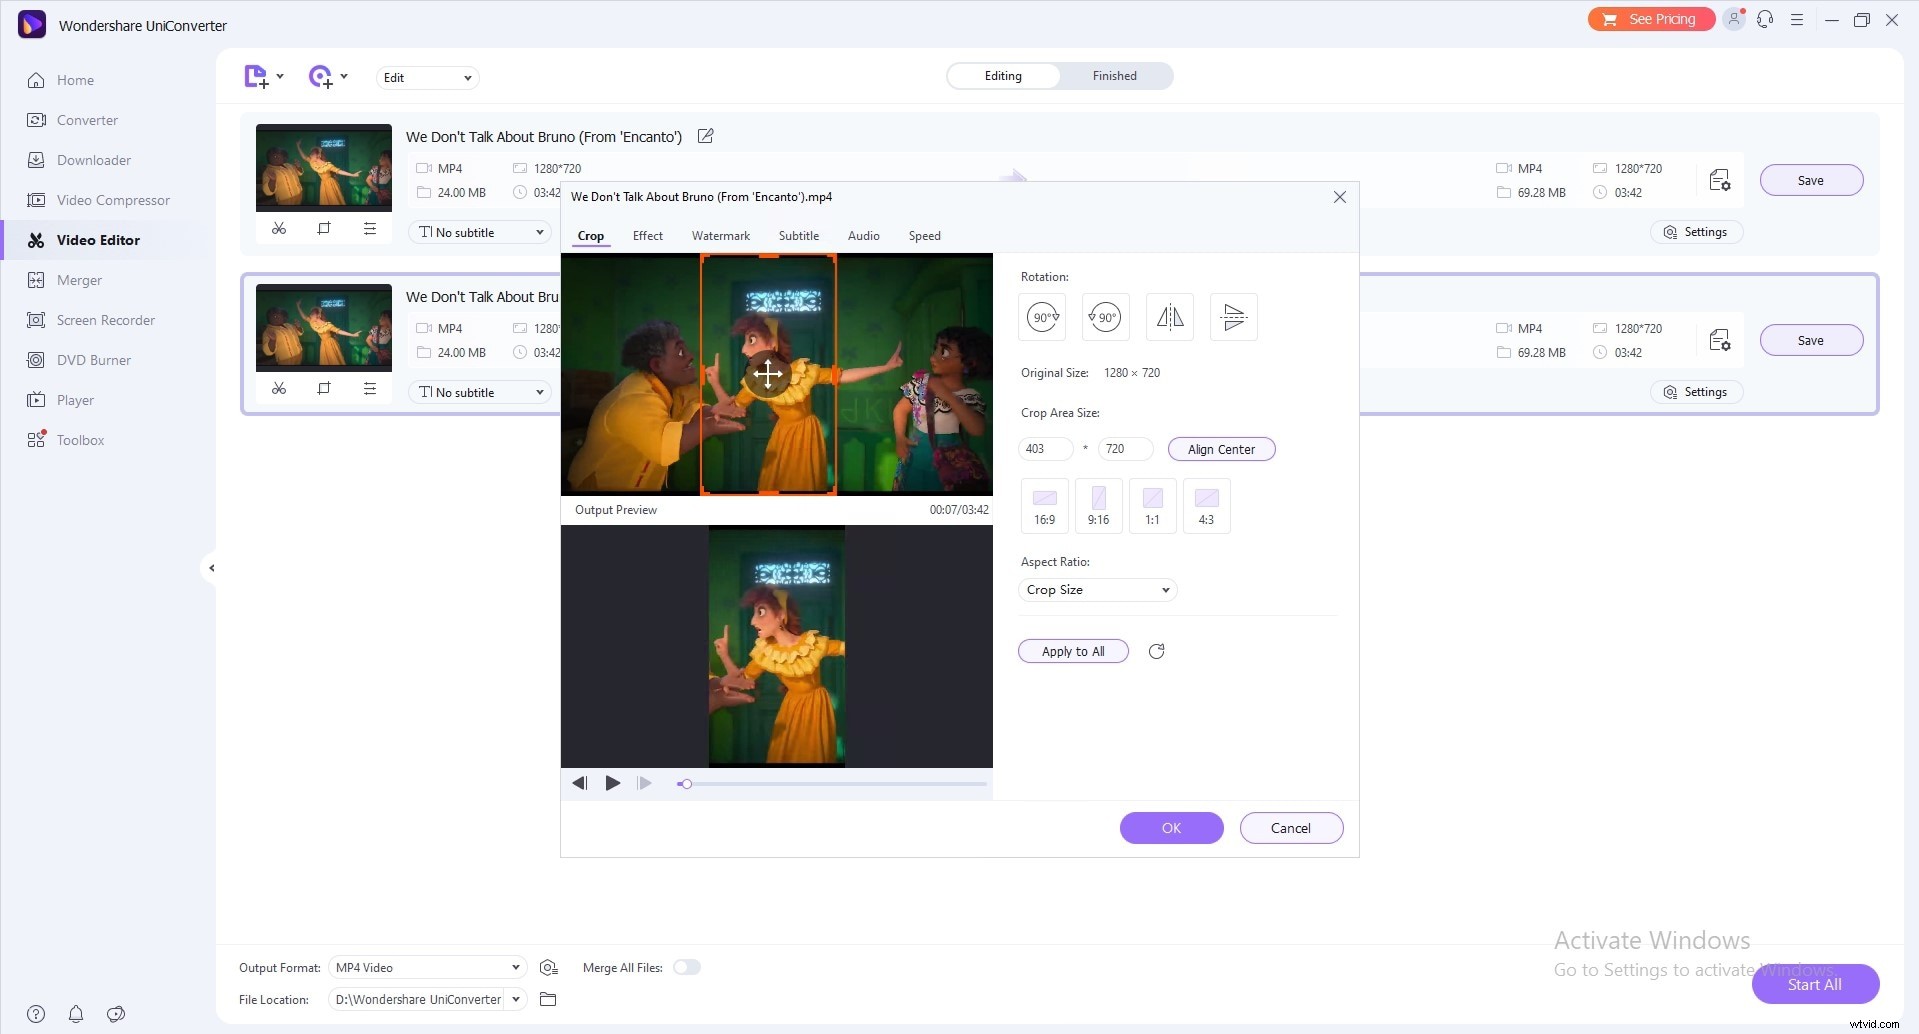
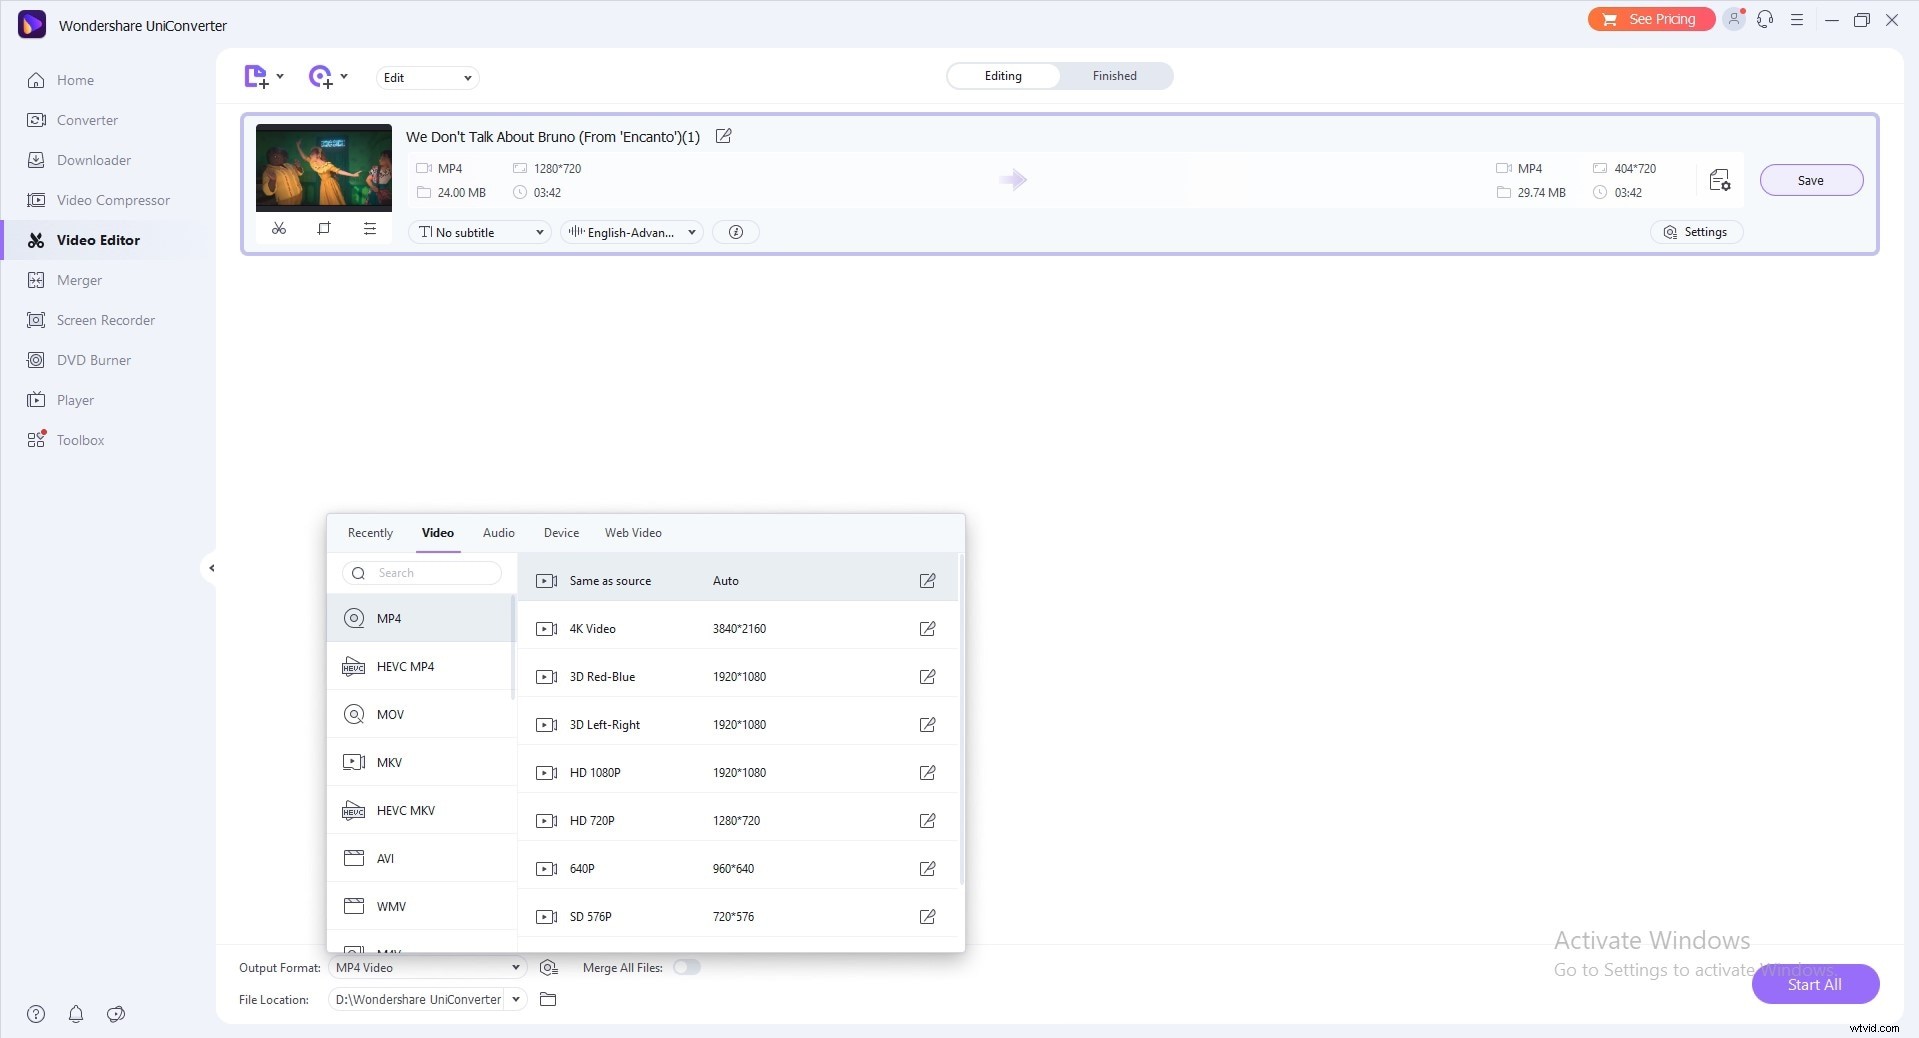
When you want to save changes, click OK, but you also have the reset icon to bring everything back. From the program's primary interface, if you choose drop-down button beside Output Format, you will be able to to choose an output format for just cropped video and click the Start All to proceed.
After the conversion is completed, you can switch to the Finished tab and view the cropped clip.