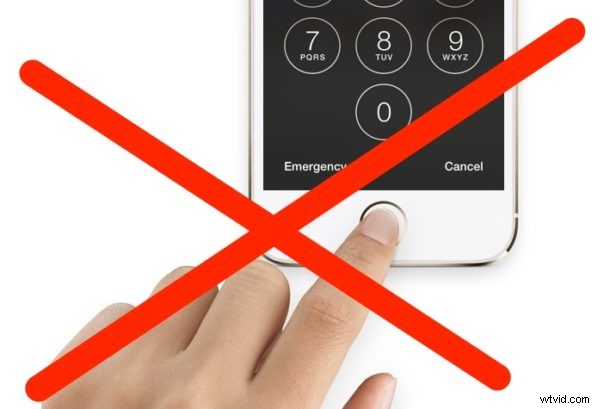
Touch ID is an undeniably convenient feature of the iPhone and iPad, allowing quick access to the device simply by placing a registered finger on the Touch ID sensor, which reads the fingerprint to gain access. While Touch ID is useful, some users may later decide they want to disable the feature on their iPhone or iPad, whether for security or privacy purposes, or for another reason.
Note this method completely disables Touch ID if desired, but you also can specify to turn off Touch ID for unlocking the iPhone or iPad, turning off Touch ID for Apple Pay, and disabling Touch ID for App Store and iTunes purchases as well, or choose to leave it on for some functions while disabling it for others. Note that if you disable all forms of Touch ID, you may want to remove fingerprints from Touch ID as well, though that is not mandatory to simply turn off the feature.
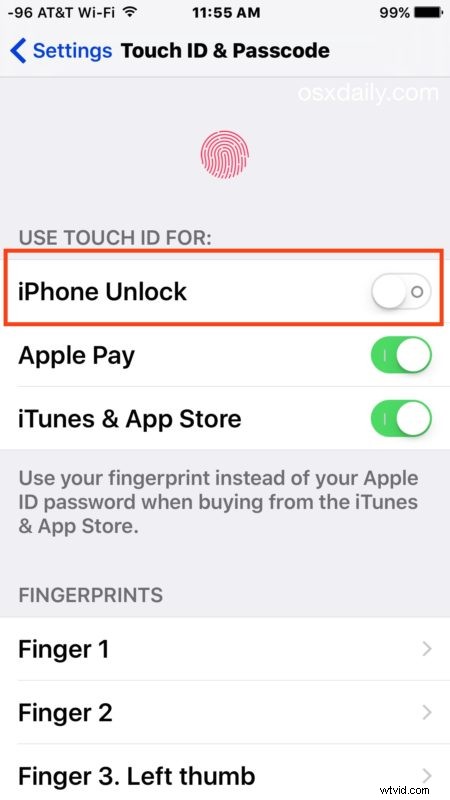
How to Disable Touch ID for Unlock & Purchases
If you are going to disable Touch ID completely, or even just disable it to unlock and access the device, be sure you have enabled a passcode in iOS to prevent unauthorized access.
- Open the “Settings” app on the iPhone or iPad
- Go to “Touch ID & Passcode” and authenticate with your passcode as usual
- Under the ‘Use Touch ID for:’ section, flip the switches as necessary to turn off Touch ID (turn it off for all settings if you want to completely disable the feature):
- iPhone Unlock (or iPad Unlock) – turn this off to disable Touch ID to unlock and access the device
- Apple Pay – toggle off to prevent Touch ID being used for making Apple Pay purchases
- iTunes & App Store – toggle this off to disable Touch ID being used for App Store and iTunes purchases
- Insure that you have enabled a pass code and are using one, then exit out of Settings as usual

If you’re turning off Touch ID because you find it to be unreliable, you may want to just go through the process of adding another fingerprint or two. This is particularly true if you’re having weather related issues, try adding additional fingerprints of the same finger, which can greatly improve performance in cold weather where skin gets dry, and in humid weather too. You can also remove fingerprints if you no longer use a specific digit or appendage to unlock the device as well.

Don’t forget that you can always reverse course on the iPhone or iPad and setup Touch ID for unlocking again if you decide to use the fingerprint authentication again in the future.