Trying to create the look of a 1990s Pop-Up Video? Follow these steps to make your own pop-up graphics.
With an original series run from 1996 to 2002, Pop-Up Video defined VH1 – differentiating the channel from its MTV counterpart. In this quick tutorial, I’m going to show you how easy it is to create your own pop-ups using shape layers and some icons from Shutterstock.
To best use the pop-ups, you will need to create them in either Photoshop or After Effects. In this tutorial, I will use Photoshop layers, but you can replicate these exact same steps in After Effects using the Shape tool and Shutterstock icons.
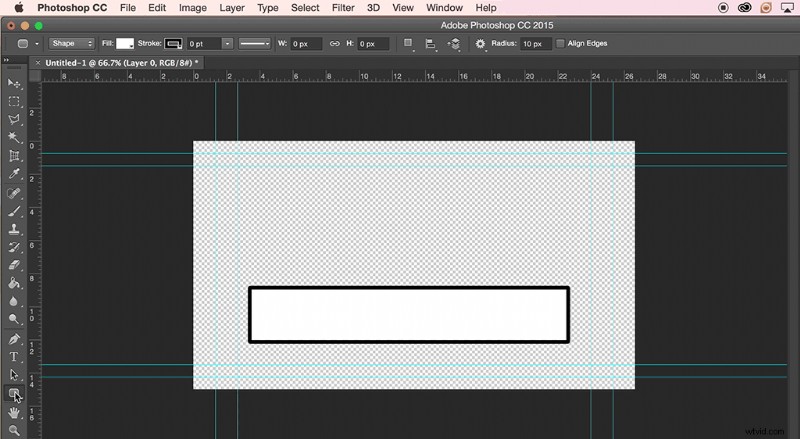
Step 1: Create a Round Rectangle
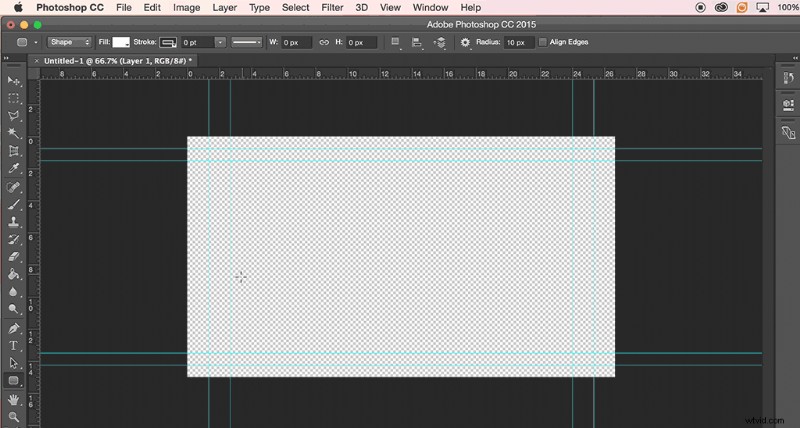
Open a new project with an Alpha Channel. Add a new layer. Use the Round Rectangle Tool to, well, you know — make a round rectangle. Make the Fill white and Stroke black. Increase the thickness of the Stroke to add more black.
Step 2: Create a Triangle (or Circle)
This is where your composition will take on a life of its own. Pop-Up Video featured a variety of pop-ups using different shapes. The secondary shape you choose to use here can really be any shape you want it to be. I’m going to use a triangle to get the look that I want.
Use the Custom Shape Tool and choose the shape of your choice. I’ll be using the triangle, well, technically I’m using Sign 3, as I want the rounded edges of the Yield sign to match my rounded rectangle. Once again, make the Fill white and Stroke black. Match the stroke size to the rectangle. Adjust the layers, placing the triangle on top of the far left side of the rectangle.
Step 3: Make Another Triangle (or Circle)
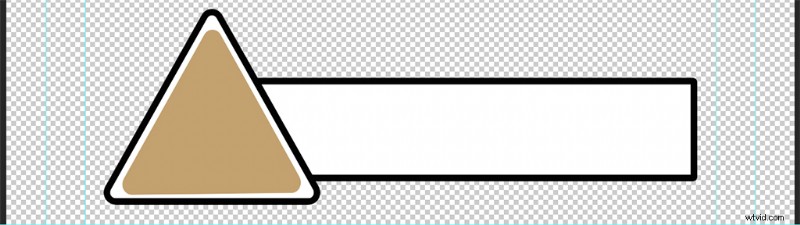
Add another triangle, or make a duplicate of the secondary shape layer. Remove the stroke, and fill to the color of your choice. It’s best to choose a color complementary to the icon you plan on placing in the pop-up.
Step 4: Import an Icon
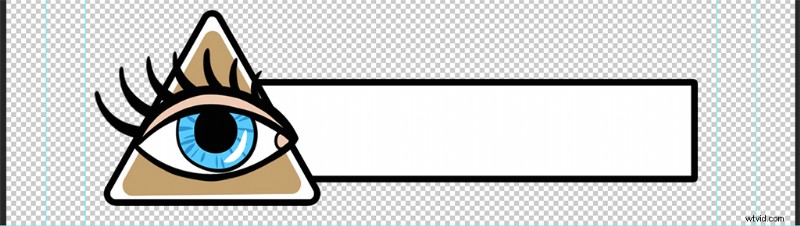
Add the icon of your choice. I’m going to use an eyeball, similar to a pop-up seen in the show. I used the eye from this Shutterstock vector package by Martyshova Maria.
Step 5: Add Text
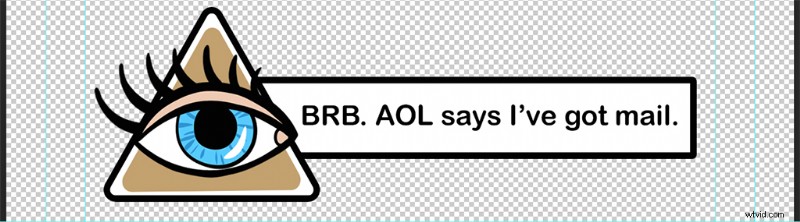
Add a Text Layer to the rectangle and add your fun factoid. Adjust the size of the shapes and icon as necessary.
Step 6: Save the Project and Open Your NLE
Seeing as we made this in Photoshop, we will use Premiere Pro as our NLE. You can also use FCPX or the NLE of your choice. If your editing program doesn’t accept PSD files, then save your pop-up as a JPG or PNG file.
Step 7. Add the Pop-Up to the Timeline
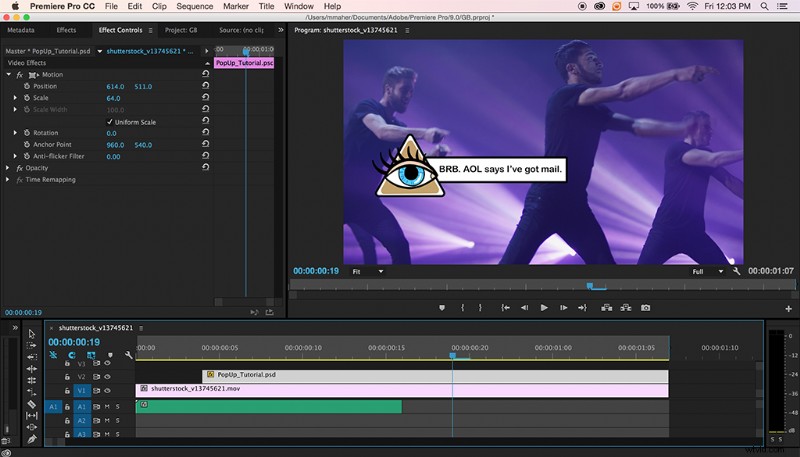
Import the file into your NLE and add a layer on top of your footage in the timeline. Adjust the size as necessary. For this tutorial, I’m going to use this Shutterstock Footage clip with sweet boy-band moves from Meloyan Media House.
Step 8. Add a “Pop” Sound Effect
For added effect, and to really get that POP sound, check out PremiumBeat’s SFX library. They recently added an additional 100,000 SFX for all sorts of projects. For this demo, I found the Holiday Christmas Cork Pop to be the most authentic. It also comes with two different pops, so you can add variety.
With that final touch, your very own Pop-Up Video inspired clip is ready to go.
Cover image from Rawpixel
For an added final touch, you can age your entire project by adding a VHS overlay. You can download this free VHS After Effects template from RocketStock and get a real 90s vibe.