Here’s how to get rid of unwanted background frequencies and improve your voice recordings.
Ensuring good, clean sound can be difficult — especially if you’re done with production and have moved on to the post-production process. Luckily, Cinecom has brought us an excellent video tutorial demonstrating how to tweak unwanted frequencies and tones in your recording. The process is easy to remember, and you can do it without opening Audition.
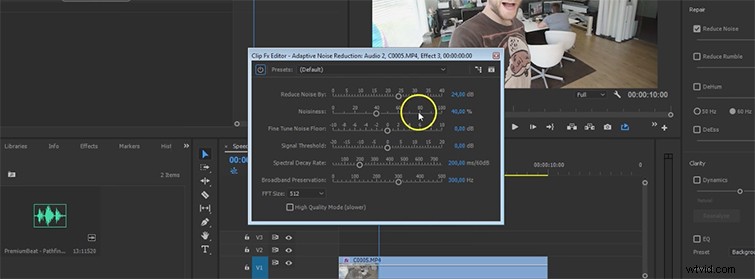
To kick things off, Jordy duplicates the audio track, then mutes the original track. Next, open up the Essential Sound Panel (from the latest update) and hit the Dialogue box to pull up options to fine-tune your dialogue. You’ll find the Adaptive Noise Reduction tab under the Audio Effects tool. Select Edit to pull up the window you see above.
In the example above, you can hear a number of distracting background sounds. A prime example of this is outdoor traffic, air conditioning, and electric appliances. You can click Reduce Noise and change the intensity however much you need. Keep in mind, however, that if you set the Noise Reduction too high, the effect might lower the volume of your voice.
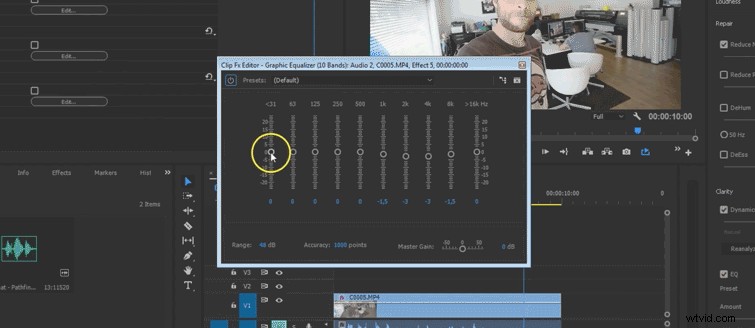
If you open the Graphic Equalizer settings and select Edit, this will bring up the window you see above. The tones move from low to high, left to right, and you can lower unwanted high frequencies in the background. Basically, this tool allows you to pick each tone and frequency you want in your recording.
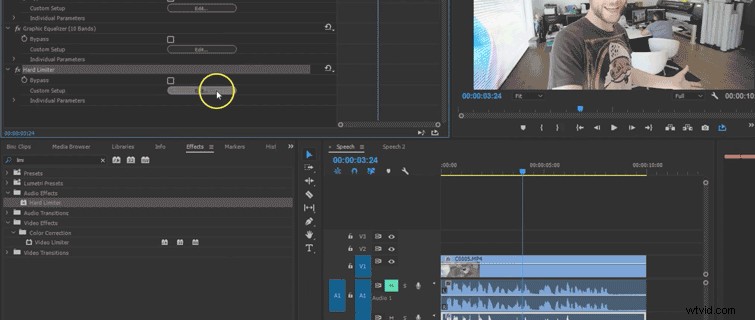
Next, we’re going to move away from the Essential Audio Panel and head over to the Audio Effects tab with the Hard Limiter, which will increase the volume for the voice and compress the audio overall. Drag the effect onto the duplicated clip, then from Presets, choose Limit to -.1dB, this should keep your audio from peaking.
Every recording is different, so you’ll have to play around with the audio to find the right levels for your project.