Every videographer will need to work with track effects at some point. Here’s what you need to know about working with these effects in Premiere Pro.
You have a lot of flexibility when working with audio in Premiere Pro. In addition to adding effects to audio clips, you can also make adjustments on the track level. Track-level adjustments are handy when you want to apply an effect to multiple audio clips at the same time. Simply apply an audio track effect, and it will affect all of the clips on that track. Or use track effects on a submix to apply your effect to multiple tracks at the same time. Let’s take a look at a step-by-step method to add track effects in Premiere Pro.
The Project
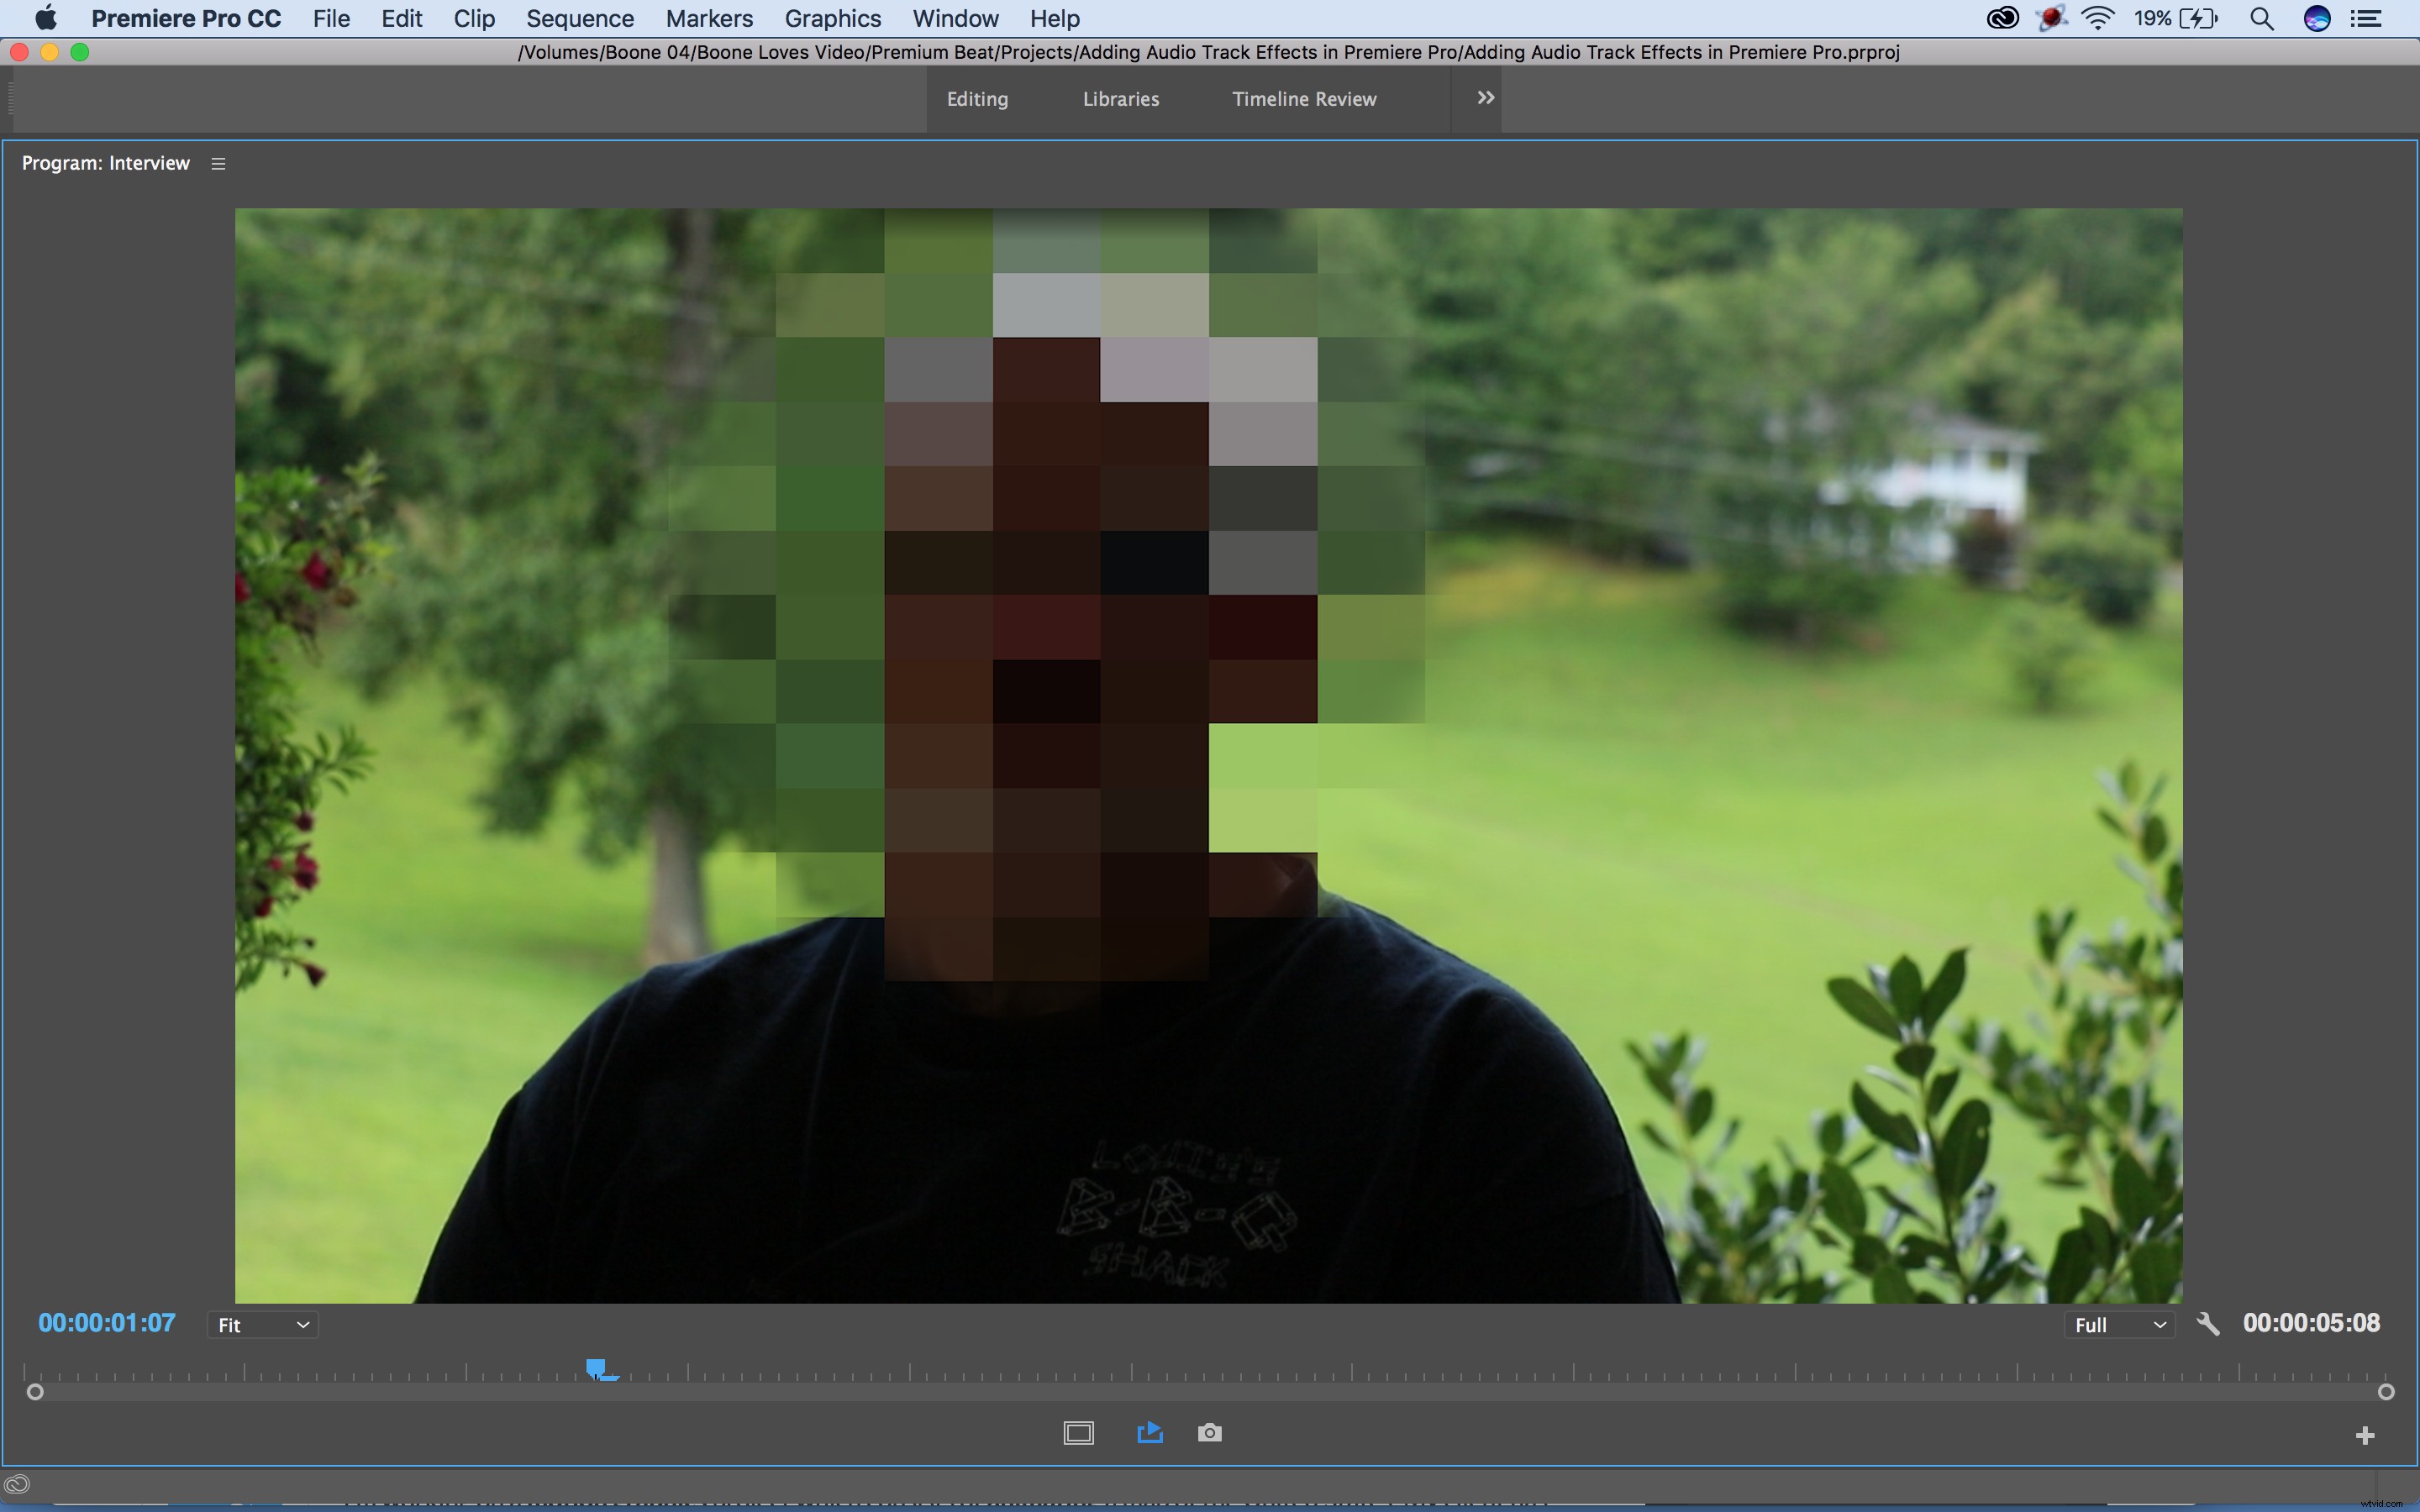
Let’s say I’m working on a documentary about organized crime, and I have an interview subject who needs to stay incognito. I already have his face mosaiced out, and now I want to lower the tone of his voice so that he is unrecognizable. To do this, I’ll need to add a track effect to the audio track containing his sound bytes. Let’s get started.
Step 1: Open the Audio Track Mixer Panel
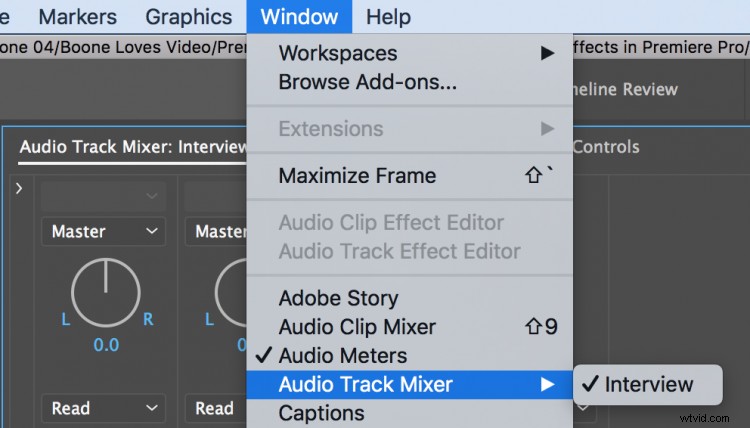
To add track effects, I need to open up the track mixer panel. To do this, I’ll go to Window > Audio Track Mixer. First, I want to organize my project, so I’m going to rename each track. This sequence consists of an interview sound byte, a music clip, and a sound effect. Each audio asset resides on its own track, so I’ll rename the tracks accordingly. Once I rename the track in the mixer panel, I’ll be able to see the track names in the timeline panel as well.
Step 2: Show Effects and Sends
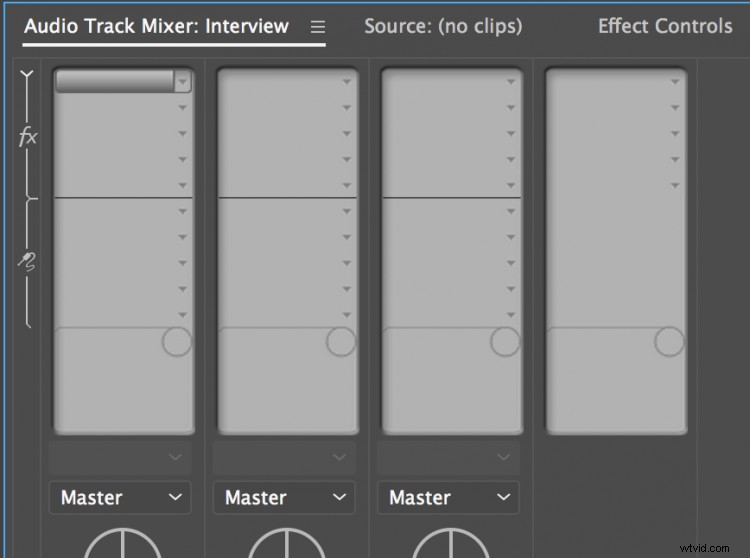
Now that I have my tracks renamed, I want to add my effects. To access track effects, I’ll click on the Show/Hide Effects and Sends triangle at the top left-hand corner of the track mixer panel. Once this is open, I can see that each track has five FX slots where I can add effects via a drop-down menu. When I select and apply an effect, I can quickly activate or deactivate that effect by clicking the FX button next to the effect controls.
Step 3: Add Effects to Track
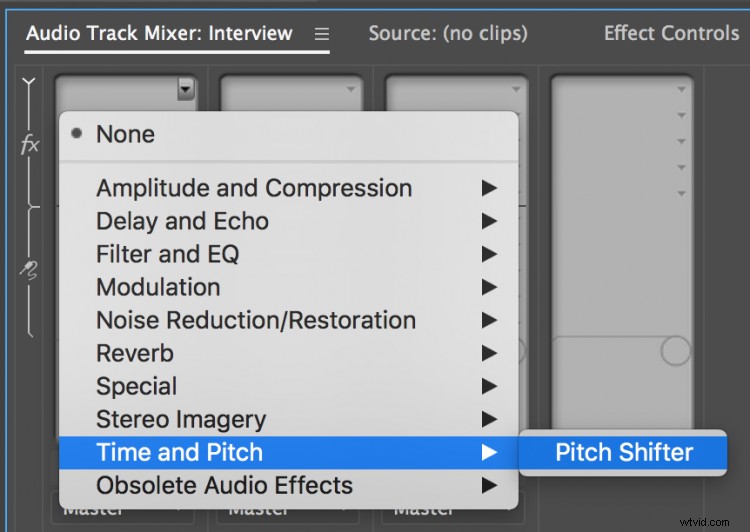
I want to add two track effects to this particular project: one for my interview subject and one for my music. For the first track, I want to change the pitch of my interview subject’s voice, making him unrecognizable to viewers to safeguard his identity. So for track one, I’ll add a Pitch Shifter effect and lower the pitch until I’m happy. For the music, I want to make a small and subtle change, so I’ve added a Stereo Expander to the track.
Step 4: Keyframe
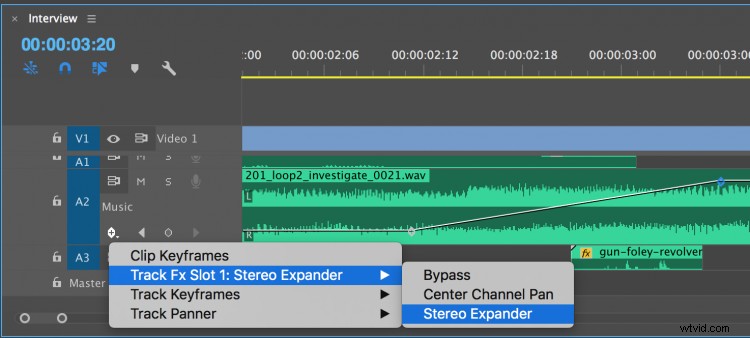
I can make changes to each track effect in the effect properties section at the bottom of the Effects and Sends area of the mixer panel. To make further adjustments to my track effect, I’ll need to head down to the timeline panel and change the Show Keyframe options to display my track effect. Then I’ll select the Pen tool to add keyframes and animate my effects to my heart’s desire. I don’t need to add any changes to my interview track, but I will animate my Stereo Expander effect to expand immediately after my subject is done speaking.