Need to apply audio and effect changes to multiple audio tracks — all at the same time? No problem. Follow these steps to create a submix in Adobe Premiere Pro.
A submix is an audio track that combines audio signals/tracks and routes them to your master track. Submixes can be mono, stereo, or 5.1 surround. They come in handy when you want to apply the same audio or effect settings to multiple audio tracks at the same time. Here’s a quick video tutorial that covers the three-step process of creating a simple submix in Adobe Premiere Pro.
Now that you’ve watched the video, here’s a step-by-step guide.
Step 1: Create a New Audio Submix Track
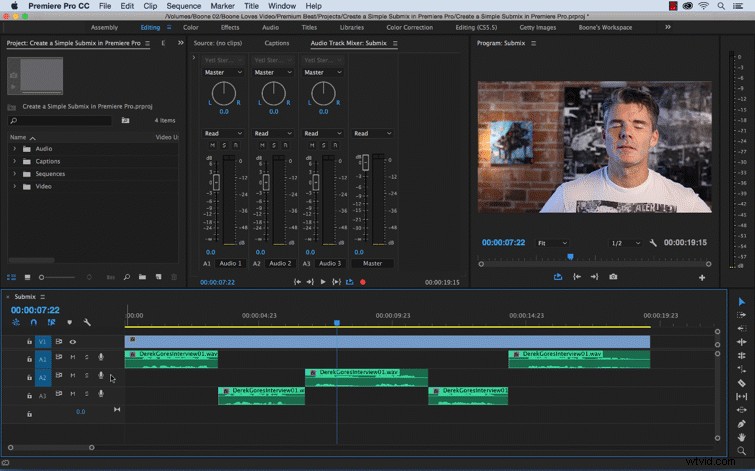
Right/control click in the track header and select Add Audio Submix Track. If you take a look at your submix track in the Audio Track Mixer panel, you’ll notice a few differences.
First, the submix track background is a shade darker than other audio tracks. You’ll also notice the lack of a record button. Submix tracks can’t contain clips, so you can’t record to them. Therefore, they don’t contain any recording or device input options or clip editing properties.
Step 2: Assign Track Outputs

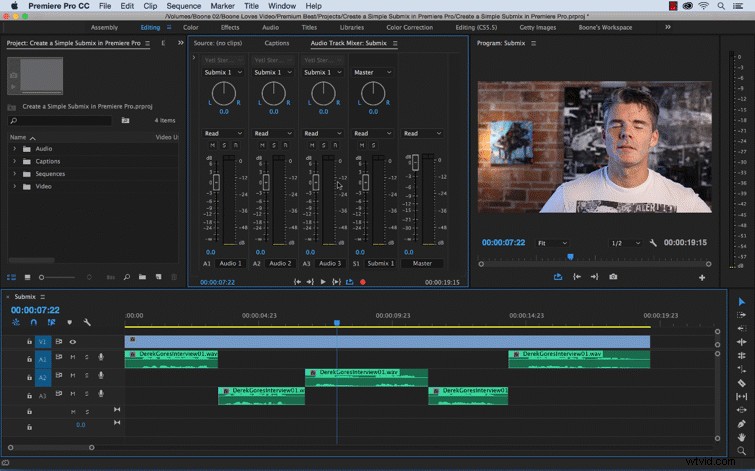
In the mixer panel, just above the pan dial, you’ll see the Track Output/Assignment dropdown menu. This is where you can assign your audio tracks to your submix. When you assign a track to a submix, the output signal contains all properties specified for that track, including automation, effects, pan/balance, solo/mute, and fader settings.
Step 3: Apply Audio and Effect Changes to Submix
To add an effect, click on the Show/Hide Effects and Sends triangle at the top of the Audio Track Mixer panel. For this example, I added a Pitch Shifter effect to my submix track. Submixes go a bit easier on your computer’s processor by allowing you to apply one instance of an effect instead of multiple instances.
If you’re looking for additional Premiere Pro tips, we’ve got you covered! Got any tips of your own you’d like to share? Do so in the comments below!