Do you regularly use FaceTime for making video calls? If so, you probably already know how there’s a lack of proper eye contact most of the time, since people look at the screen instead of the camera. However, Apple has managed to fix this with the modern iOS and iPadOS releases.
Whenever you’re in an active video call, you tend to look at the other person on your iPhone or iPad’s screen rather than the camera. For them, it looks like you’re not trying to make eye contact at all and the video chat is a little less personal, or maybe even a little awkward. Apple is aiming to fix this by introducing a feature called Eye Contact to improve your experience with FaceTime video calls. Essentially it augments the FaceTime call to make it look like you are looking at the person, rather than at the screen. Want to try this out yourself? Or perhaps you have it enabled and you want to turn it off? Read on and you’ll learn how you can enable or disable Eye Contact for FaceTime on either an iPhone or iPad.
How to Enable FaceTime Eye Contact on iPhone & iPad
You’ll need a newer model iPhone, meaning at least an iPhone XR, XS, 11, 12, or any newer iPhone with Face ID support (except iPhone X) to use Eye Contact since the feature relies on Apple’s ARKit 3 framework for augmented reality apps. If your iPhone is supported, simply follow the steps below.
- Head over to “Settings” from the home screen of your iPhone.

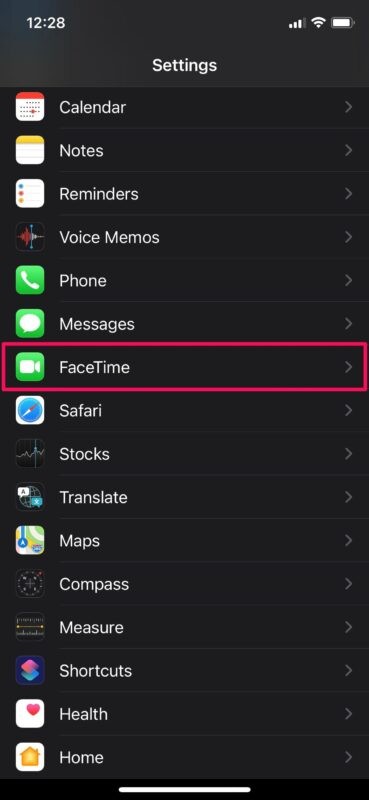
- In the settings menu, scroll down and tap on FaceTime to adjust FaceTime settings.
- Here, scroll down to the bottom and you’ll find the setting for Eye Contact. Use the toggle to enable or disable this feature according to your preference.
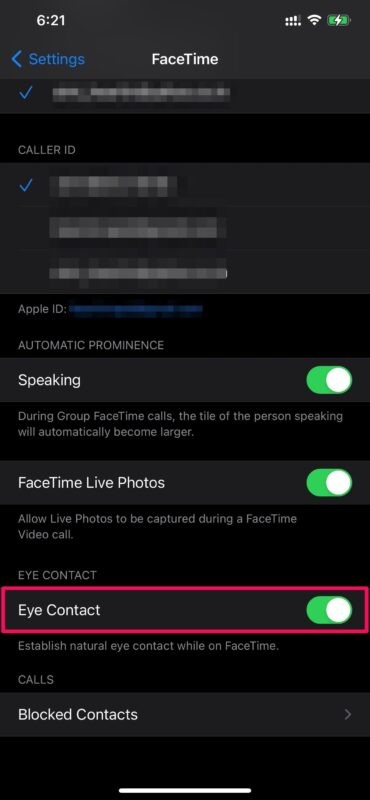
You can enable or disable Eye Contact for FaceTime video calls on your iPhone or iPad at any time using this toggle.
We were focusing on the iPhones here, but you can use this feature on your iPad too, provided it’s running iPadOS 14 or newer and you have a supported model. All iPad Pro models with Face ID support will be able to take advantage of Eye Contact for FaceTime calls.
Although we love this feature to correct our eyes to an extent and make it seem like we’re looking right at the camera, there’s a downside to keep in mind. If you wear glasses, you’ll notice the warping around the eye and nose regions to make this effect possible. So, some of you would be better off keeping this feature disabled, otherwise things can look a little askew. Nonetheless it’s worth trying out and seeing how you like it.
For those curious, this feature isn’t exactly new since Apple was testing it in the early beta versions of iOS 13. Back then, it was referred to as “Attention Correction” and it did the exact same thing, but for some reason, Apple scrapped the idea altogether shortly before the final release. Regardless, we’re glad that Apple reintroduced this feature, especially at a time where so many video calls are happening. Don’t forget you can also make Group FaceTime calls too!
Do you use Eye Contact for FaceTime video calls? What do you think of this feature? Share your valuable opinions, thoughts, tips, and experiences in the comments.