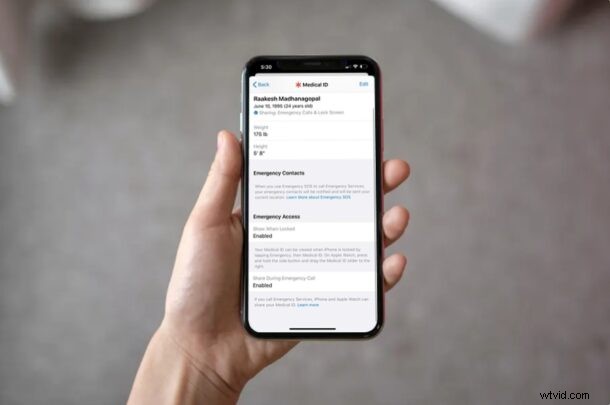
The Medical ID feature of iPhone has been a part of the Health app for years now, but now it’s potentially even more useful, by allowing users to automatically share their Medical ID while making emergency calls from their iPhones.
Built into the Health app, Medical ID is primarily used to keep a record of your medical conditions, medications you use, allergies, blood type, and more. With iOS 13.5 or newer, Apple made it so that every time you contact an emergency service like 911, your device will automatically share your medical information with the person who answers your call. As a result, they’re able to assist you in a faster and better way.
If you ant to make sure you’re automatically sharing your Medical ID during emergency calls from your iPhone, read along.
How to Share Medical ID During Emergency Calls from iPhone
Before you go ahead with the following procedure, make sure your iPhone is running a modern version of iOS, since this feature isn’t available on older versions.
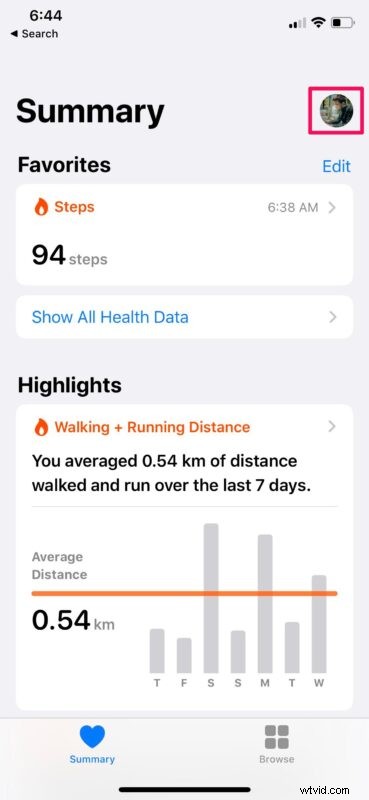
- Open the “Health” app on your iPhone.

- Here, tap on the profile icon located at the top-right corner of your screen.
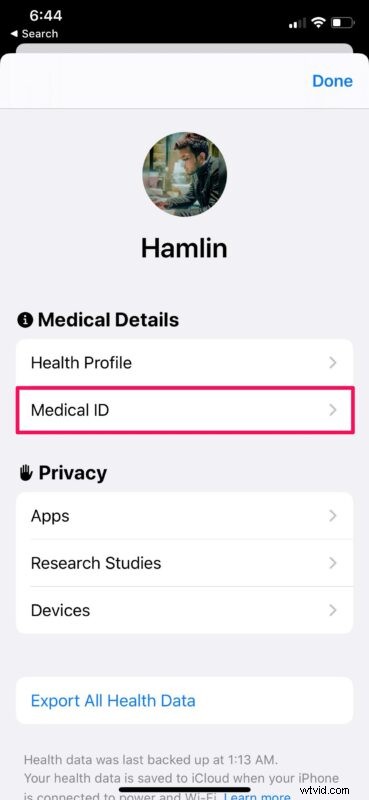
- Next, tap on “Medical ID” located under Medical Details, as shown in the screenshot below.
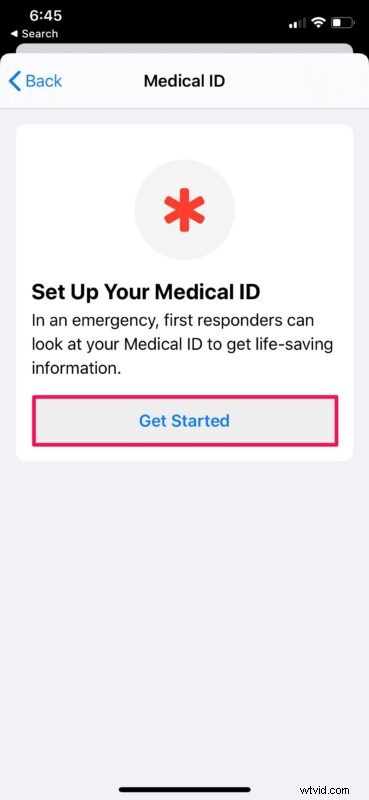
- Now, if you haven’t set up your Medical ID in the Health app before, tap on “Get Started”. However, you can skip this step if you’ve already created one.
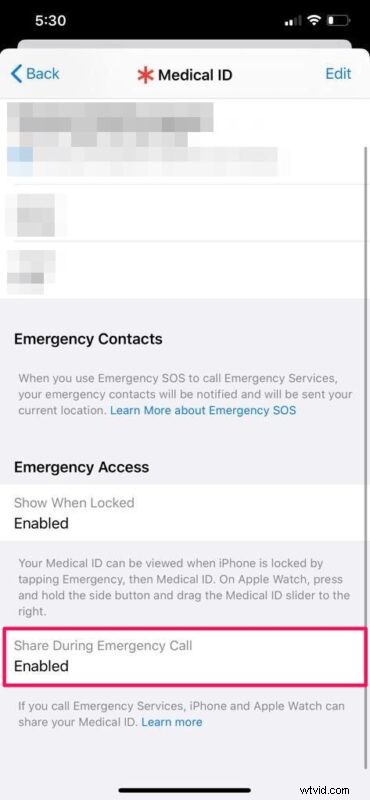
- Here, fill out all the medical details you’d like to add and scroll all the way down to the bottom. You’ll notice the option to “Share During Emergency Call”. It’s disabled by default. Simply tap on it, in order to enable this feature.
There you go. You’re all set to share your medical information if you’re to contact emergency services.
It’s important to note that this feature is not available everywhere, both in the USA or around the globe. If you live in the United States, you’ll need to be in an area with Enhanced Emergency Data services when you call 911. Your iPhone will use your location to determine this and then use the system to share your Medical ID securely.
If you use an Apple Watch Series 4 or newer device along with your iPhone, you will also be able to share your Medical ID from your watch automatically, when you connect to emergency services using its fall detection feature.
In case of an unfortunate event, let’s say you suffered an accident where you’re unable to speak to the 911 operator for whatever reason, simply sharing your medical information in such a way could prove to be a lifesaver.
We hope you were able to find this setting within the Health app on your iPhone, and if it suits you to turn it on (or off). If you don’t find the feature available, there’s a pretty good chance that you don’t live in a supported area. What are your overall thoughts on this handy feature? Share your thoughts and opinions in the comments, as usual.