How to upload audio to YouTube
By adding music to a photo you can enjoy your favourite song with picturesque footage, and, who knows, maybe even enrich it, and make it more impressive.
Here is when Clideo service comes in handy.
First of all, our tool is compatible with the majority of audio formats, so you can process any files you need without converting them into MP3.
Then, it works online from the browser and it performs equally efficiently on all the operating systems and platforms, be it Mac, Linux, Android or Windows.
Last but not least, it is free for processing files up to 500 MB each, and you can add as many images, GIFs, audio and videos to your future slideshow, as you need.
Keep reading and get to know how to add your own audio to YouTube video or any other visual in several fast and simple steps.
Upload a visual
Open Clideo’s Slideshow Maker in any browser and upload any media that will be the base for your future clip. You can import images, GIFs and videos.

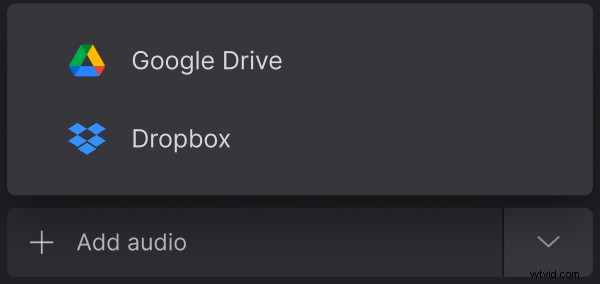
To select a file from your personal device, hit the “Choose files” button. To import from a cloud storage account, call the drop-down menu on the right.
Upload audio to YouTube editor
Hit the “Add audio” pane, select the track you need, trim it and adjust its volume.
You can also add more visual files, if you want, just drag and drop them at the timeline below the player.
Choose the crop option and aspect ratio. We have already tenderly created a preset for YouTube, but you may try different combinations and give them a run to see what your video will look like. If the slideshow contains at least one still image, choose its duration.
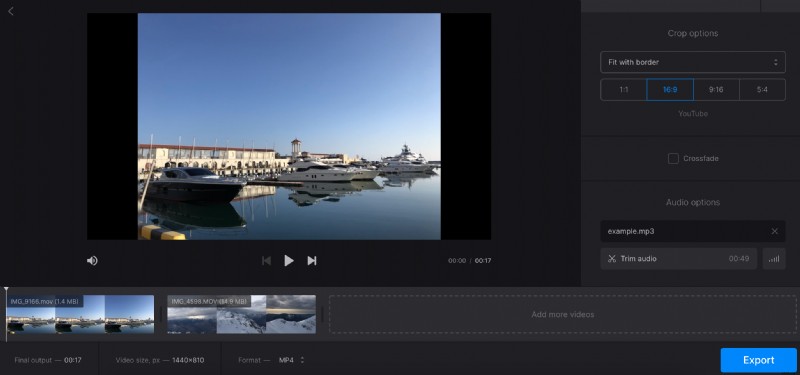
When you are done, decide if you want to keep the output format or convert your clip into another one. Then click on “Export” and give the tool several moments to do its job.
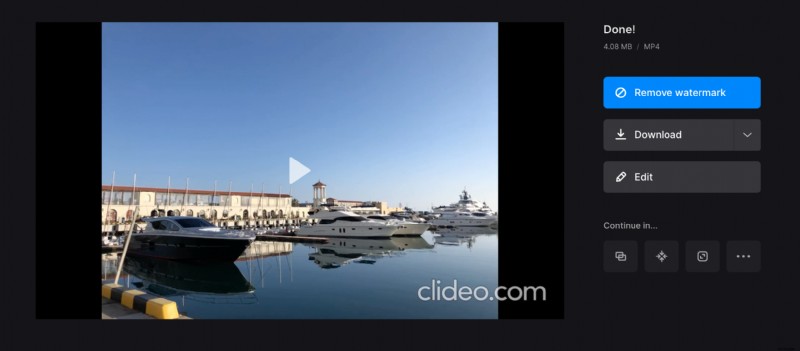
Save the result
Have the final look at your video and save it to your personal device, Google Drive or Dropbox. If you want to remove a watermark or edit the clip in any other tool right away, subscribe to Clideo Pro.