Trim a video on Windows 7, 8, 10, or any other OS
However, trimming a video on Windows, whether that’s version 7, 8, 10, or any other operating system for that matter, isn’t always as easy as it sounds. That’s because finding decent software to do the job can be confusing, time-consuming, costly and sometimes even dangerous if it’s from an unreliable source.
Thankfully, there’s an easy solution to this, and it allows you to cut video length without needing any proper video editing experience, and all from the comfort of a web browser. Read on to find out how.
Upload your clip
To get started, head over to Clideo’s Windows trim video tool. You’ll be welcomed by the home screen with a big blue ‘Choose file’ button in the centre. Hit this to upload your video of choice, or just drag and drop your file onto the page.
Alternatively, tap the down-arrow on the right and a drop-down menu will appear allowing you to upload your clip directly from Dropbox or Google Drive cloud storage platforms.
Once selected the movie will automatically upload to Clideo’s servers.
Get snipping!
Once your video has been uploaded, it’s time to get cutting.
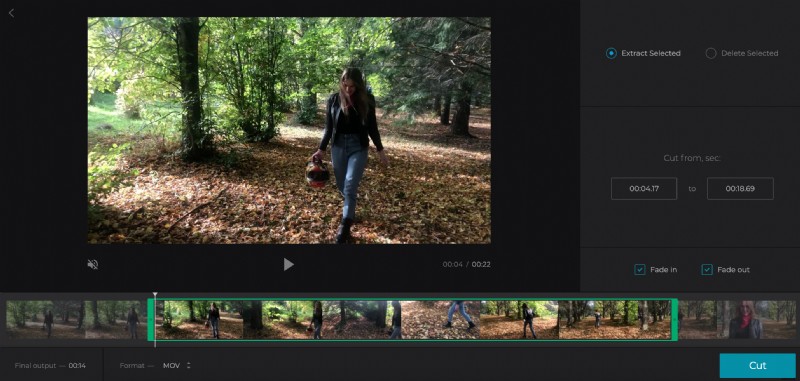
To do this, simply select the beginning and end of your new video by using the green sliders under the preview panel.
Once you’ve selected your new length, either ‘Extract Selected’ or ‘Delete Selected’.
By opting for extract, you can add a fade-in and fade-out effect for a smoother transition - just tick the necessary boxes. If you choose to delete, you'll be given the option to crossfade the two remaining parts of the clip instead.

You can also press play/pause to preview your clip as well as select the markers in exact time elapsed if you want to be more precise.
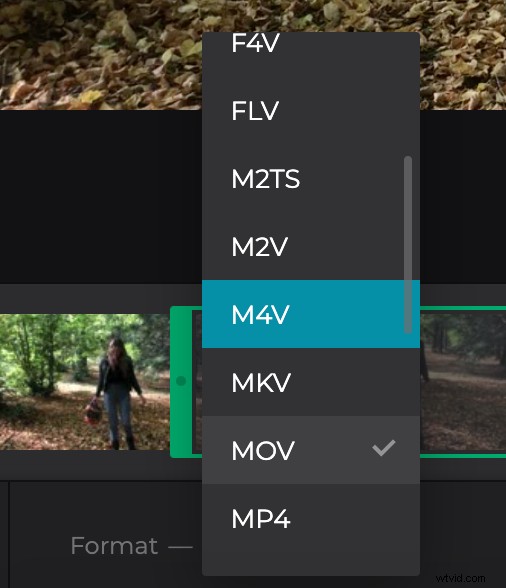
Next, select your ideal output format from the options at the bottom. We recommend WMV for Windows, or MP4 if the clip will be transferred on to a mobile device.
Ready to trim it for good? Tap the green ‘Cut’ button at the bottom. The tool will begin processing the clip.
Download to Windows
Once your movie has been processed, you can either save it to your device or back to your cloud storage account. Just tap the ‘Download’ button.
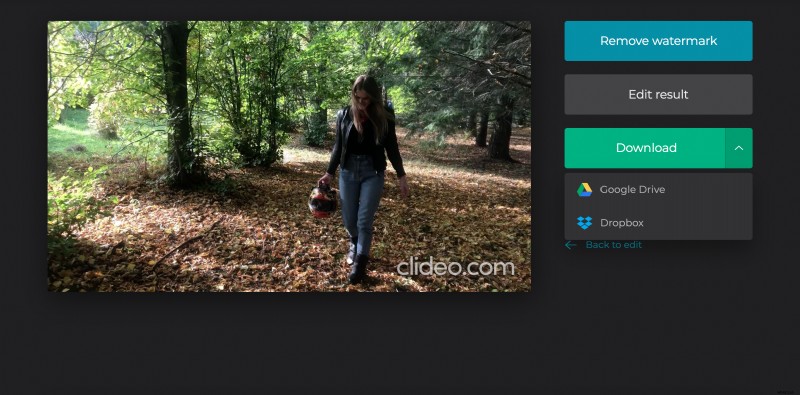
If you’d like to go back and have another go at cutting it, tap the ‘Back to Edit’ link and you’ll be taken back to the editing page where you can make changes without needing to start over.