Looking to use a different two-factor authentication app instead of Google Authenticator? You can try out Authy, a similar app which in certain ways may even be better than Google’s offering. You may be wondering how you can add your 2FA accounts to Authy on your iPhone, and that’s what we’ll be discussing here.
The slightly less popular Authy app actually provides some key features that Google Authenticator doesn’t. Firstly, Authy allows users to backup all their codes to the cloud and encrypt them. So, even if you switch to a new device, you’ll have access to all your accounts. Secondly, Authy’s multi-device support is unmatched since the codes that you see are synced across all the devices you authorize. Plus, it even has a desktop client, so you’re not limited to relying on mobile devices.
Therefore, if you’re interested in giving Authy a shot, we’re here you help you get started. Let’s take a look at setting up and adding 2FA accounts to Authy on iPhone.
How to Add 2FA Accounts to Authy on iPhone
First of all, head over to the App Store and download the Authy app for your device. Once you’re done, follow the simple on-screen instructions to create your Authy account with your phone number and then follow the steps below:
- Once you’re in the main menu of the Authy app, tap on the “Add Account” option with the + icon as shown below.

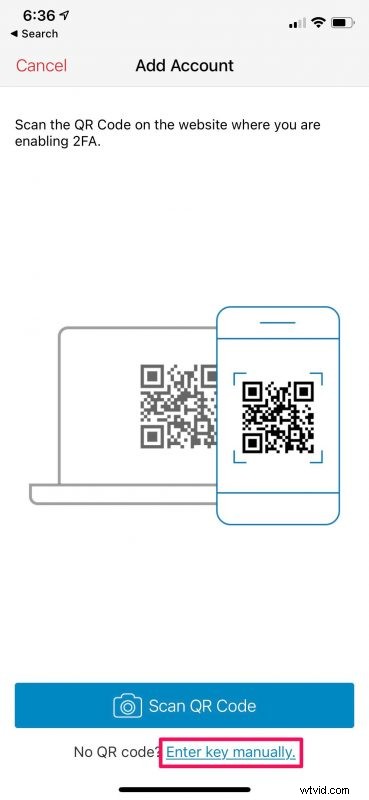
- Now, you’ll be prompted to add your 2FA account by scanning the QR code displayed on the website or app where you’re enabling 2FA. However, if you don’t have a QR code but have a key instead, tap on “Enter key manually” to proceed.
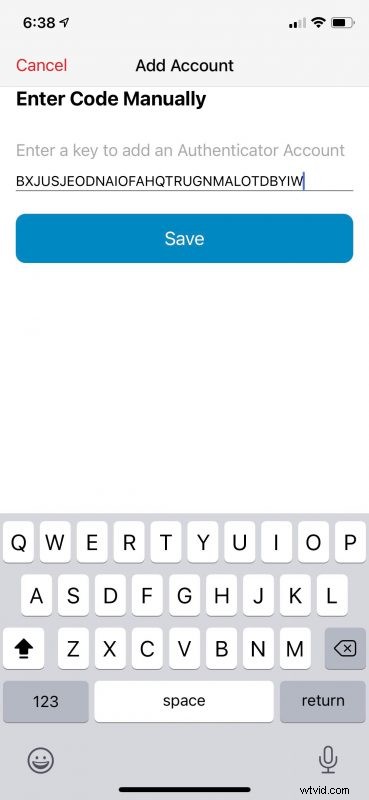
- Next, type in the code that you see on the website and tap on “Save”.
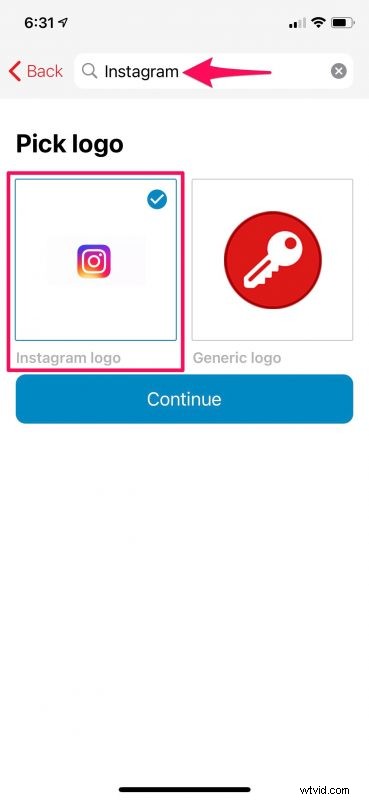
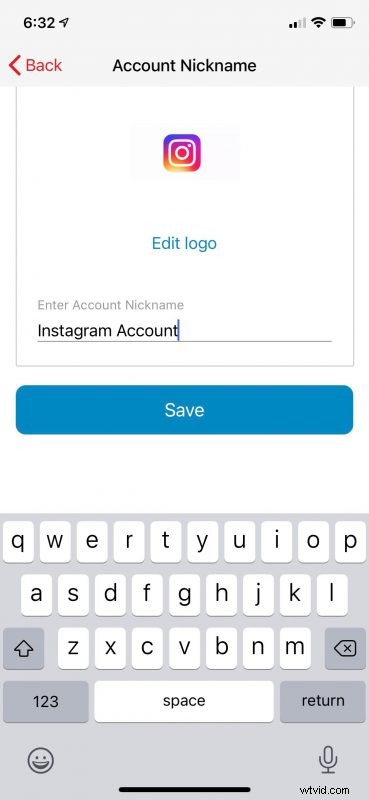
- In this step, you’ll be able to configure your 2FA account. To make sure your account is easy to find, you can browse for a custom icon and assign it. When you’re done, hit “Continue”.
- Now, give a suitable name for the account that you’re setting up and tap on “Save”.
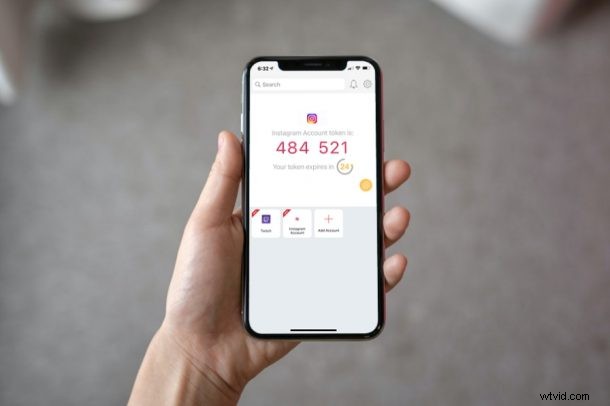
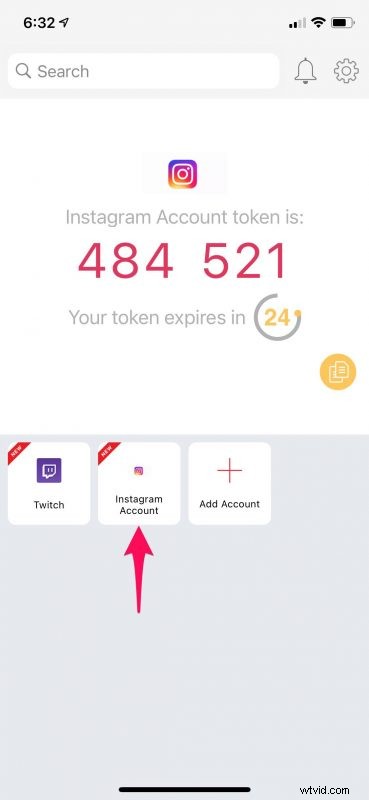
- You should see your new account in the main menu along with the respective code that refreshes every 30 seconds.
Despite the differences in the app’s interface, you’re pretty much doing the same thing on both Authy and Google Authenticator. You can repeat these steps to add your other accounts too.
If you’re looking to migrate all your Google Authenticator codes to the Authy app, we hate to break it to you, but you’re out of luck. There’s only one way to do this. You’ll have to turn off and re-enable 2FA for the websites individually and set them up with Authy. If you know of another workaround that doesn’t involve that approach, share in the comments.
Once you’ve set everything up, you don’t have to worry about losing your codes anymore, since they are backed to the cloud and linked to your Authy account. Thanks to this feature, you don’t have to migrate your 2FA codes to a new device before you give the old one away, something which Google Authenticator requires its users to do, and moving Authenticator to a new iPhone can be a bit frustrating.
What do you think of Authy compared to Authenticator? Do you use two-factor authentication? Have you tried out any other authenticator apps before? Share your experiences and opinions in the comments.