If you’re letting your kids borrow your iPhone or iPad to watch a video or movie, you can take advantage of Guided Access to temporarily disable the entire touchscreen on your iOS or iPadOS device. This prevents them from being able to fiddle around with your device, accidentally delete apps, make purchases, or change its settings.
Guided Access is primarily used to lock your iPhone or iPad’s screen to a single app, but you can also use it to disable the Touch Screen in general.Looking forward to use Guided Access the next time you let someone use your smartphone? Then read along.
How to Disable Touchscreen on iPhone & iPad with Guided Access
In order to disable touchscreen while restricting your device to a specific app, you’ll need to enable this feature first within the accessibility settings. Simply follow the steps below to get started.
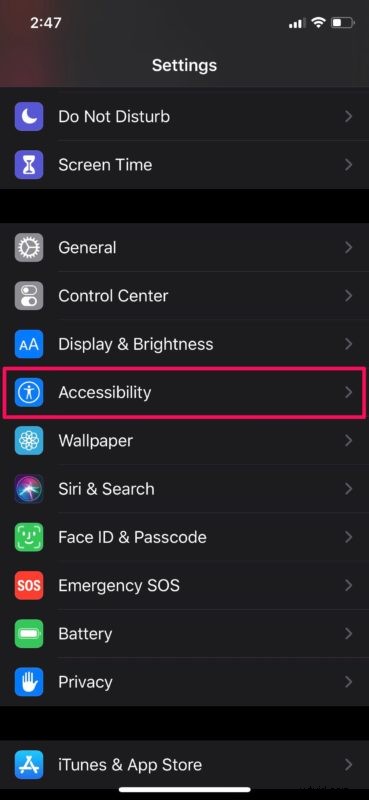
- Head over to the “Settings” app on your iPhone or iPad. Scroll down and tap on “Accessibility”.
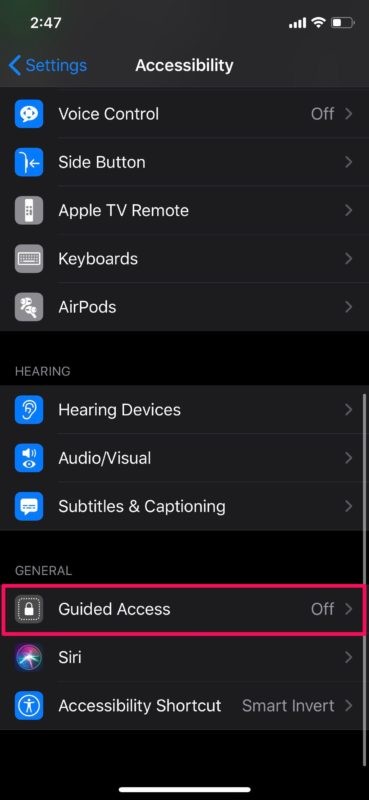
- In the accessibility settings menu, scroll down to the bottom and select “Guided Access”.
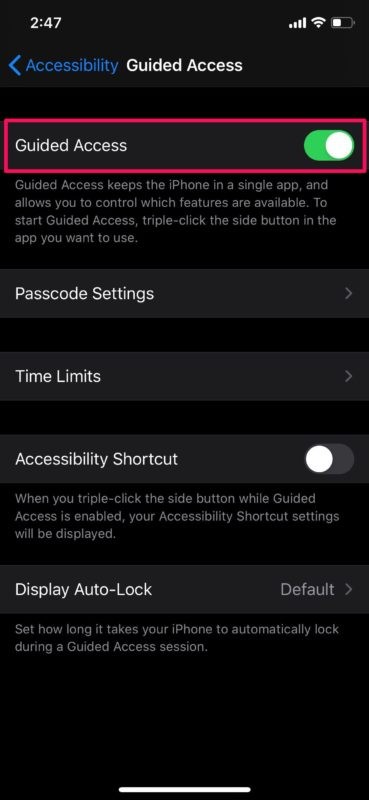
- Now, tap on the toggle to turn this feature on.
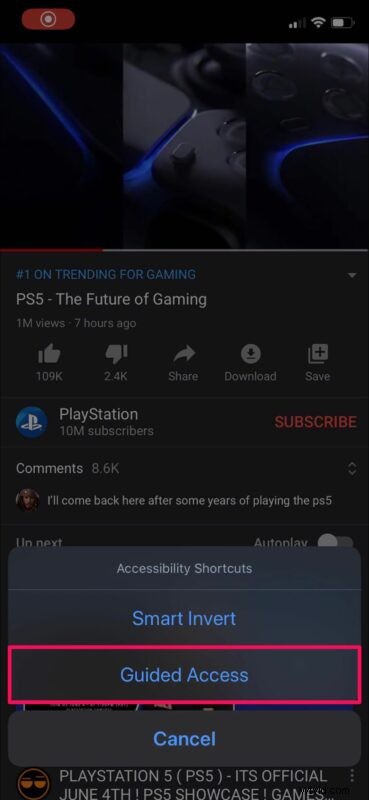
- Next, open the app that you want to let your kids use. Or, if they want to watch a video or movie, start the playback. Now, triple-click the power button/side button on your iOS device to access the accessibility shortcuts and select “Guided Access”.
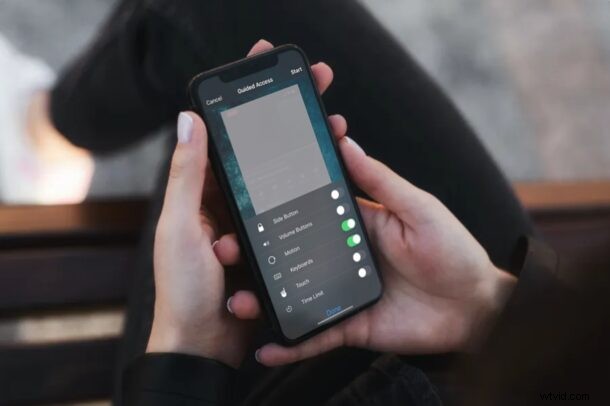
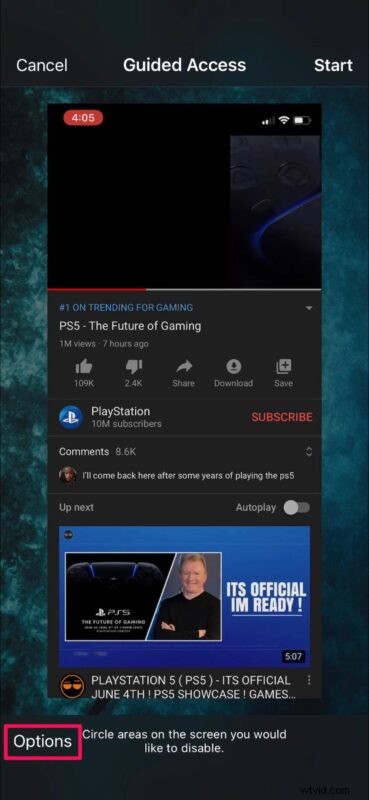
- You’ll be taken to the Guided Access setup menu. Here, tap on “Options” located at the bottom-left corner of the screen.
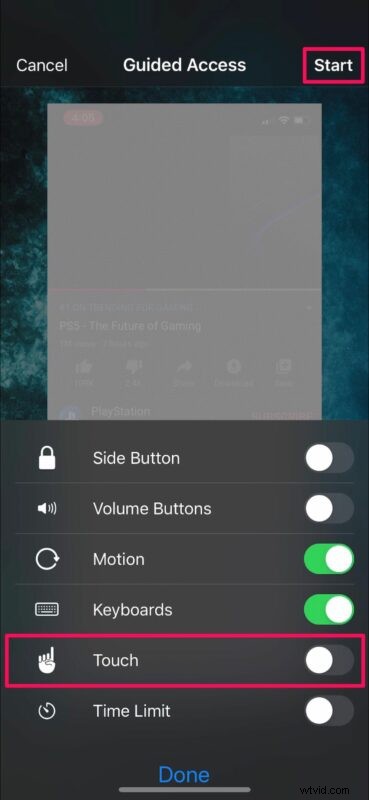
- Set the toggle for “Touch” to disabled and tap on “Start”, as shown in the screenshot below.
- Now, set a passcode that can be used later on to exit Guided Access or adjust its settings later on.

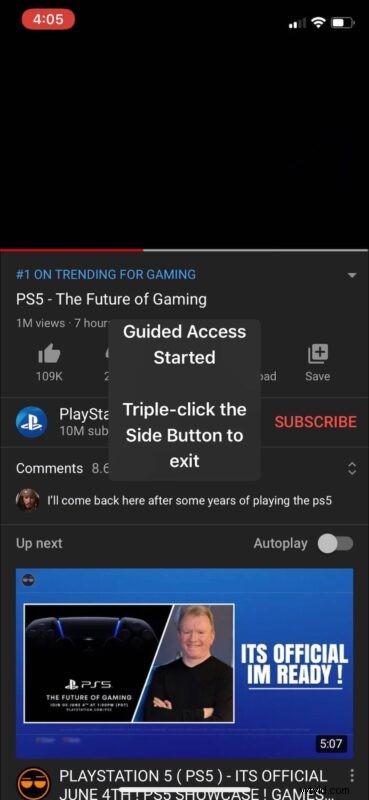
- That’s it. You’ve started a Guided Access session and your device is now locked to one app, with the touch screen disabled.
Now that the touch screen is disabled, you can let a child or person use the device without being able to interact with it beyond what is on screen. This is particularly useful for watching movies and videos, but it’s also handy for kiosks and other similar situations.
Exiting Guided Access Mode on iPhone or iPad when Touch Screen is Disabled
Of course you’ll want to know how to exit out of Guided Access mode now that the Touch Screen is disabled:
- In order to exit Guided Access, triple-click the power/side button on your iPhone or iPad.
- Now, enter the passcode you set earlier.

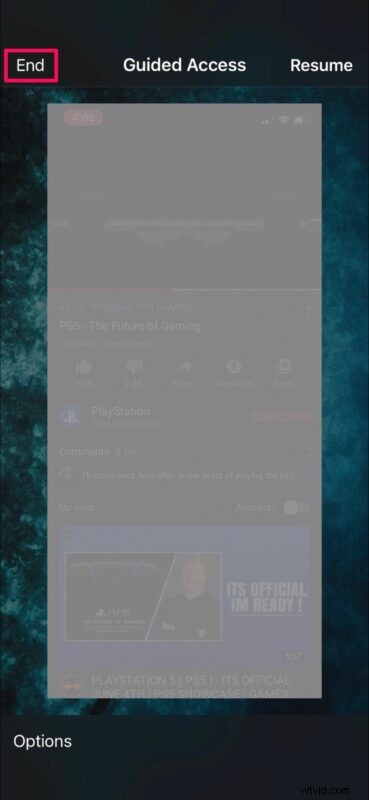
- This will take you back to the Guided Access menu. Tap on “End” located at the top-left corner of your screen to exit Guided Access. Or, if you just want to re-enable touch controls, head over to “Options” and set the toggle for “Touch” back to enabled.
That was the last step.
You now know how to completely disable your touchscreen temporarily while locking the device to a single app using Guided Access on your iPhone and iPad. Remember you can also just lock the device to a single app without disabling the Touch Screen capabilities too.
You can also limit touch input to specific portions of the screen instead of disabling the entire touchscreen, if you’d prefer to. Perhaps your ant to give someone access to a menu in an app, or pause/play controls in a video app or something similar. This can be done by simply circling the areas of the screen that you want to disable, while you’re in the Guided Access menu.
Whatever the usage, Guided Access is a great tool to have full control over what your iPhone and iPad displays on the screen and how it is interacted with.
Do you want to lock more than one app on your iPhone and iPad? Although that’s not possible with Guided Access, you can take advantage of Apple’s Screen Time functionality which allows you to set time limits on apps within a matter of minutes. It offers other parental control features like being able to set communication limits, blocking in-app purchases, app installations, and more, so if that interests you don’t miss other Screen Time tips as well.
Did you disable your iPhone and iPad’s touchscreen by using Guided Access? How often do you find this feature useful? Share your thoughts and experiences in the comments, and check out more Guided Access articles if the subject intrigues you.