 If you juggle multiple email addresses for various purposes on iPhone, iPad, or Mac, you may find it useful to add additional email addresses for FaceTime. This allows you to both call out from another email address, and perhaps more importantly, you can also receive inbound FaceTime calls for the newly added email address too.
You can add emails to FaceTime from either iOS or Mac OS X, by doing so it associates the new email address with an Apple ID and thus allows FaceTime audio and video for that address. You can seemingly add as many email addresses as you want to associate with FaceTime too, though it’s probably wise to stick with emails that you actually want to be reached at.
How to Add Additional Email Addresses to FaceTime from iPhone & iPad
If you want to add another email address to FaceTime from iPhone, iPad, or iPod touch, here’s how you can quickly do so:
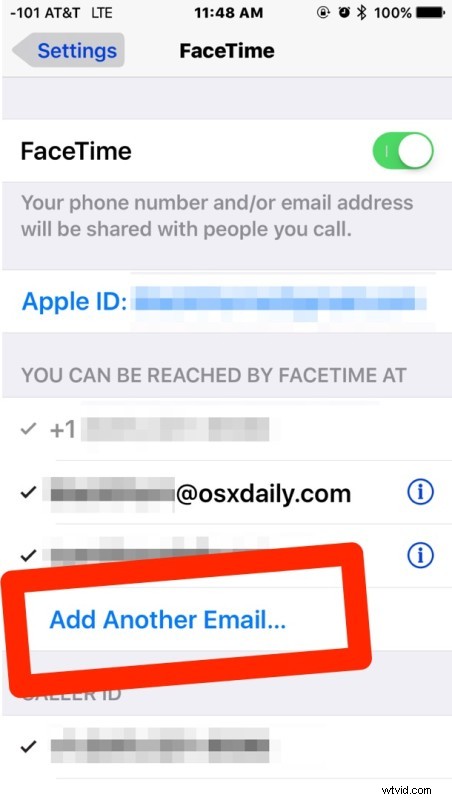
- Open the Settings app in iOS and go to “FaceTime”
- Tap on “Add Another Email…” and enter the email address to add to FaceTime as “email@email.com” format
- Wait for the “Verifying…” message then check the email address which you just added, clicking on the verify email link by logging into the associated Apple ID as requested
Once the email address has been verified and associated with the Apple ID, you can make and receive FaceTime video and voice calls to that email address.
How to Add a New Email Addresses to FaceTime from Mac OS X
Adding new email addresses to FaceTime from the Mac is also simple:
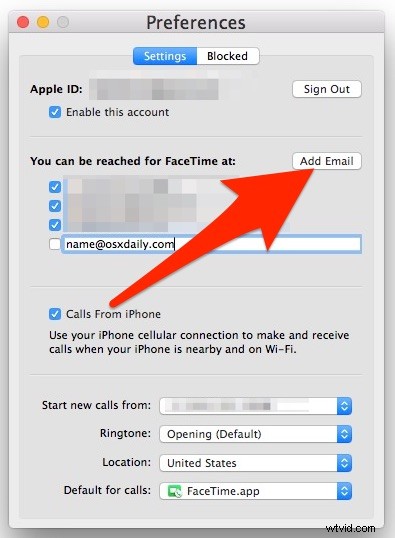
- Open the FaceTime app and pull down the FaceTime menu to select “Preferences” and go to the Settings tab
- Click the “Add Email” button and enter the desired email address as usual
- Verify the email address by checking for new mail at the added address and following the link provided, this associates the email with the Apple ID for FaceTime calling purposes
Note that if you’re on the Mac and you remove a phone number, you’ll lose the ability to make phone calls from the Mac using an iPhone.
If you’re removing the number to get the Mac to stop ringing with incoming iPhone calls, a better approach is offered here.
Removing an email address from FaceTime is done through the same settings screens, in iOS and iPadOS it is a matter of tapping on (i) and choosing “Remove Email”, whereas on the Mac you can uncheck the box alongside the email address in Preferences.
This has many uses, whether for adding additional personal email addresses to Facetime, or perhaps to add a public email address so that other people can start a Facetime with you from the web using this URL trick. Use it how you see fit for your own Facetiming needs.