Do you use iMessage to stay in touch with your friends, family, and colleagues? If you’re an iPhone or iPad user, you might not necessarily be aware of the fact that you can use an email address with iMessage instead of your phone number.
Apple’s iMessage service that’s baked into the stock Messages app is extremely popular among Apple users, as it offers a free and convenient way to text other iPhone, iPad, and Mac owners. If you’re on an iPhone, your phone number is used to activate iMessage by default. However, you can manually add the Apple ID that’s linked to your device or add any other Apple account for that matter. This allows you to send and receive texts from other iMessage users while keeping your phone number private.
It should be pointed out that adjusting settings like this can lead to some confusion down the road, and for most users it’s best to just let iMessage use the default settings and Apple ID as expected. Using multiple Apple ID’s is not an ideal scenario and is not recommended by Apple.
How to Add or Remove Email Addresses from iMessage on iPhone & iPad
Adding or removing email addresses for use with iMessage is a pretty simple and straightforward procedure on iOS devices. Just follow the steps below to get started.
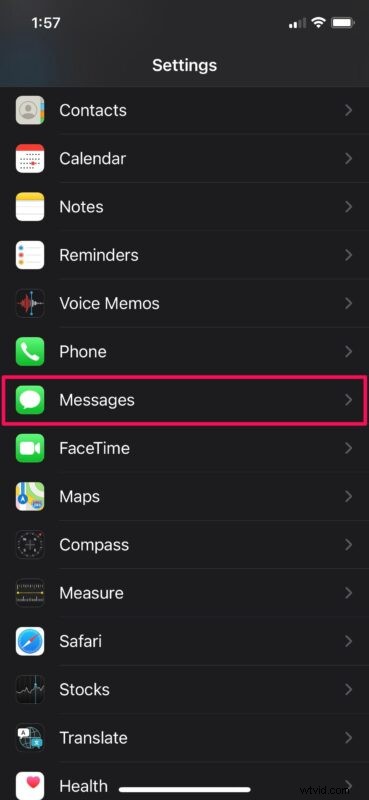
- Head over to “Settings” from the home screen of your iPhone or iPad.

- In the settings menu, scroll down and tap on “Messages” to change the settings for iMessage.
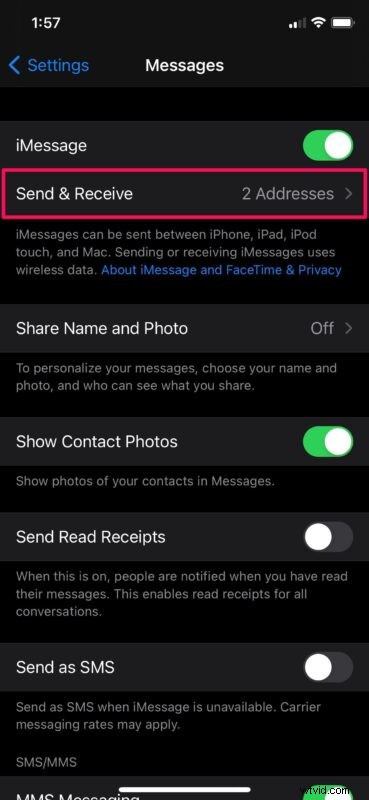
- Here, tap on “Send & Receive” as shown in the screenshot below to proceed to the next step.
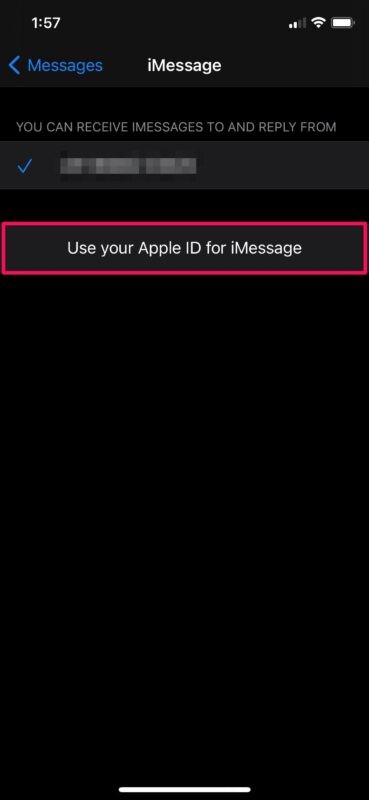
- In this menu, tap on “Use your Apple ID for iMessage” to add an iMessage email address.
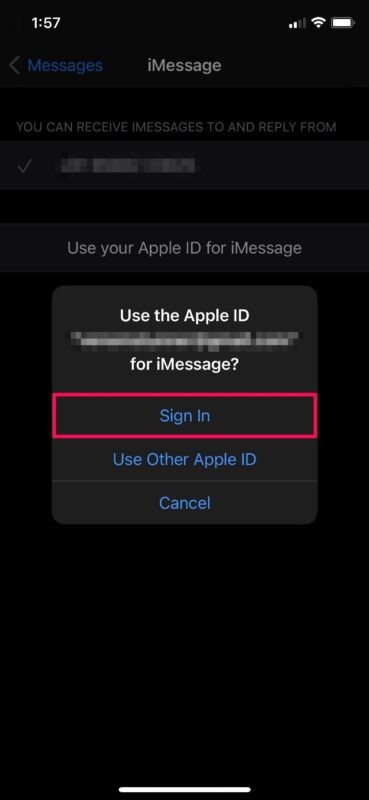
- Now, you’ll have the option to choose the Apple account you want to use with Apple ID. To add the Apple account email address that’s linked to your device, simply tap on “Sign In”. Or, if you want to use a different account, choose “Use Other Apple ID”.
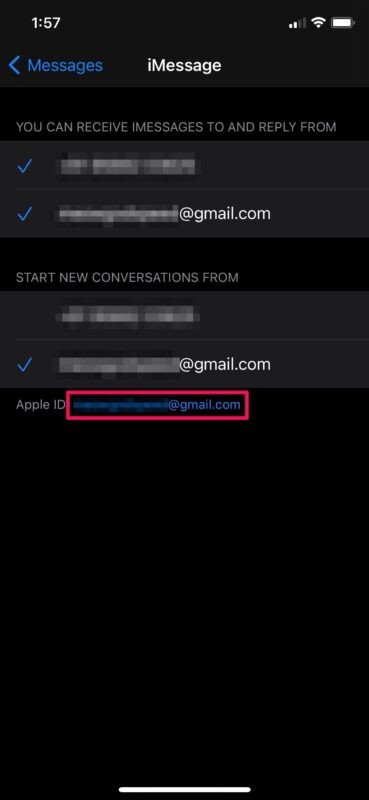
- If you want to remove an email address that you’re already using, tap on your Apple ID email address at the bottom of the “Send & Receive” section as shown below.
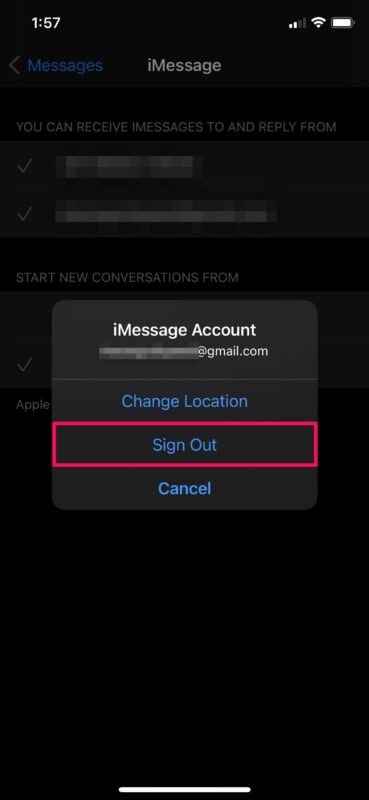
- Now, choose “Sign Out” and you’re good to go.
That’s pretty much all there is to it. Now you know how easy it is to add or remove iMessage email addresses on your iPhone or iPad.
Once you’ve added an email account, you’ll have the option to deselect your phone number and stop using it for iMessage in the same menu. This way, you can keep texting iMessage users from the email address, and without having to reveal your actual phone number.
The fact that you can use a completely different Apple ID account for iMessage makes it even better. This is the kind of feature that privacy buffs would love to have. There’s one downside to this capability, however. When you use a different Apple account for iMessage, you won’t be able to use iCloud with iMessage, since the iCloud email address is the one that’s linked to your device.
Unless you’re using the linked Apple account for iMessage, your iMessage conversations won’t be synced across all your other Apple devices. That being said, nothing’s stopping you from switching to a different iCloud account for use with your iOS/iPadOS devices.
Did