Let’s make your photos come alive. Follow this video tutorial to create a stop-motion GIF to post on Instagram using Photoshop.
Using Photoshop’s timeline feature, we can create both a GIF and render an Instagram-ready video. Adding this skill to your social media toolbox is an ideal way to create engaging content that your audience will love. It’s also a rewarding opportunity to sharpen your photography and Photoshop skills throughout the entire process.
Let’s get started! Follow along in the video below, or read through to get a full summary of the project.
Step 1: Get Your Photos Ready
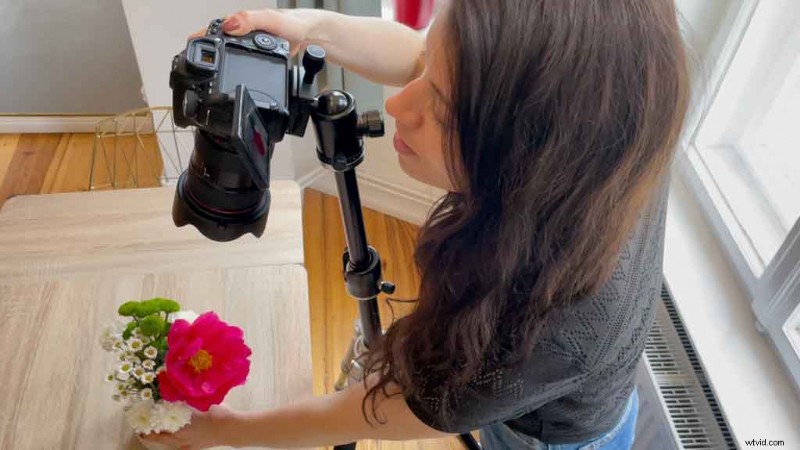
For this tutorial, you can either do quick animation or photoshoot like I did. If you follow along my photo example, make sure to use a tripod so your camera stays in one place. It’s important to keep your photos in the exact same placement so you will have a steady transition from each photo in your stop motion GIF.
Be sure to crop your photos in the same place and dimensions so your images stay consistent. I cropped and edited my photos using Lightroom.
For this Instagram-ready example, I cropped my photos to an Instagram portrait post size of 1080×1350 pixels. Feel free to follow these dimensions, or crop in a perfect square at 1080×1080 pixels. From there, export your photos and head to Photoshop.
Step 2: Put Your Photos into Layers
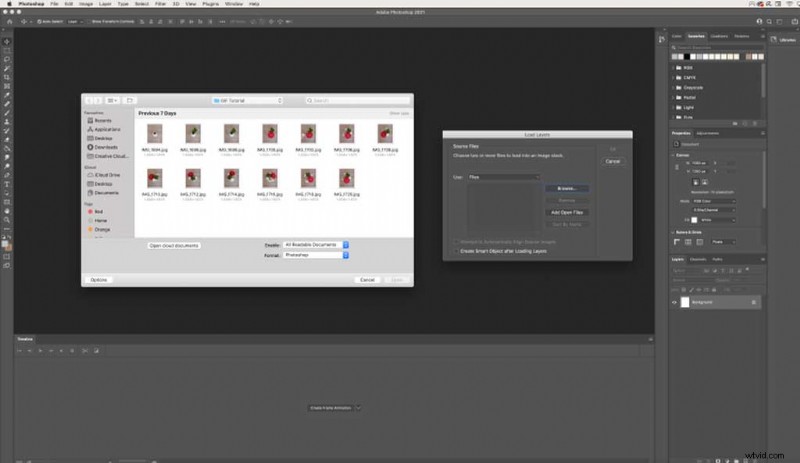
Once in Photoshop, load all of your photos in different layers into one Photoshop file. You don’t actually need to create a new document, just start right at the Photoshop home screen.
To do this, head to File > Scripts > Load Files Into Stack. Now you’ll see a Load Layers window. Click Browse to import your files. Once you have that set, click Ok.
Your photos will now be in a new document on different layers.
Step 3: Create Frame Animation Using Timeline
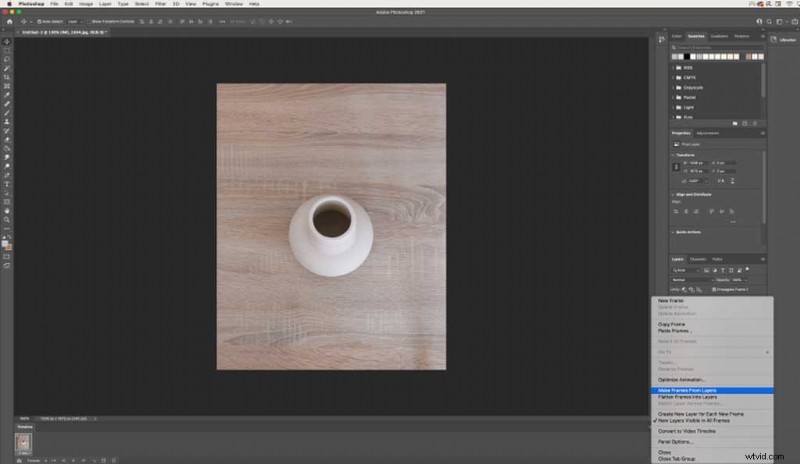
Now that you have all of your photos on separate layers, let’s create a frame animation. To get this window up in your Photoshop workspace, go to Window > Timeline. It will be at the very bottom of your workspace.
From here, let’s click the middle button Create Frame Animation. This will add your first photo into your timeline. To add all of your different layers into your timeline, click the menu icon (four lined icon on the right-hand side of the layers panel). Now click Make Frames From Layers, which will then do exactly that.
Step 4: Reverse Your Frames
For this example, my photos show up in my timeline reversed, so I’m going to reverse these back. Go back into the right-hand side menu and click Reverse Frames. We’re going to use this one more time to create a continuous loop later on.
Step 5: Customize Your Timing
As you can see in the video, my GIF is moving way too fast. To slow it down and then customize the timing, we can click under each frame and change the seconds. I recommend anywhere from one to five seconds for a smooth transition between each photo.
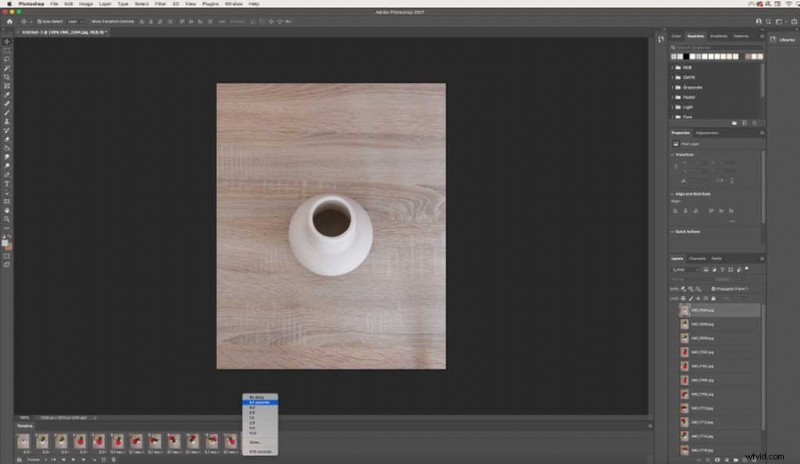
For my example, I’m going to have some of my photos with a two second transition, and then move to one second, as it makes more sense for my images.
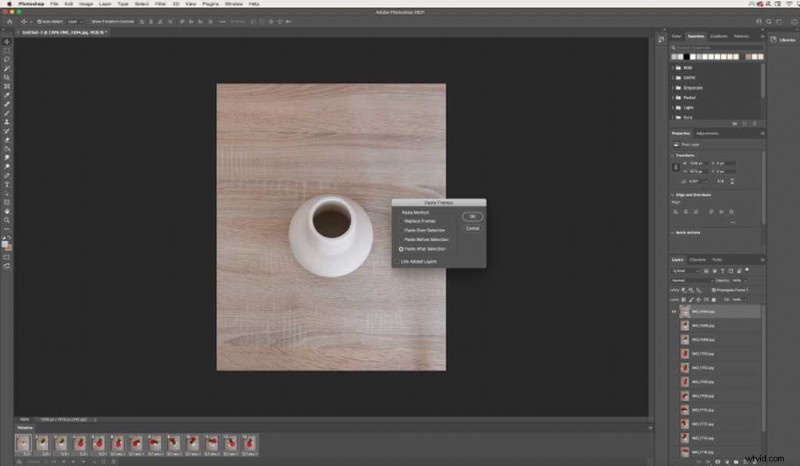
Step 6: Copy and Paste Your Frames
In order to create a continuous loop, we need to copy and paste our frames, then reverse them. This will allow the images to create a seamless story. Set your timing before you copy + paste so you don’t have to change the timing with every new copy of your frames.
To copy your frames, select all of your frames by clicking your 1st frame + holding Shift + clicking your last frame. Go back into the right-hand Menu and click Copy Frames. Then go back into the same menu and Paste Frames.
When a Paste Frames window pops up, make sure to select Paste After Selection.
From here, you’ll want to reverse the frames you just pasted. Go back into the Menu and click Reverse Frames once more. If you followed this exactly, you’ll have two identical frames in the middle. Delete one of them so you don’t have a time lag in your GIF.
When you want to preview your gif, you can press the play button at the bottom of the timeline window and stop when you’re done.
Step 7: Save Your File
You can either save this finished project as a GIF or video. If you’d like to share this on your blog or website while playing automatically (like below), then save it as a GIF. If you’re planning to share this to Instagram, skip below to learn how to render your video.
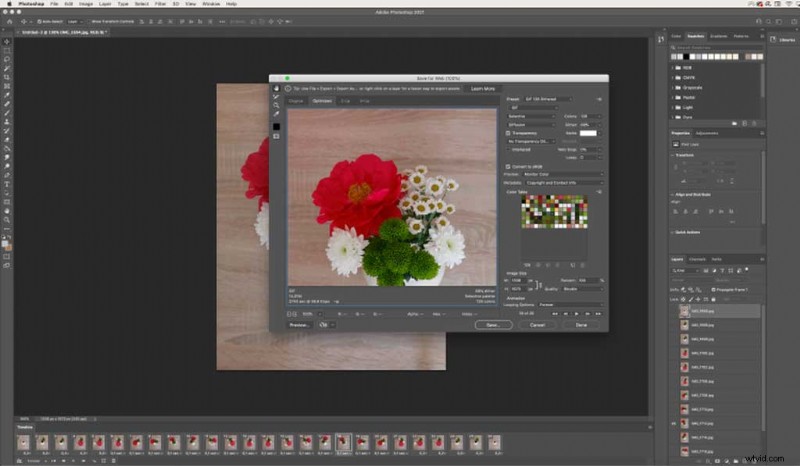
Saving as a GIF
Before you click save, be sure that your stop motion GIF loops continuously by selecting Forever in the lower left-hand corner. To save as a GIF, go to File > Export > Save for Web (Legacy). For best results, select the preset GIF 128 Dithered. Hit the save button and you have your Photoshop GIF ready to share or send.
Keep in mind that a GIF is a lower quality file format, but that’s the beauty of GIF technology.
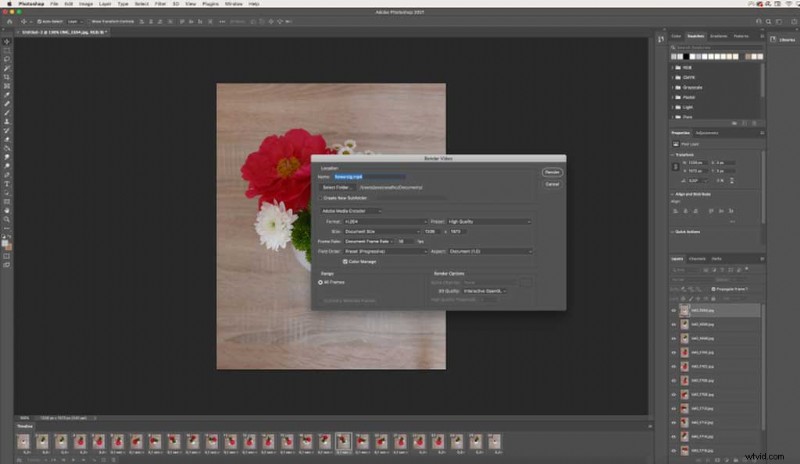
Rendering Video for Instagram
Surprisingly enough, Instagram isn’t compatible with posting GIFs so we’re going to need to create a video intsead. However, one of the best features of Instagram is that as long as your post is on the screen, the video will loop continuously, so it acts like a GIF. Your stop motion animation should be between three seconds and sixty seconds for this to work.
To export as a video, go to File > Export > Render Video. From there, set your preset to High Quality, click Render, and your video file will now be saved.
You’re now ready to post your new animation to Instagram. I hope you can use this simple example to further your social media content ideas and creativity.
Searching for more creative tips and advice? Explore these articles:
- How to Work with the Patch Tool in Adobe Photoshop
- 5 Adobe InDesign Hacks Every Designer Should Know
- How to Create the Illusion of Movement in Static Design
- 20 FREE Grunge Brushes for Photoshop (And How to Use Them)
- Color Forecasting: How Are Color Trends Created?
Cover image via kckate16.