In this simple, easy-to-follow tutorial, we’ll show you how to create a solar system — including stars and planets — in After Effects.
This was a really fun project to work on because of how much I’m obsessed with space. The project is based off simple techniques, but since the tools used are so versatile, you can get great results. In the video, I break the animation down into three sections — the star fly-through, planet rotation, and creating depth without 3D layers.
Creating Stars
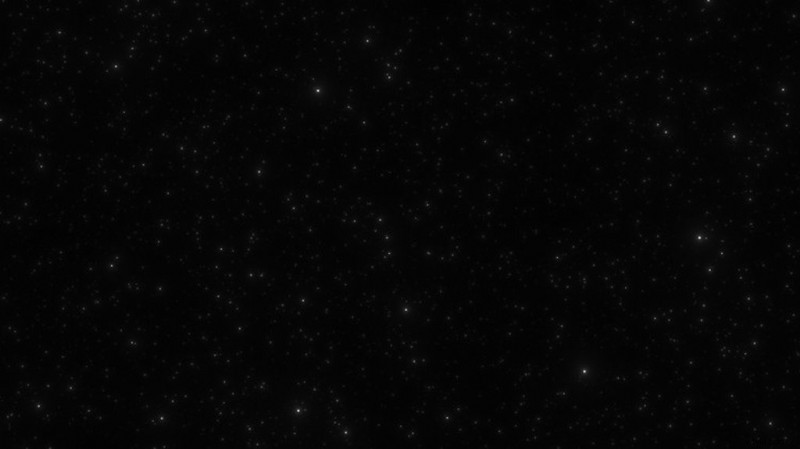
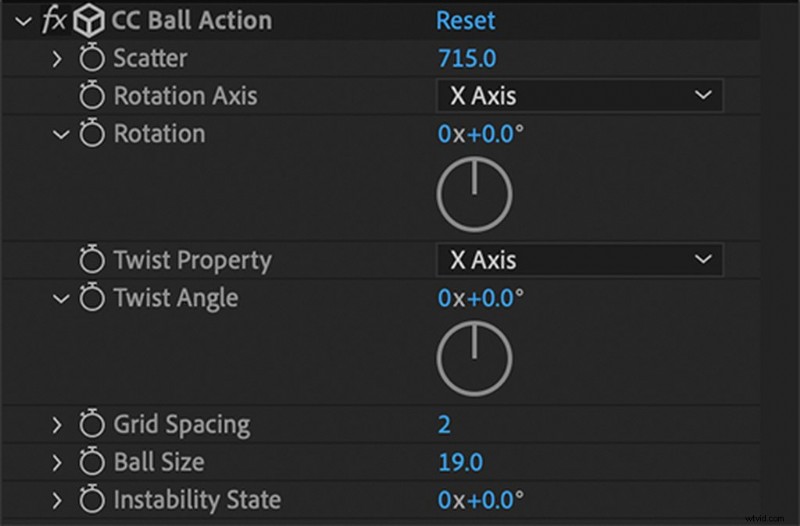
The star fly-through portion is quick and easy. First make a White Solid, then mark it as a 3D layer. Apply the effect CC Ball Action, and set the settings as seen below.
The CC Ball Action Effect
BOOM, you have stars!
Now, to make them move, create a 3D camera and move it in toward the stars on the Z-axis, until you can’t see them anymore. Add another key frame layer on in the composition, and move the camera all the way back to its original position. I love adding this effect to any project I’m working on because, if used properly, it adds a shimmer to any layer.
Adding Movement
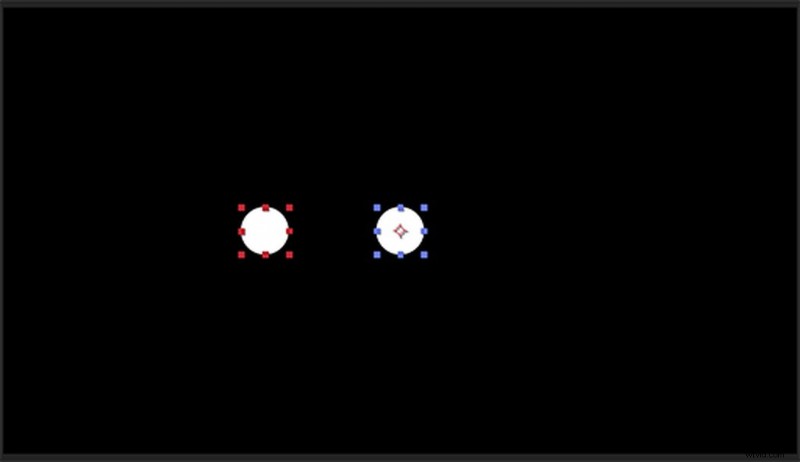
When animating the planets, there are numerous ways you can go about executing a revolution. This ranges from using path animations or creating a null and using that to drive the planets’ movement. I took the simplest route for two reasons. First, it’ll keep the amount of layers to a minimum. And second, it gives you more control by being able to use a null later on in the process, for other uses. The key is to move the anchor point to the center of the shape you want the planet to revolve around. Once you animate the rotation, you’ll get a seamless motion with no hassle, all on one layer. It’s best to work smarter — not harder — especially when messing with After Effects.
Creating Depth
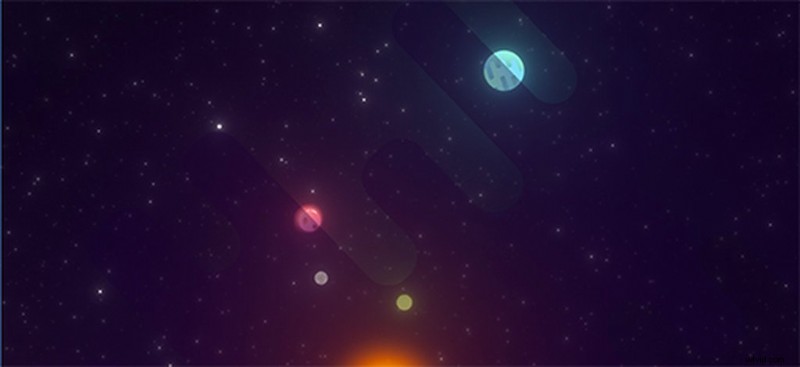
The final portion I broke down was creating depth without using 3D layers. For this, I created some cartoon clouds, which I made a video on for the Shutterstock Presents YouTube channel. I needed something to fill the void between the planets and this satisfied that. I lowered the opacity on each of the cloud layers, and once the planets moved under the clouds, it gave the whole composition depth. This was an easy way to achieve the look, all because it required me to only turn down the layers’ opacity.
Final Product!

My goal with this was to show how beneficial it is to learn the fundamentals of After Effects. We often see big projects with tons of layers. However, in certain cases, some movements can be simplified and be just as effective. Hopefully, these techniques make you think a little differently as a motion designer, and give you a deeper look into every nook and cranny this program has to offer.
Interested in the tracks we used to make this video?
- “Shakedown” by MM Music
- “Sunny Days in June” by Sonic Sanctuary
- “Smokey Basement Groove” by Mattijs Muller
- “Morning Coffee” by Trending Music
- “Never Ending Soul Groove” by Mattijs Muller
Looking for more post-production tips and tricks? Check these out.
- Behind-the-Scenes with PremiumBeat Composer Alan Hampton for WePresent
- Video Tutorial: How to Change Colors on Footage in Premiere Pro
- A Dazzling New Profile Page for Shutterstock Custom Contributors
- 5 Tips For a Smooth Post-Production Sound Workflow
- How to Make a Slow Motion Video on the iPhone