Browse and apply animation presets in Adobe After Effects with these simple steps.
Animation presets can come in handy in a variety of different scenarios. Newbies can use them to learn their way around Adobe After Effects and introduce themselves to the wonderful world of animation. Seasoned motion graphics artists can use presets to brainstorm ideas and kickstart an animation project. Whatever the situation, let’s check out what Adobe After Effects has to offer.
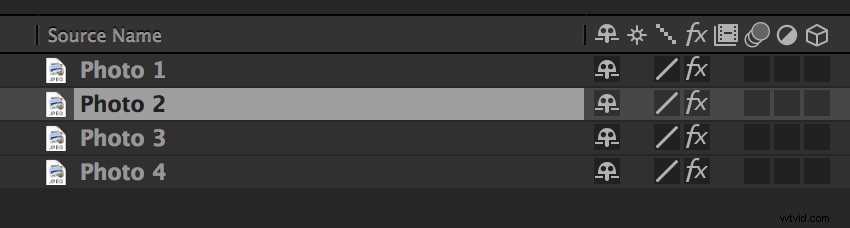
Step 1 — Select the Layer
To apply a preset, I first need to select a layer on which to add my animation. I can use animation presets on a variety of assets, including text, video, images, and solid layers. For this example, I am creating a quick photo slideshow. I want to find a quick way to transition between a few image layers. In order to do this, let’s have a look at the presets we can use.
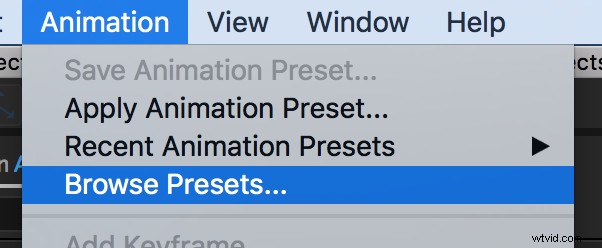
Step 2 — Browse Animation Preset
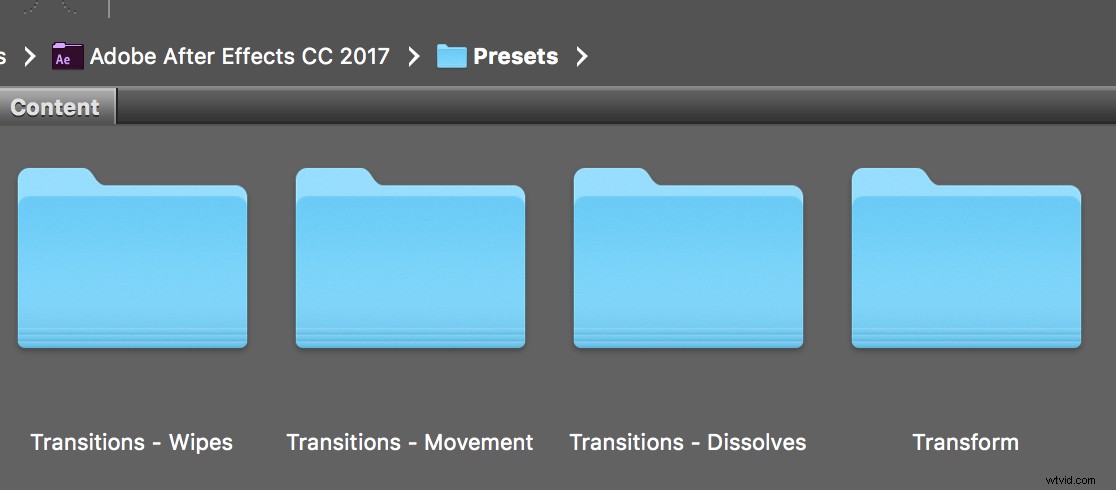
To browse through a few animation presets, choose Animation > Browse Presets. This command will launch the Adobe Bridge program. Once inside Bridge, I’ll see a library of animation presets from which to select. Click on a preset to watch a preview of the animation. There are many animation options, including transitions, text effects, transform options and behaviors. I can even create synthetic shapes and backgrounds. To find a suitable animation for my slideshow, I’ll navigate to one of the Transitions subfolders. Next, I’ll apply one of the presets to our selected layer.
Step 3 — Apply Animation Preset
To apply the animation, I simply need to double-click the preset in Adobe Bridge. Once I double-click the preset, After Effects will become active again, and the animation will apply to the layer I had selected. I’ll press the U key to quickly bring up all of the keyframes in my sequence. Furthermore, I can get a closer look at the preset options in the Effect Controls panel. For the last step let’s do some fine tuning.
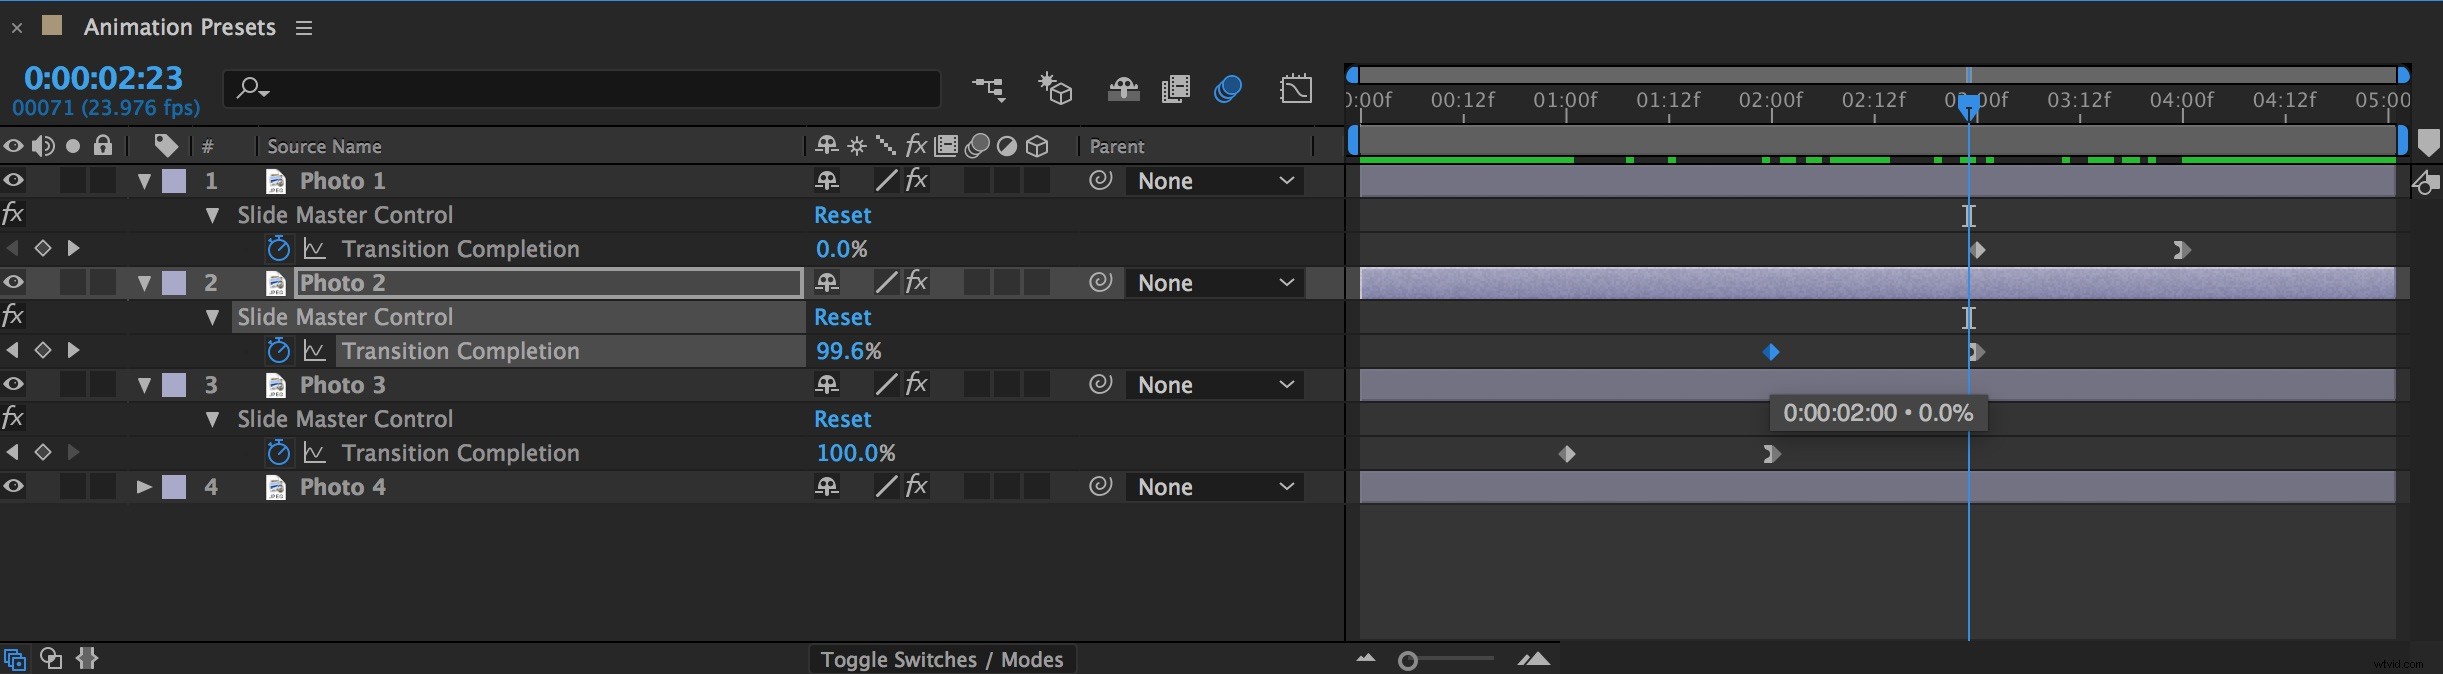
Step 4 — Fine Tuning
To apply the animation preset to all of my image layers, I will select all of the layers and click Animation > Recent Animation Presets > Slide-drop. With all of the layers still selected in the sequence, I’ll press the U key again to bring up all of my keyframes. Finally, I can complete my slideshow by timing my keyframes.
Do you have experience with animation presets in After Effects? Let us know in the comments.