Roger Deakins is, without a doubt, one of the greatest living cinematographers. With this affordable and easy ring-light build, you can unlock a bit of his power.
As an aspiring cinematographer myself, I’ve always looked up to Roger Deakins. Well, at this point, that really goes without saying. I don’t think there is a single film lover who wouldn’t agree that his films are all phenomenally shot and that his consistency is relatively unmatched.
One of the things that I’ve always found so admirable about Deakins is that he is extremely willing to give help and advice to fellow filmmakers. He has made many appearances in American Cinematographer magazine, wherein he gives plenty of really great tips and techniques. What’s even more admirable to me is that he has his own website, RogerDeakins.com, where you can become a member and literally just ask him questions about his lighting setups. Miraculously, the man himself will tell you exactly how he did it.
One thing that always comes up in his breakdowns is that he uses a ring light. These ring lights typically consist of plywood or aluminum hoops with regular household tungsten light bulbs.
Watch the video below to learn how to make one of these lights yourself.
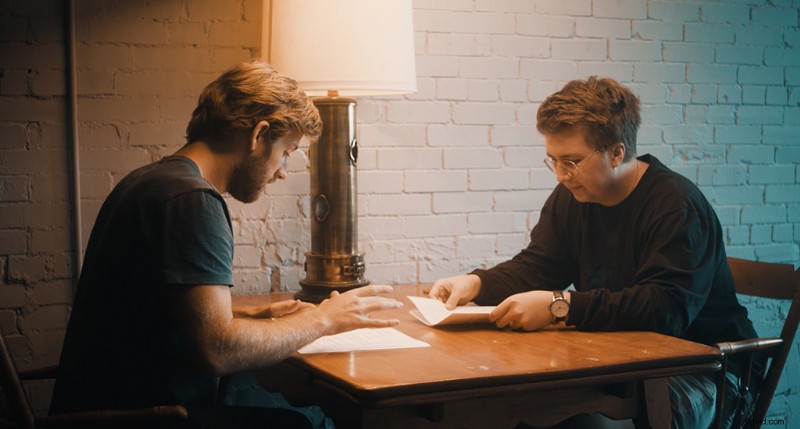
There is clearly something magical about the quality of light you get from one of these ring lights. It has a beautiful wrap that feels extremely organic, and when you use it as a key light from the side, you can get some really beautiful Rembrandt-style lighting that has a warmth unlike anything else.
I love using it. It is so choice. If you have the means, I highly recommend building one.
Materials You’ll Need
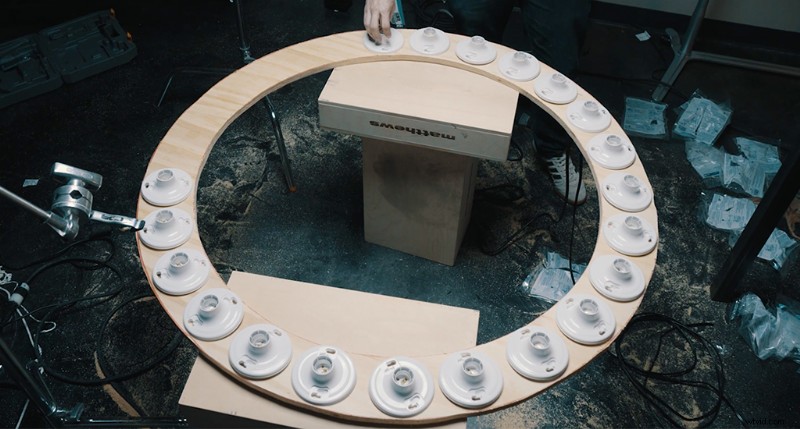
The size of ring light that I made was based off of a 4’x4′ piece of plywood. This made enough space for about 25 tungsten light bulbs around the fixture. I recommend making the light a pretty decent size. The bigger it is, the more wrap you’ll get — therefore a softer result.
Supply List:
- 4’x4′ Square of Plywood (Approx $12)
- 2 Boxes 60-watt Tungsten Bulbs (Approx $30)
- 25 Lamp Holders (lamp sockets) (Approx $50)
- Extension Cord or Power Tool Cord Replacement Kit (Approx $8)
- ~35″ of black lamp cord (approx $15)
- 3/4″ Screws (to screw lampholders in)(approx $4)
Optional
- Cross Beam wood
- Baby Pin Wall Plate (approx $12)
- Dimmer Switch (Watch how to build one here)
The Process
Though it’s time consuming, the process for creating one of these lights is relatively simple.
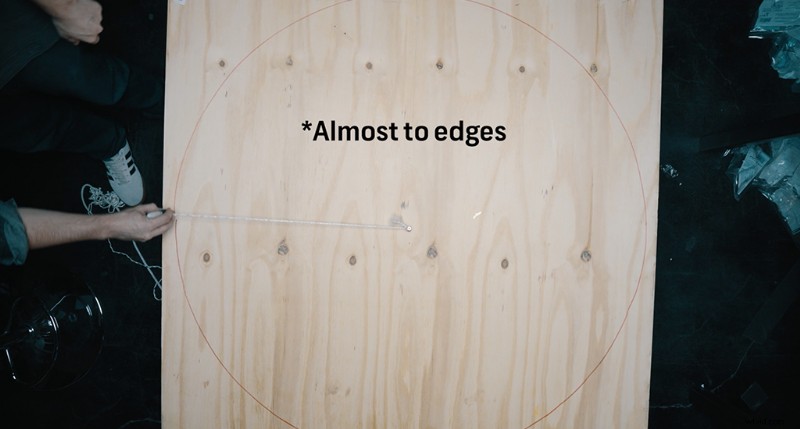
First, you need to make your wooden hoop. To do this, just measure halfway (should be 2′) going in both directions, and make a mark with a Sharpie each time. This will tell you the exact center of your plywood. Then you use a screw and some string, which you tie to a Sharpie.This will allow you to make a near-perfect circle. Just do that twice: once for the outer ring and again for the inner.
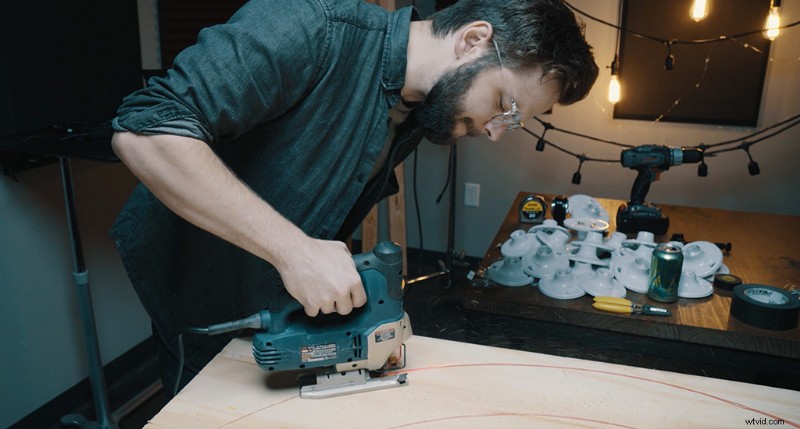
Then just follow your circle guides around with a jigsaw and cut the two circles out. To get your inner ring started, just drill a hole big enough for the jigsaw blade, and work your way to your guidelines.
Now, you’ll drill some holes where each lamp holder will go. This is where you’ll run your wiring and keep everything organized.
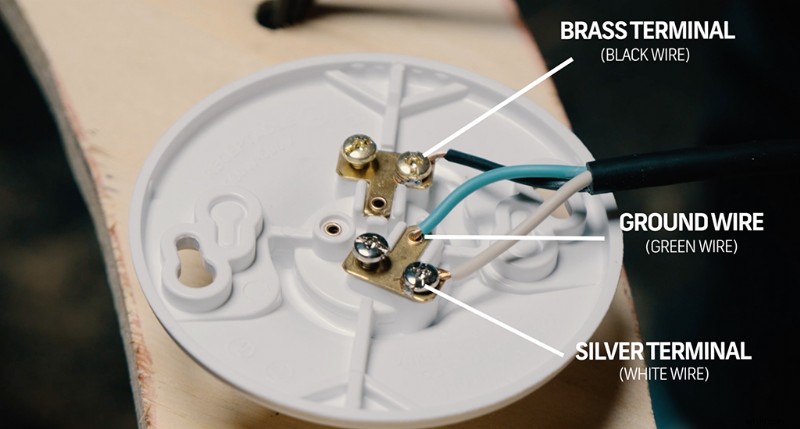
To wire up your first lamp holder, you can use your extension cord or power tool cord replacement kit. Cut off the female end of your extension cord (if that’s what you’re using) and use a wire stripper to expose the three wires inside. Run the cord up through the first hole and wire it up to the first lamp holder. To do this, connect the black wire to the brass terminal and the white wire to the silver terminal. I just found a nice little spot to stick the ground wire, which should be fine.
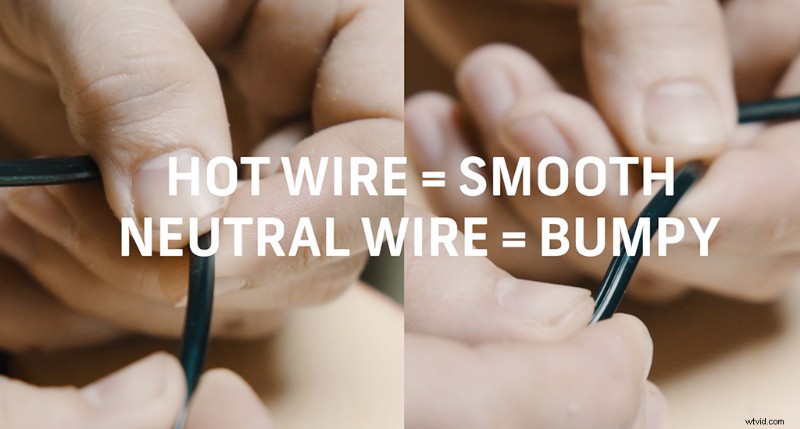
Now you can wire up the other side of the terminals with the lamp cord. The lamp cord is different, in that the wires are not colored. With the lamp cord, the hot wire (which is usually black in other scenarios) is going to be the smoother of the two wires with the writing inscribed on it. The neutral wire will have a little bit of a bumpy texture to one side.
Just like before, wire the hot wire to the brass terminal, and the neutral wire to the silver terminal.
From here, you just need to repeat this process around the rest of the circle. For full instructions, watch the video.
Uses for A Ring Light
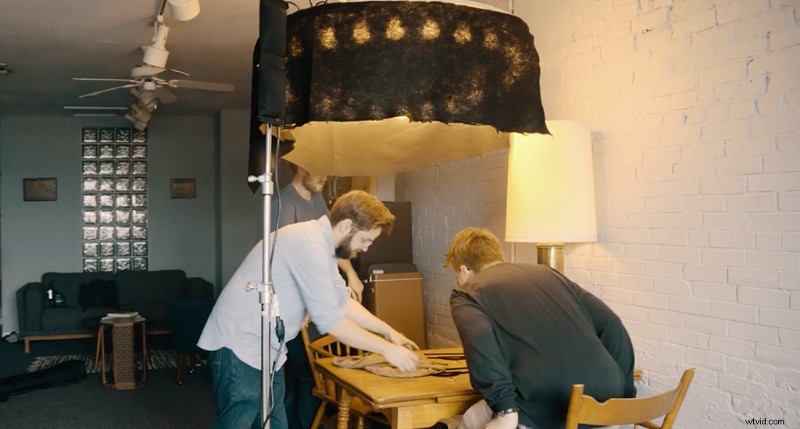
With my ring light, I added some command strips on the sides to secure fabric around the edges to help control the light. This helps make the light more directional in a toplight scenario.
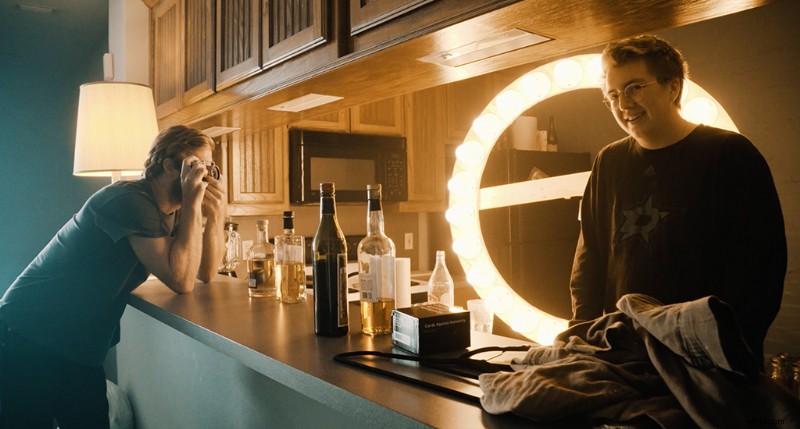
However, this light has quite a few different uses. It can add warm ambience to an entire scene, perhaps for a candle-lit environment. You can use it as a very dreamy and soft key-light for a bar-type scene.
After you’ve created one of these lights, I’ll think you’ll find that there is something very special about it. Deakins clearly knows exactly what he’s doing. When you dim the light to about 20-40 percent you get a really nice warm light that is very flattering on most skin tones. It lends a nice ambience and a lot of color to your scene.
This creates a lot of potential for creating scenes with nice color contrast and character.

Looking for more video production tutorials? Check these out.
- 4 Iconic Music Video Effects You Need to Know
- How to Animate Text in Premiere Pro’s Essential Graphics Panel
- Learn to Choreograph a Fight Scene with a Hollywood Stunt Coordinator
- How To Create Your Own Foley + 40 Free Sound Effects
- Video Tutorial: How to Pull Off a Long Take in Your Next Project