Minimize your lighting setup with these simple tricks and techniques that will save you time and energy on your next shoot.
Of all the complications you’ll inevitably run into during the course of your portrait photography career, having too much gear seems like last thing you’d complain about. However, if you’ve shown up to a wedding shoot or a corporate project, you know how hard it can be to haul a bunch of equipment around — especially when you don’t have to. There’s a simple solution that will save you time, money, and intense back pain. Minimizing your lighting setup will make your life easier while still maintaining the style and quality of your personal aesthetic.
Use Handheld Lights
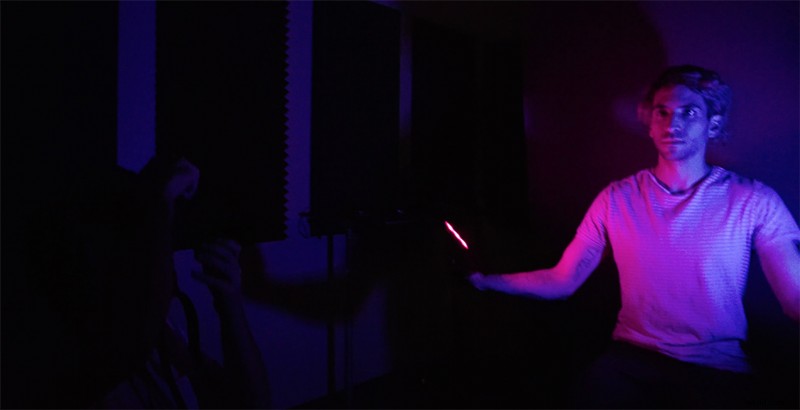
You can never underestimate the power of handheld lights, especially since they are becoming more powerful and more accessible with brands like Aputure giving us the AL-M9. In the video, to light the subject, I simply let them hold the lights themselves. This will allow you to move around your area more easily and find angles that work — or if you can’t move, then they can move the lights themselves, making your job much easier. The lights I used in the demo came with a little diffusion plate that gave me a softer light spill.
Once we played around with the model holding the lights, we took the front plate off and slapped on some colored gels — and put them right back into the model’s hands. And there are no rules regarding which colors to use; try out everything, and get your subject to play with the light. This is an excellent alternative to setting up gels on your bigger lights.
Use Bulbs and String Lights
One of the most classic looks for portrait photography comes with the light you get from mini string lights. How you hang or display the lights is up to you — just make sure they’re either out of frame or out of focus. For this example, I just hung the Edison/garden bulbs on a C-stand right in front of the subject. This way they light the subject and stay out focus in the foreground.
If you’re using mini string lights and want to hang them closer to the model, be sure to open up the aperture, get close, and keep the lights out of focus, or people will be able to tell what they are.
Use One Light for Everything
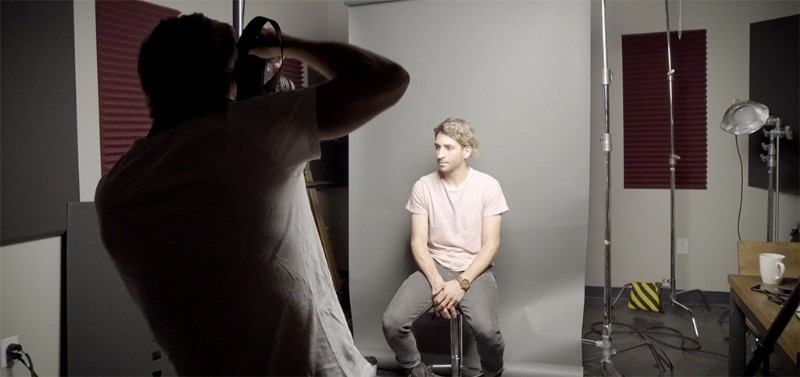
A good way to get a wide range of different photos is to use a light that can do it all. In my case, it was Aputure’s 120d with a Light Dome, so I had some massive diffusion to work with. This created a big, soft light that I could move around to pull off Rembrandt shots (45-degree angle from above, casting a triangle-like shape onto the subject) split lighting (placing the light directly to the side of the subject to create total shadow on the far side) and broad lighting (moving the light and subject to determine which part of the face is lit in relation to the direction of the camera). This light does it all, and it only needs a C-stand and one light. For major corporate shoots, this seriously minimizes your load-out.
Shape the Light
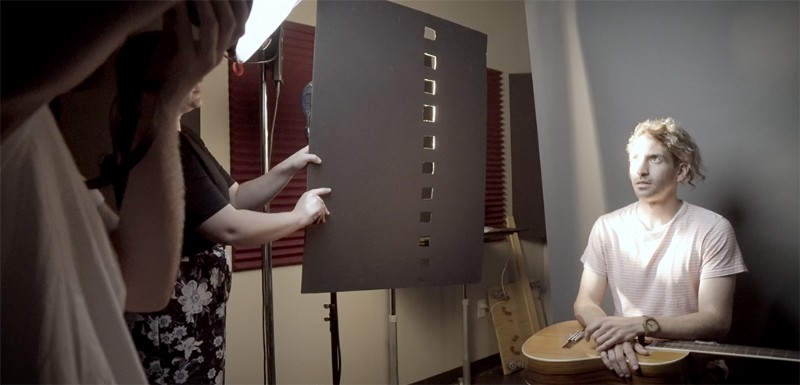
To mix up the standard portrait formula, get creative and shape the light to create your own exposures and shadows. For this, we just took a piece of foam core and cut squares in it. Then we directed the light onto whatever part of his face I wanted. If you’re shooting by yourself, you can clamp the foam core to a C-stand and set it at the angle you’d like.
Go Outside
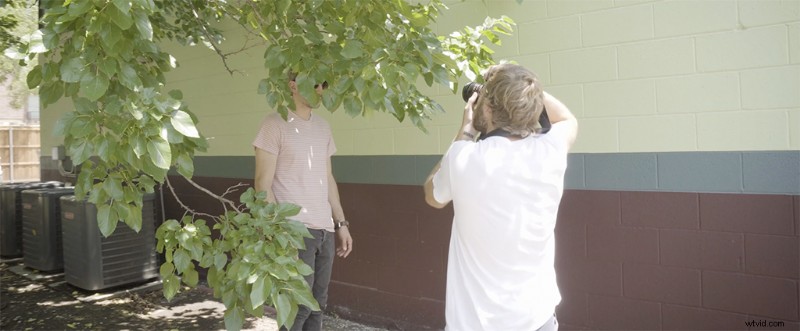
Now, obviously if you shoot a lot indoors and need something new, you can’t beat the price and luminance of going outside. However, finding ways to work with the light when it’s out of your hands can be tricky; natural light can be both an incredible tool and an overpowering one. Learning how to look for appropriate shadows is a task unto itself, but once you find your style and figure out your camera’s capabilities, then you’ll know what you need and where to find it.
Also, at night, be on the lookout for city lights. These can be some of the best lighting sources around, so get in the habit of stopping and looking around at these lights. Start imaging how you could use them on a shoot, then get out and try it.
For more on photographing subjects at night, check out our tutorial on how to properly expose and compose your shots in the dark.
Looking for more lighting tutorials? Check these out.
- Production Tips for Lighting Your Next Interview Shoot
- Choosing the Right Lighting Setup for Your Vlog
- Color Temperature and 3 Point Lighting Basics