Diffusion is critical if you want to create aesthetically pleasing portraits and videos. This video will help you get started with some affordable ways to diffuse light in your own work.
If you want to create beautifully lit images, you’re going to have to get comfortable with diffusion.
Diffusion is the only way to get natural and aesthetically pleasing light in your images. While diffusion can take many forms (such as diffusion frames, frost, and soft boxes), you can quickly and cheaply find some ways to add diffusion to your light sources.
Watch this video to find out how.
The biggest misconception about diffusion is that all you need to do is slap some frost on the front of your light source and you’re good to go.
While that will have a very subtle effect, it’s nowhere near the degree of softness that you can get from making your source bigger and moving it as close to your subject as possible.
Softness, in lighting terms, generally comes from increasing the amount of light that can wrap around your subject. This means that making your source bigger and closer will soften your light.
Here are some affordable ways to add diffusion to your lighting.
Large Frames with Diffusion
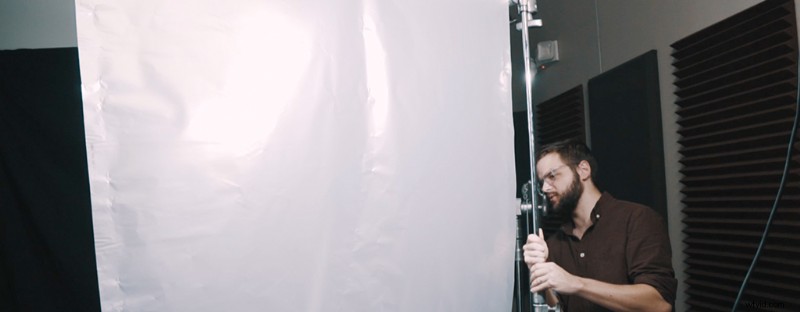
One of the more professional ways to add diffusion is by using some sort of frame. There are many different types and sizes of frames.
Some frames are a single piece of square-shaped metal that you can slide into a grip head and skin with your diffusion or frost of choice.
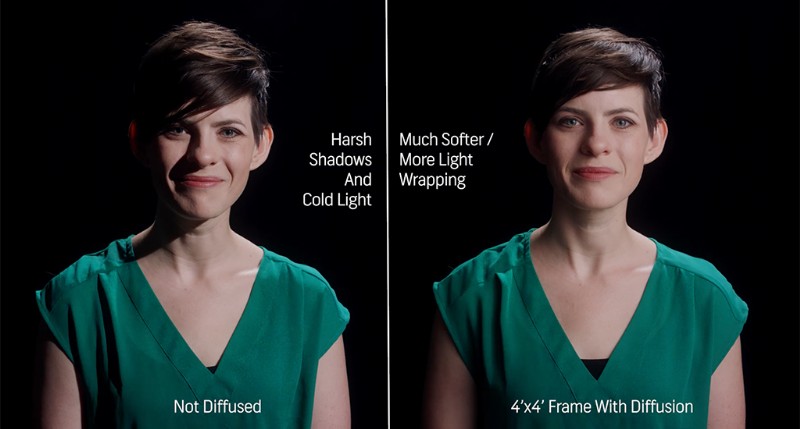
In this case, we used a 4’x4′ frame of diffusion from a company called Fotodiox. You can get this particular frame for under $200, and it folds into a nice carrying case — and it includes three different bounce/diffusion materials.
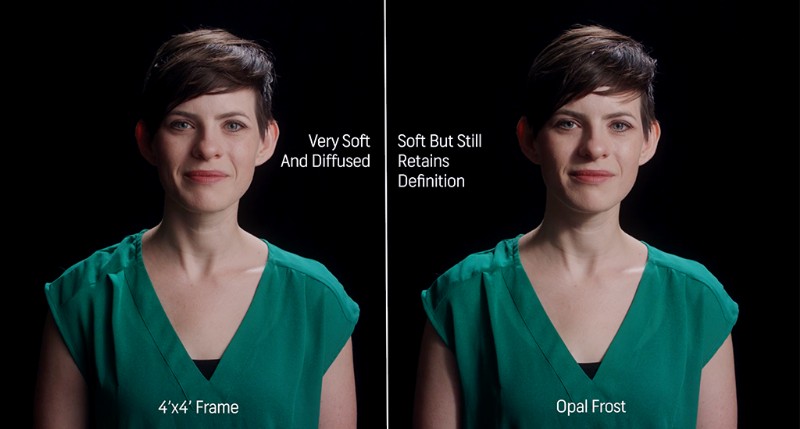
This is, perhaps, the softest diffusion of the bunch; however, it might be a little too soft in some scenarios. It cuts the output of your light source down by about half a stop, so take that into consideration when you’re deciding on which diffusion to use.
Frost (Opal, Half Soft Frost, 250, 252, etc.)
One of the quickest ways to add some diffusion is to use a roll of frost.
There are quite a few different flavors of frost, and each of them have their own qualities. For instance, a material called Half Soft Frost is quite a bit more diffused than the Opal diffusion material I used in the video.
It’s all about learning and deciding which materials you like to use and which effects they have on your light sources.
With a roll of diffusion, like this roll of Opal for instance, you get about 25′ worth of material.
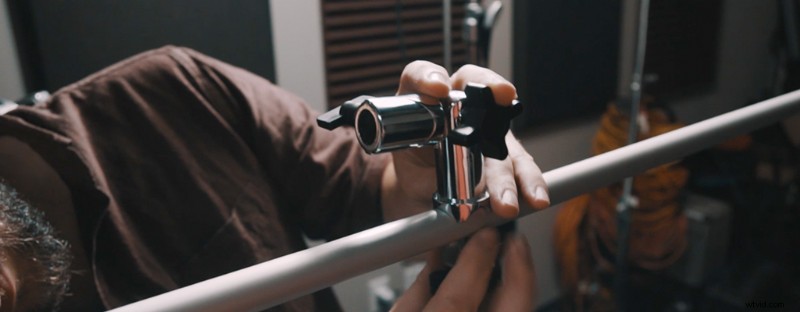
Using the gobo arm on your C-stand, you can just slide the roll on and roll it down. Add a clamp to one end so that it doesn’t slide, and you’re good to go.
As you’ll see in the image below, Opal isn’t quite as soft as some of the other options, but it softens the light in a nice way and still leaves a bit of shadow definition and contrast.
For this reason, Opal is probably my favorite frost diffusion material.
Shower Curtain
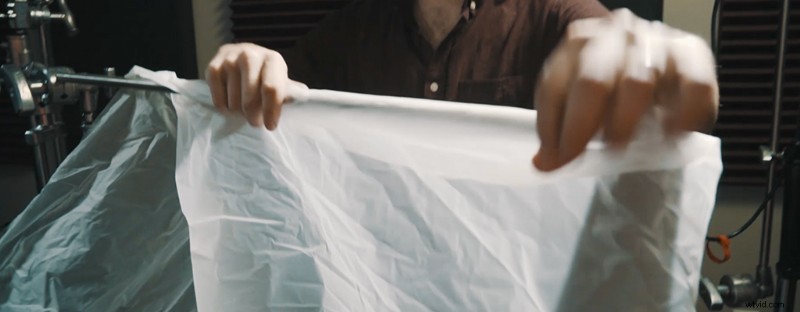
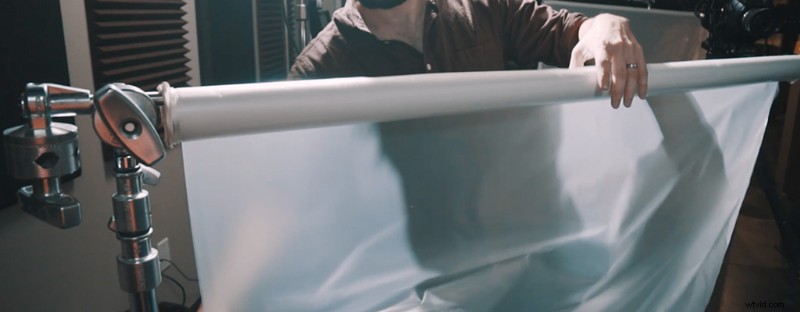
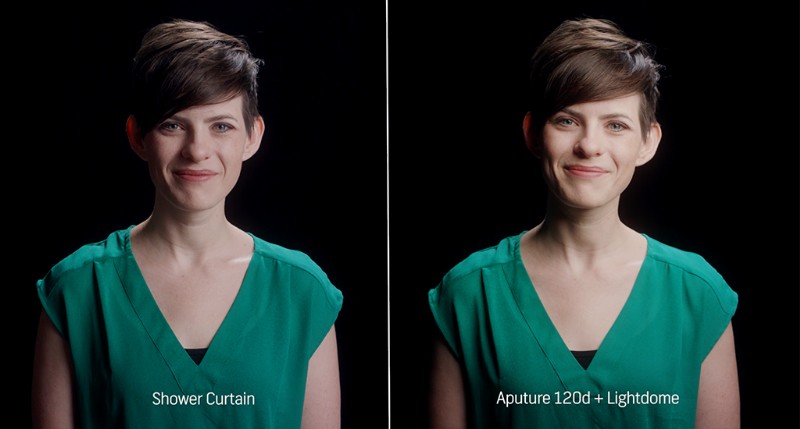
As surprising as it may be, one of the best diffusion materials you can use is a simple shower curtain.
For something that you can purchase at nearly any store for $5-$8, a frosted shower curtain can really pack quite a punch as far as diffusion goes.
All you need to do is throw it up on the gobo arm of your C-stand, and use a couple of spring clamps to secure it.

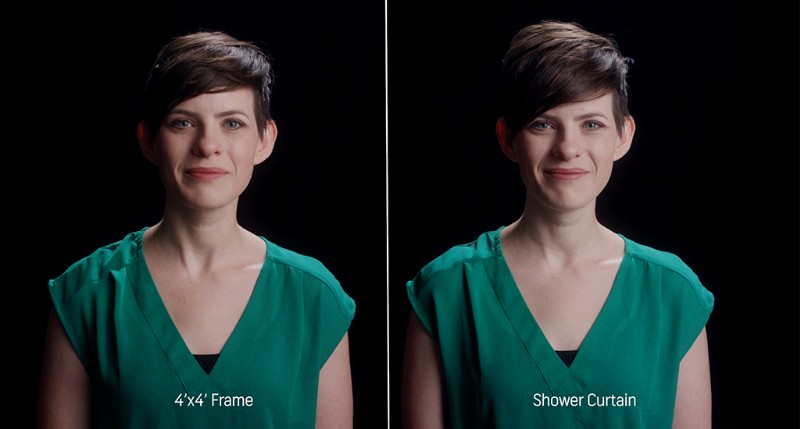
As you can see below, it creates a similar degree of softness as the 4’x4′ frame, and it comes in at a fraction of the price.
Other Options
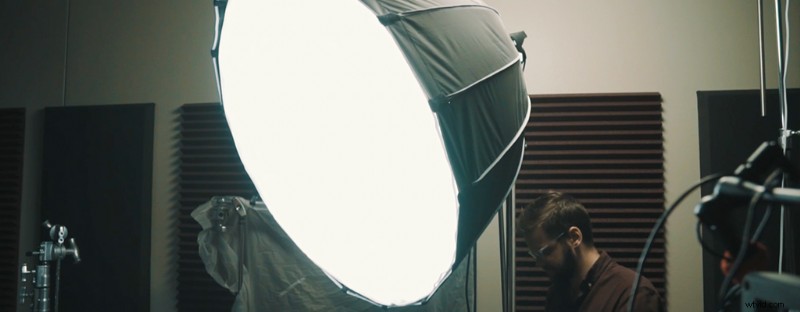
There are plenty of other great ways to diffuse light — probably one of the most common is to use a softbox or dome.
Here, we’re using an Aputure Lightdome in conjunction with their 120d light. In many ways, this provides what is probably the best of all possible worlds as far as light is concerned. It’s warm, soft, and wraps impressively (light reaches the darker sides of the talent’s face).
With a softbox, you can move your source and your diffusion at the same time. Also, most softboxes include a layer of diffusion inside of the softbox before the light even hits the front layer. So in one compact package, you’re getting two layers of diffusion.
Everyone eventually learns their favorite diffusion methods, and over time you start to build up your diffusion “playbook,” and you’ll know what you need to do in any situation.
So start experimenting, and figure out what works best for you.
Looking for more filmmaking tutorials? Check these out.
- Video Tutorial: What are C-Stands, and How Do You Use Them?
- How To Use Our Free Distressed Textures In Your Videos
- Video Tutorial: How to Export Projects in After Effects
- Video Tutorial: 5 Quick Tips for Getting Started in After Effects
- Video Tutorial: Cleaning Up Noisy Video in 30 Seconds
Cover image by Maridav.