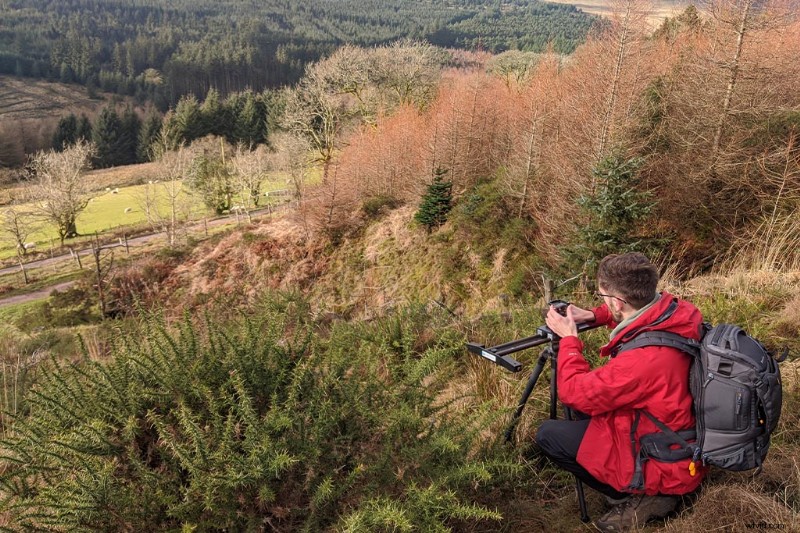
Creating a sense of movement outdoors while using a slider requires a few filmmaking tricks. Here’s what you should know.
Sliders are a little less popular now than they were at the beginning of the DSLR revolution. A decade ago, they were the tools to help small-time creators make their footage look cinematic. They were initially expensive, but you can now pick a slider up for as little as $50 — which is incredible, considering you can spend more than that on the materials to make a DIY slider.
There are reasons for this. First, gimbals have become so inexpensive that they are essentially evenly matched with high-priced sliders. Secondly, in-camera stabilization has improved tremendously since 2010. Coupled with a lens that also has stabilization, and shooting at a higher frame rate to slow and stabilize in post, you can get a pretty decent shot without a slider or gimbal.
However, sometimes the shot really calls for the smooth, reliable motion of a slider, and if you’re trying to stick to a budget, they make sense. But if you’re using a slider outdoors, it can be challenging to convey exactly the sense of movement you want, so let’s take a look at a few tips on how you can maximize your outdoor slider potential.
Sliders vs. Gimbals vs. Stabilizers
While sliders may be clunky and heavy, I find they offer unique advantages over gimbals and stabilizers. They’re easy to set up, and you don’t need to rebalance them if you switch lenses. There’s definitely a big difference between a tracking shot filmed on a gimbal vs. a slider, but for me, the primary selling point is focus.
Of course, you can set autofocus on a gimbal, or have someone wirelessly pull focus, but if you’re working as a one-man-band like I often do, and you need precise focus pulling, you’re not going to get it from autofocus. With a slider, you can track forward, pull focus, and maintain perfect focus without any visible focus breathing, which is often apparent when using autofocus. If you’re shooting with a manual lens on a gimbal, your only hope is to shoot with a narrow aperture to keep a deep depth of field. With a slider, you can set your aperture as wide as your lens will allow, and as long as you can correctly keep focus, you’re going to get a great shot.
I think one of my favorite techniques on a slider is to shoot with a wide aperture and rack focus throughout the entire scene while also panning while tracking to create a broader sense of movement.
Landscape Slider Tips
I think the initial trouble that some people may have with sliders vs. a gimbal is the lack of overall distance a slider can cover. My slider is quite small: it’s one meter long, and well, depending on what you shoot, it can be difficult to convey a sense of movement. If you’re filming within an open field or mountainscape, you’re not going to see much distance covered. Therefore, there are two things you can do, either simultaneously or individually, to create a better sense of movement: (1) lower the height of the tripod to bring the camera closer to the ground and (2) include foreground objects.
1. Lower The Slider
When using a slider with your tripod fully extended, in large, open spaces, you’re going to run into trouble conveying movement because the relative distance of the background from the camera is far away. As you can see in the video, it doesn’t convey dynamic movement.
However, bring the camera down low, and we suddenly have a greater visual dynamic — this is because we can see more of the foreground moving in front of us.
But let’s stop here. What’s one thing I’ve done differently in the prior shot? We’re not moving forward along the z-axis; rather, we’re moving across the x-axis, and this is because with a short slider, moving right and left is always going to create visible movement better than moving forward or backward.
2. Foreground Interest
Beyond that, how can you use the slider to track forward but still create a solid sense of movement outdoors? Foreground objects.
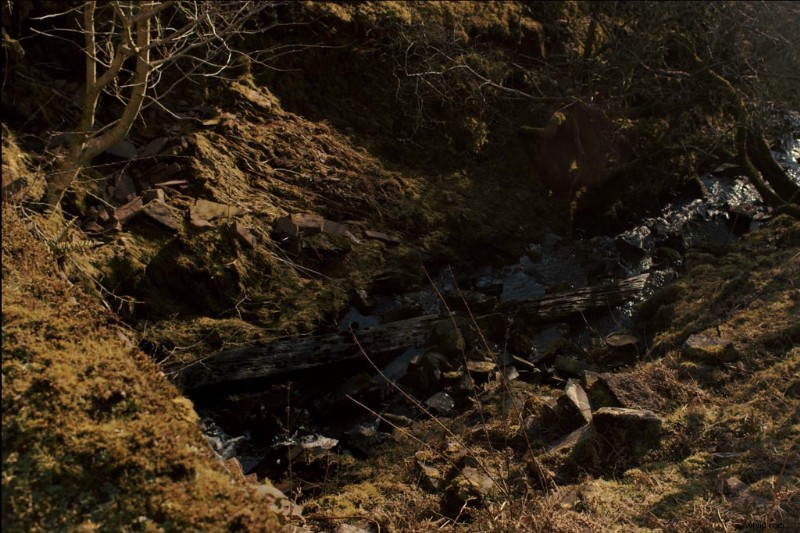
In the same way that we find it harder to recognize movement coming toward us vs. movement intersecting with us, the inherent motion of tracking forward over a short distance won’t be that great unless you can include foreground elements. By doing so, you’ll give the viewer a better visual representation of movement instead of just a minimal decrease in background-size. The viewer will see new elements come into or out of the frame, which makes the movement more apparent.
3. Focal Length
While those tips will help give your shot a better sense of motion, there is still one factor that will dictate the perceived distance traveled, and that is your focal length.
While indoors, sliders can easily convey a sense of movement due to the proximity of objects, and their relative distance between each other. Outdoors, depending on your focal length, this isn’t the case. The main issue comes from the lack of visible displacement between objects — also known as parallax.
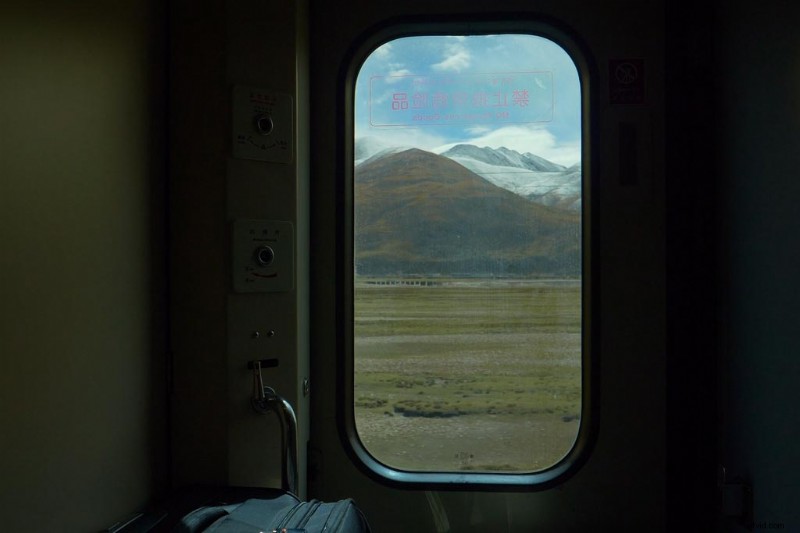
The most common example of a visual parallax is that of a train window, watching the mountains move slowly by in the background, while trees and buildings are rushing past nearby. Depending on your focal length, you can help create a greater sense of movement.
Take the following four shots: 16mm, 24mm, 50mm, and 70mm. I captured each shot from the same position but at different focal lengths. With each focal increment, we are compressing the distance between ourselves and the landscape in focus, and as a result, we start to lose the perceived motion. As we lose objects closer to us, which could quite simply be the ground, we don’t feel as if we’re moving that far.
Sliders are clearly not obsolete. They can still be viable alternatives to gimbal movement when creating outdoor content.
Looking for more video production tips and tricks? Check these out.
- 5 Tips for Rigging an iPhone for Filmmaking Projects
- Creating an Inception-Inspired Landscape Effect with a Drone
- Which Aperture Should You Use For Filming Establishing Shots?
- Eight Tips on Viewing Your Videos with Fresh Eyes
- 5 Creative Ways to Use a Mirror on Your Next Video Shoot
Interested in the tracks we used to make this video?
- “Dust Country” By Pete Morse
- “Mountain Sage” By Elaphant Music
- “Widescreen Nature” By Tiny Music
Top image by YouraPechkin.