Consider these gear recommendations and lighting hacks to create the right ambiance for your next DIY horror film project.
Cover image by Shutterstock.
With Halloween upon us, you’ve probably had your fair share of horror movie watch parties and trips to the theater. Something all good horror movies share is the underexposed, creative use of light. One of the best-looking horror movies to come out in recent memory, IT, used light in new and exciting ways. Here are a few other classic film examples of innovative lighting you can recreate with your own lights.
Moonlit Forest
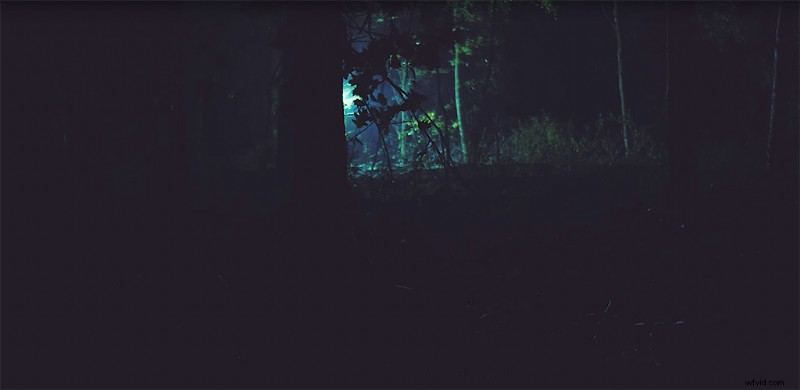
Image via Cinecom.net.
One of the tried-and-true narrative plot points of a horror film states that your character or secondary character must run through the woods at night. If you’ve shot in the pitch black darkness before, you know capturing just the right amount of light can be painfully difficult. This is especially true if you’re not sure how to light without power. For this (and the other examples) Jordy from Cinecom uses an Aputure 120D that you can power with a battery, making those wooded night shots a lot easier. For this specific shot, stick the light high up, preferably in a tree, pointed down at the ground. This is perfect for any wide shot that you’ll be able to capture from a distance.
Shaping the Silhouette
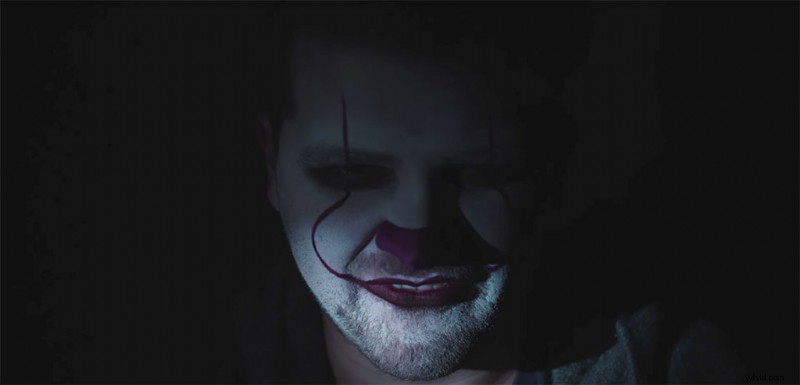
Image via Cinecom.net.
There’s nothing as cinematic and spooky as the silhouette shot. No matter the subject or tone of your film, there’s an undeniably creepy feeling that comes from a character’s silhouette. You can see this in the example above, which takes a cue one of the scariest movies of all time, The Excorcist. For this shot, light the front of your subject (or behind, depending on the look you want), and fill the room with fog — if you have access to a fog machine. This will give some shape and texture to the light and add atmosphere to the room. Then underexpose and shoot your subject.
A Single Beam
Image via Cinecom.net.
To replicate the shot from It, look for a paper towel roll or long cylinder to put over the beam of light. This will narrow the light and focus the beam, creating a spotlight. This spotlight is perfect for anybody who wants to expose only part of someone’s body or face. For example, in It, we see only Pennywise’s creepy smile and teeth, while leaving his eyes to our own darkest imagination. This is a simple way to convey a character’s mystery, and it is especially effective for a horror film.
(Or you can just use a flashlight. . .)
Peeking Through A Door

Image via Cinecom.net.
A true staple in horror filmmaking is the victim hiding from a killer in a closet or dark room. The camera often shows a little crack of light on the victim’s face, capturing their terror. To get such an effect, try cutting a thin rectangle in the middle of a piece of cardboard. Then shine the light through the cardboard onto your subject. This will create the appearance of a crack of light shining through a door. Plus, you don’t have to shoot this in an actually dark room. A partially lit face will always appeal to the audience’s fear of the unknown.
Recreate a Flashlight
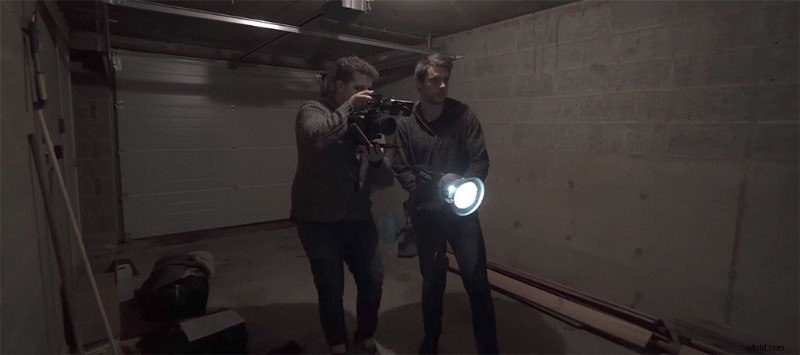
Image via Cinecom.net.
Last but not least: the infamous flashlight POV shot. This is a frustrating-but-essential shot every horror filmmaker should master. If you’re lucky enough to have somebody help with your shoot, ideally you can use your light with a fresnel, allowing you to focus the beam to a sharper degree. This will be more visible to the audience, especially if you’re underexposing the shot.
If you want an even more solid beam, creating fog will give you that thick and ominous horror feeling you’re going for. Plus, the fog will show up on camera inside the beam, creating some pretty spooky visuals. If you have access to a fog machine, use it.
For more horror-based insight, check out these resources for your next project.
- FREE Horror SFX Pack
- Cinematography Tips for Horror Filmmaking
- Classic Horror Film Techniques