Did you pre-order something but now you’re having second thoughts? Changed your mind on a movie or music album that you pre-ordered on the iTunes Store? Don’t worry, because you haven’t wasted your money just yet. All you need to do is cancel your pre-order and this is something that can be done within a matter of seconds.
Apple’s iTunes and TV apps allow users to pre-order music and moves that aren’t available just yet. Unreleased items can be pre-purchased similar to how you’d buy any other content in the store. However, unlike existing content, you won’t be charged for your pre-orders right away. Instead, your payment method will be charged on the day your item releases, giving you a window to cancel the purchase, if needed.
Canceling Pre-Ordered Content from iPhone & iPad
It doesn’t really matter what iOS/iPadOS version your device is currently running, since this particular option has been available for quite a while. So, let’s check out what you need to do:
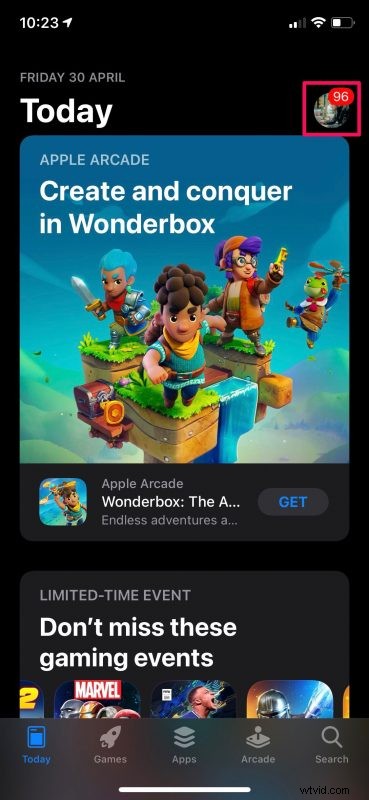
- Start off by launching the App Store from the home screen of your iPhone or iPad.

- Next, tap on your Apple ID profile icon at the top-right corner of the menu to proceed.
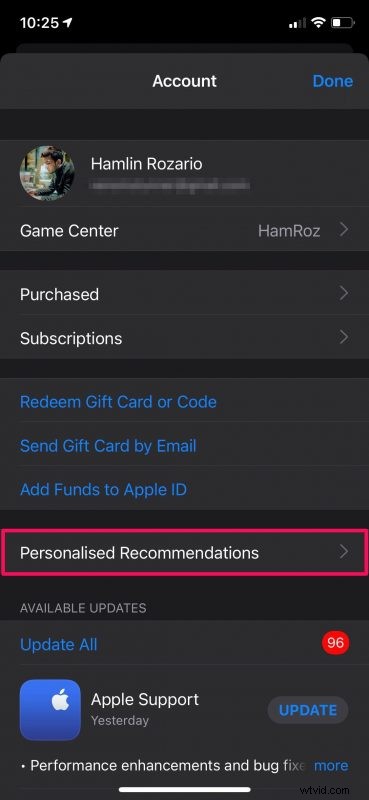
- Here, you’ll find an option called Personalized Recommendations right above the list of apps that require an update. Tap on it to continue.
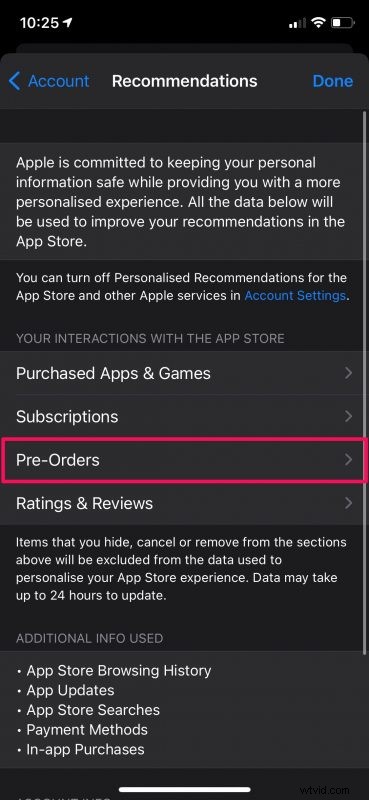
- In this menu, select the “Pre-Orders” option to view all the pre-purchases you’ve made on the iTunes Store and Apple TV apps.
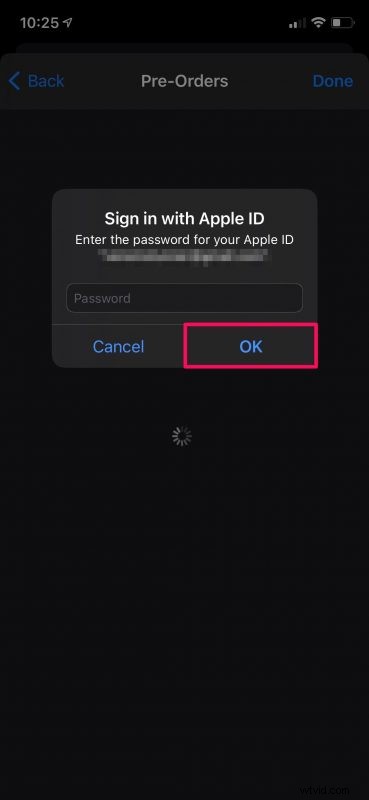
- You’ll be prompted to enter your Apple ID password. Type it in and tap on “OK”.
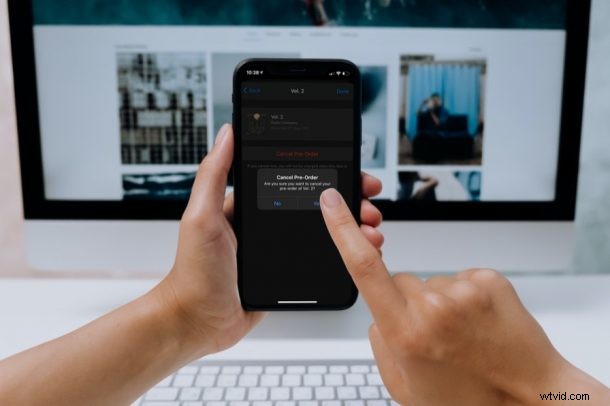
- Next, simply tap on the pre-order that you want to cancel.

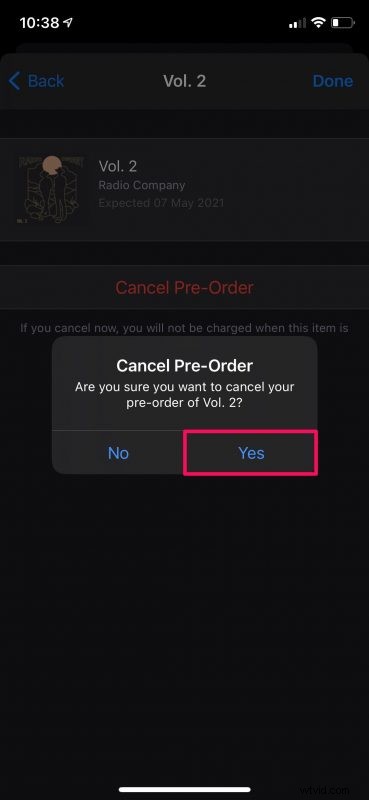
- Now, choose “Cancel Pre-Order” which is highlighted in red as shown in the screenshot below.

- When you’re prompted to confirm your action, just select “Yes” and you’re done.
By canceling the pre-order, you’ve avoided the payment that could have otherwise been charged to your card on the day the item releases on the store. You can repeat the above steps to cancel your other pre-orders too.
It’s a great thing that Apple doesn’t immediately charge customers for the pre-orders they make, unlike a lot of other stores that sell digital goods. This potentially avoids a lot of refunds that people request when they change their minds.
If you’re currently reading this article on your Mac or Windows PC, you can cancel your pre-orders without having to grab your iPhone too. On Mac, you can get this done from the App Store app. But, if you’re on PC, you can use iTunes and go to Account -> View My Account to manage your pre-orders.
Were you able to cancel your pre-orders on time and avoid getting charged by Apple? Do you pre-order stuff often? Do you change your mind about what you pre-ordered? What do you think of this capability?