Did you buy a new iPhone or iPad for your kid? Well, if your kid is under 13, they won’t be able to create an Apple ID account on their own and hence, they’ll need your help to create a child account for them. Thanks to Family Sharing, this is a fairly straightforward procedure.
With Family Sharing, you can easily create a child account by providing parental consent if you’re the family organizer. This allows your children to be part of the family group and share Apple services such as iCloud, Apple Music, Apple TV, etc. seamlessly with your Apple account.
If you are interested in learning how you can help out your underaged kid in setting up an Apple account, then read on so you can discover how you can create a child account for family sharing on both the iPhone & iPad.
How to Create a Child Account for Family Sharing on iPhone & iPad
Just a heads up; it’s mandatory to have a supported payment method linked to your Apple ID. If not, you’ll need to add payment information to your Apple account before you go ahead with the following procedure.
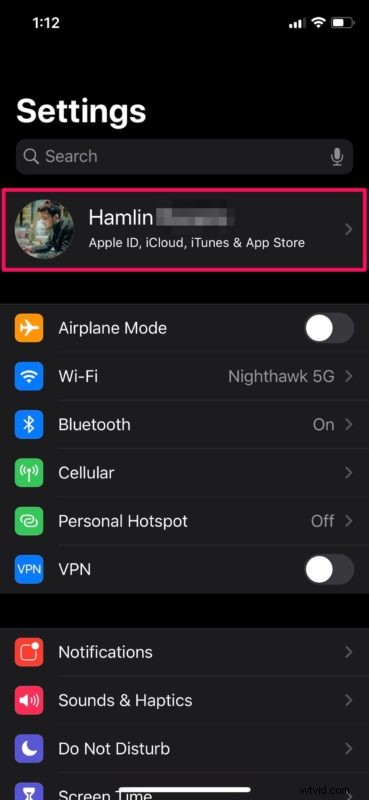
- Open Settings app on your iPhone or iPad and tap on your “Apple ID Name” at the top.
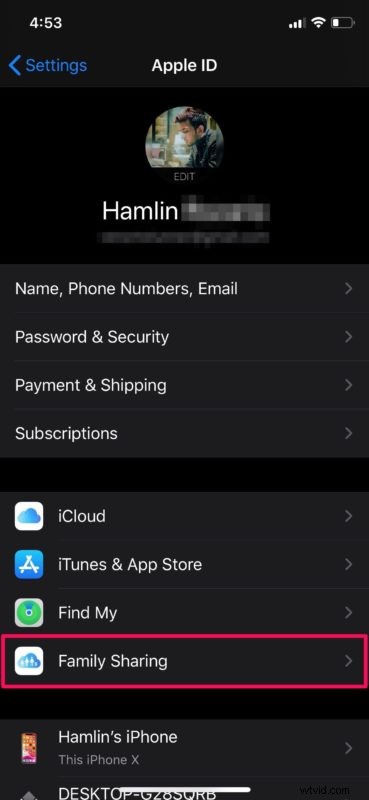
- Here, select “Family Sharing” located right above your iOS device’s name.
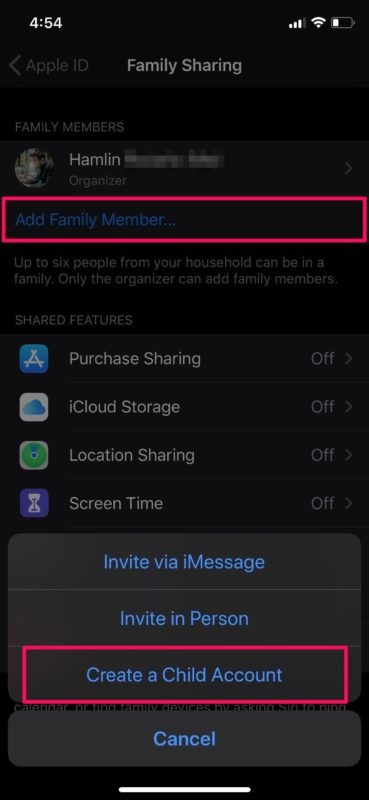
- Now, tap on “Add Family Member” as shown in the screenshot below and choose “Create a Child Account”.
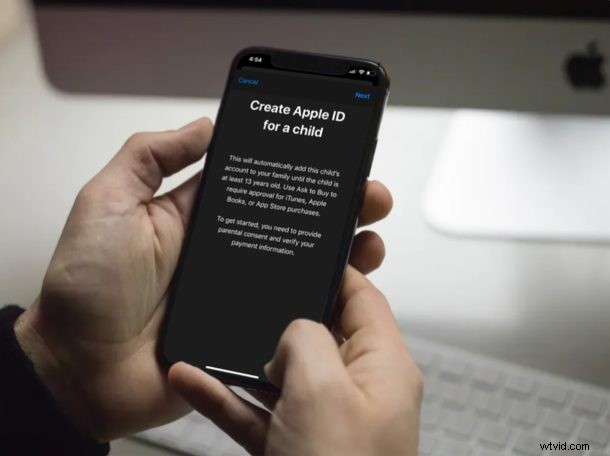
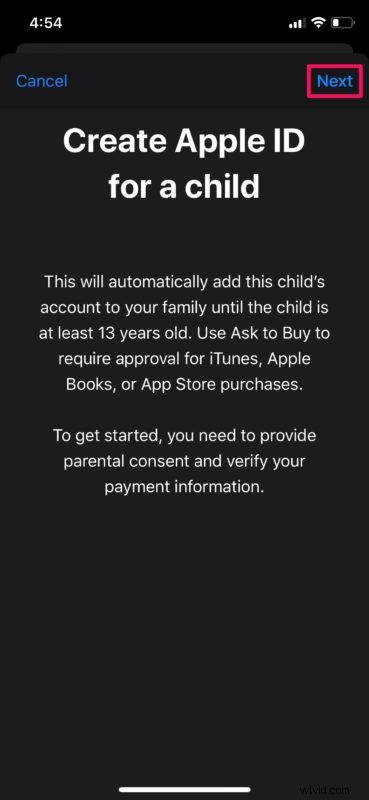
- Here, you’ll be informed that the Child account will be automatically added to the family group until they’re at least 13 years old. However, this age limitation may vary by country. Tap “Next”.
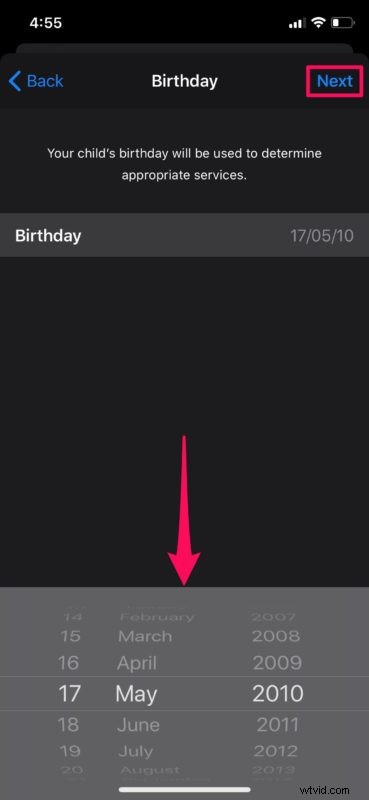
- Enter your child’s date of birth and tap “Next”.
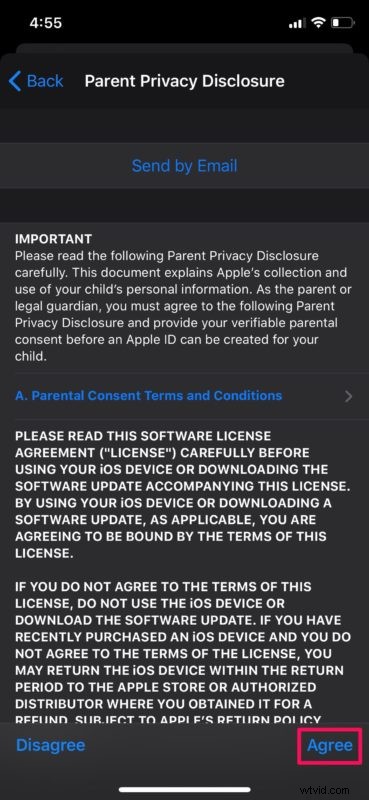
- Read the Parent Privacy Disclosure completely and choose “Agree” when you’re done.
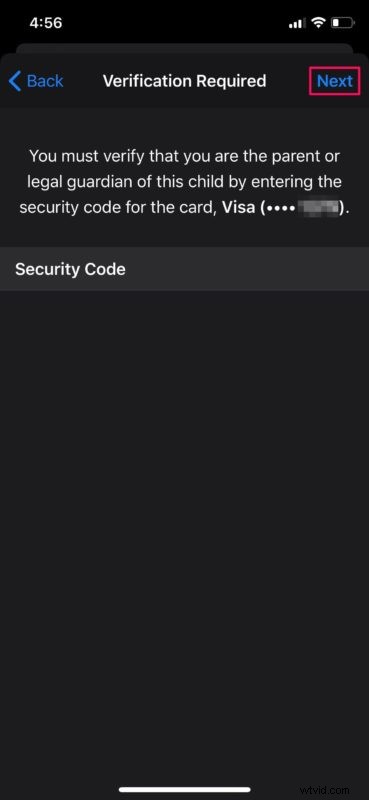
- In this step, you’ll be asked to enter the CVV or Security Code that’s located on the back of your credit card / debit card linked to your Apple account. Once you’ve typed it in, hit “Next”.
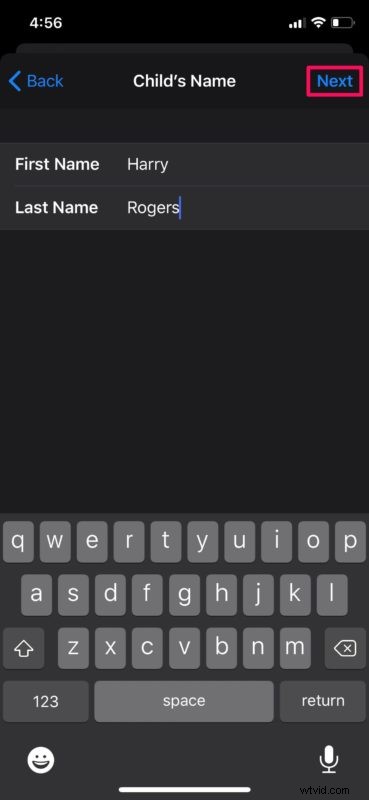
- Now, enter your child’s first name and last name details. Tap “Next” when you’re done.
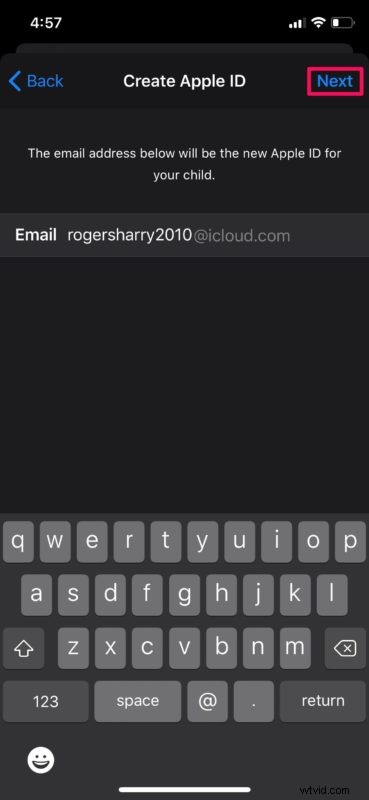
- Now, provide an email address that will also be the new Apple ID for your child and tap “Next”.
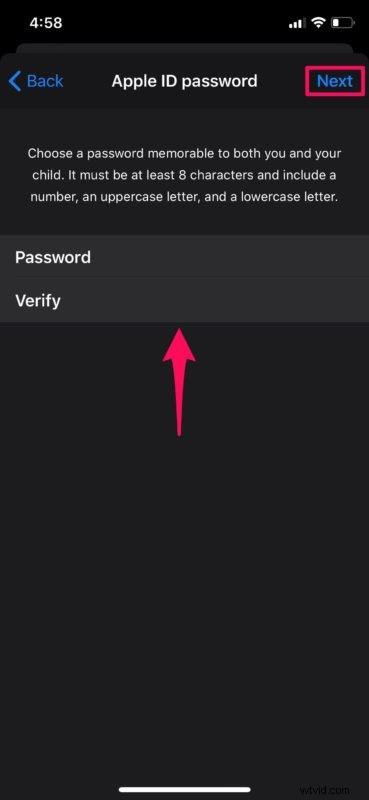
- Now, type in your preferred password for both “Password” and “Verify” fields. Then, simply tap “Next”.
- In this step, you’ll need to to provide a security question that will come in handy if you forget your log-in information and Apple requires you to verify your identity. Type in the answer and hit “Next”. You’ll be repeating the same step two more times since you’ll be asked to choose three different security questions.
- Here, make sure “Ask to Buy” is enabled. By doing this, every time your child tries to purchase anything from iTunes or App Store, you will receive a notification to approve or decline the request. Tap “Next” to move on to the next step.

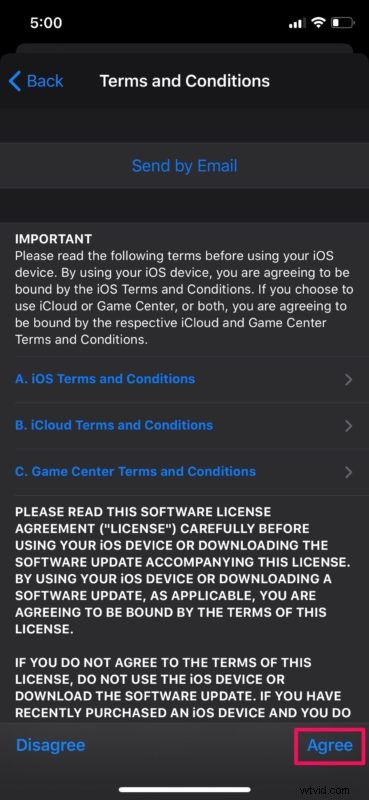
- As for the last step, “Agree” to the Terms and Conditions as shown in the screenshot below.
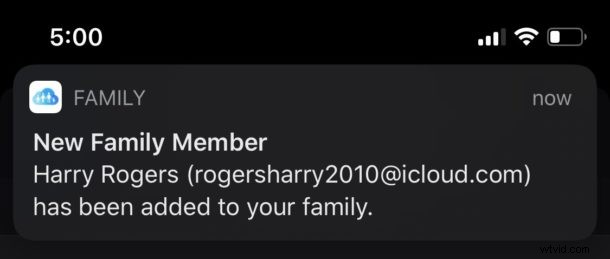
- As you can see here, once you’ve completed the procedure, you’ll get a notification indicating that the newly created child account has been added to your family group.
These are pretty much all the necessary steps that you need to follow, and assuming you did so correctly you will have created a child account for family sharing on either the iPhone and iPad.
Apple’s Family Sharing feature makes it convenient for up to six family members to share purchases made on App Store, iTunes, etc. and subscriptions like Apple Music, iCloud, Apple Arcade and more. All of this is done without sharing each other’s Apple accounts. The feature also helps you locate your family members by tracking their devices with Find my iPhone.
The child account you created will make use of your primary account’s linked payment method to make purchases. However, unauthorized charges on your credit or debit card isn’t an issue at all if you’ve enabled “Ask to Buy”.
Do you want to restrict your children’s smartphone usage? You can set up Screen Time on your kid’s iPhone or iPad to have control over the apps they have access to and the contacts they could communicate with.
Did you manage to successfully create a child account for your kids without any issues? What do you think about Family Sharing that’s available across iOS devices? Let us know your thoughts and opinions in the comments section down below.