When Apple released AirPods Pro it changed the way they are controlled compared to standard AirPods. Whereas tap controls of the earbuds handled playback controls and Siri of AirPods, AirPods Pro now have a squeeze gesture.
This new gesture can be used to either toggle active noise cancellation (ANC) and transparency modes, or invoke Siri – the choice is yours.
Whether you want Siri to be activated or have the ability to switch between noise control modes is something only you can decide. You can alter the behavior of both earbuds individually, however, so you can easily choose which works best for your AirPods Pro.
How to Customize AirPods Pro Controls
You’ll obviously need AirPods Pro synced and paired to your device before you can proceed.
- Open the Settings app on the AirPods Pro synced iPhone or iPad
- Tap “Bluetooth.”
- Locate your AirPods Pro and then tap the “i” icon beside it.
- Tap either “Left” or “Right” depending on which AirPods Pro earbud you want to change the behavior of.
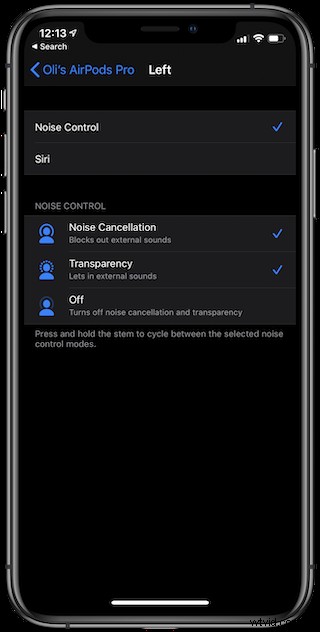
- Tap either “Noise Control” or “Siri” at the top of the screen. If you select Siri, we’re done. If not, forge on!
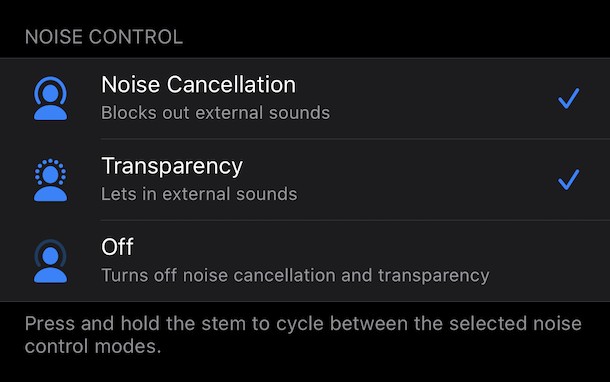
- Now you can select which ANC modes will be cycled through when you squeeze the earbud. “Noise Cancellation” and “Transparency” are selected by default, but if you want to be able to disable both then select “Off” as well.
Simply close the Settings app once you’re done and test your work by giving the AirPods Pro a quick squeeze.
Customize Which AirPods Pro Earbud Acts As a Microphone
Did you know that you can also select which AirPods Pro earbuds acts as the microphone all the time? Well, you can. But, it may be a good idea to let the AirPods Pro handle it for themselves instead.
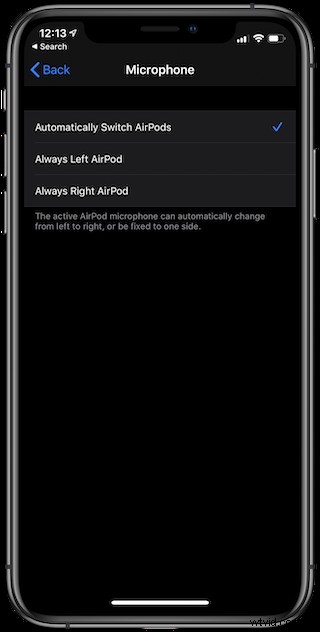
To customize which AirPods Pro Earbud acts like a microphone, follow the steps outlined above and at step 3 select “Microphone.” Now tap which earbud you’d like to have be the microphone during use.
Again, “Automatically Switch AirPods” would be our recommendation, but if you want to change the microphone to be a particular earbud that is your decision.
We have a ton more AirPods and AirPods Pro guides so be sure to learn everything you need to know before embarking on your new wireless audio adventure.