
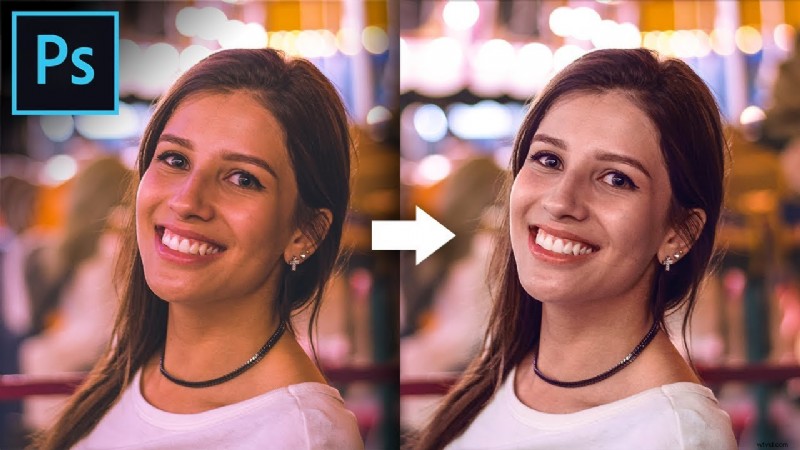
Adobe Photoshop remains the industry’s benchmark for image editing, thanks to its extensive toolkit and precision controls. One of the most transformative capabilities is color correction—an art that balances hues, adjusts tonal ranges, and ultimately brings your vision to life with professional polish.
What Is Color Correction in Photoshop?
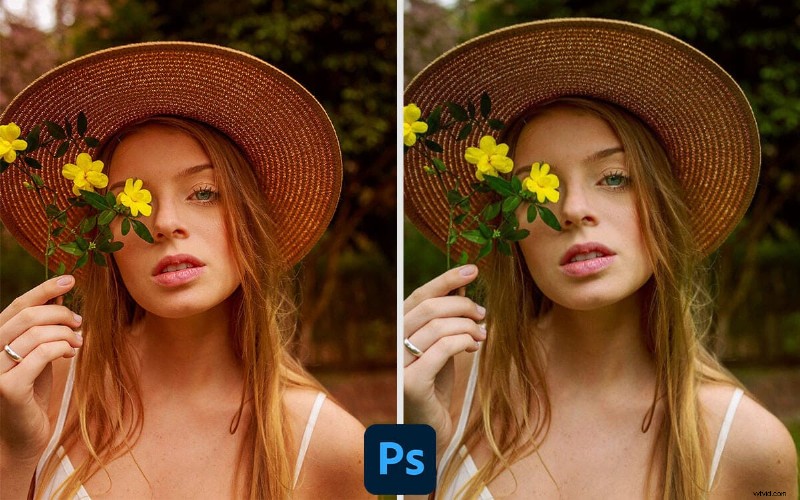
Color correction is the process of fine‑tuning an image’s color palette to achieve accurate, balanced, or stylistically intentional results. In Photoshop, this involves a suite of manual tools that let you adjust white balance, saturation, contrast, and more. Mastery takes practice, but the payoff is vivid, consistent imagery that resonates with viewers.
Key Photoshop Color Correction Tools
Levels
The Levels adjustment offers a quick route to tonal balance. By sliding the input and output sliders, you can lift shadows, deepen highlights, and refine mid‑tones, achieving a cleaner exposure in seconds.
Hue/Saturation
Fine‑tune overall color vitality or target specific color ranges. Dragging the hue slider shifts entire color swaths, while saturation controls can brighten or mute tones without altering luminance.
Selective Color
Built on the CMYK model, this tool lets you adjust individual colors (e.g., Reds, Blues) without disturbing the rest of the palette. Ideal for subtle palette tweaks and color grading.
Curves
Curves provide pixel‑precise control over tonal mapping. Manipulating the RGB or individual channels yields nuanced contrast and color balance that surpass simple sliders.
Color Balance
Shift the overall tonality by adjusting the relative mix of shadows, mid‑tones, and highlights. Use this for corrective work, such as removing a color cast or achieving a warm sunset mood.
Color Lookup
Apply pre‑designed LUTs (Lookup Tables) to instantaneously transform an image’s color space. Browse Adobe’s library or import custom LUTs for creative stylization.

When Photoshop Isn’t Enough: Introducing Filmora
While Photoshop delivers unrivaled control, the manual workflow can be time‑consuming—especially for beginners or high‑volume projects. Wondershare Filmora offers an all‑in‑one solution that blends traditional tools with AI‑powered automation, enabling rapid, high‑quality color grading.
Filmora’s Color Correction Features
- Basic controls: Exposure, white balance, vibrance, and more for quick edits.
- Three adjustable color wheels for highlights, mid‑tones, and shadows.
- Sharpen tool to enhance detail.
- Color Match: Replicate the color palette from one clip to another instantly.
- YRGB curves for channel‑specific adjustments.
- Extensive LUT library for instant creative looks.
Step‑by‑Step: Using Filmora for Color Correction
- Open Filmora and create a new project.
- Import your media via drag‑and‑drop.
- Drag the clip to the timeline and double‑click to open the editor.
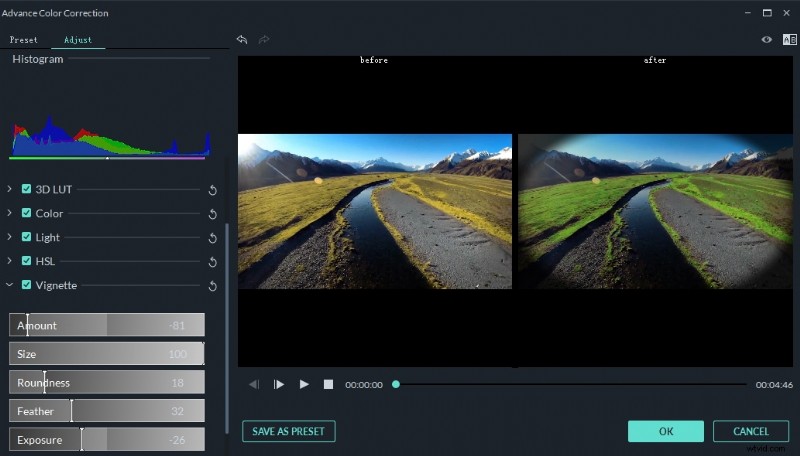
- Click the Advanced Color Tools icon.
- Select Color Match and navigate to the Curve tab.
- Adjust the curves to your preference and preview the result.
- Enable Color Match on the right panel to apply across all frames.
- Navigate to Effects > Filters > LUT and download a desired LUT.
- Drag the LUT onto the timeline and fine‑tune settings.
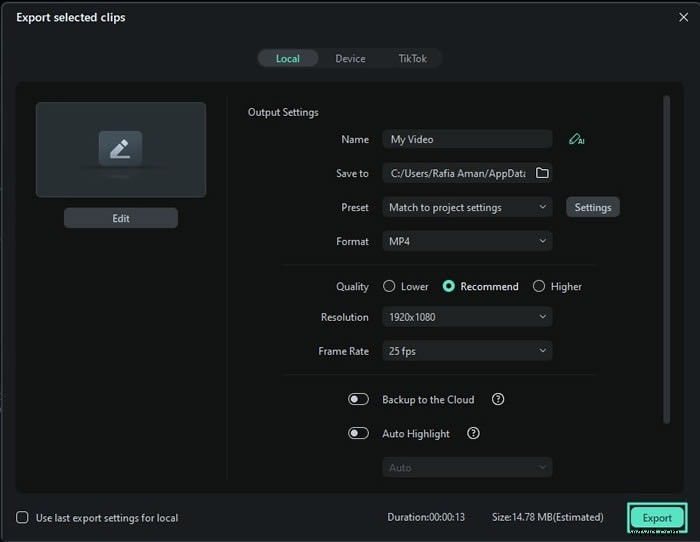
- Export the finished video to your chosen location.
Conclusion
Color correction is pivotal for photographers and videographers aiming for visual excellence. Photoshop offers deep, manual control for those willing to invest time, while Filmora provides a streamlined, AI‑enhanced workflow for rapid, high‑quality results. Choose the tool that aligns with your skill level and project timeline, and elevate every image you touch.