Every video contains some piece of life, a smile with friends, a birthday surprise, or a day in the park. But occasionally, the camera sees more than you also don't want it to: a stranger in the background, a cluttered corner, or extraneous space that just sucks life out of the scene.
With OpenShot crop video, you're able to snip off all the noise and give room for the moment's breathing. It's similar to zooming in on what is most important, so that the heart of your video stays clear and in focus.
This complete guide will teach you exactly how to crop a video in OpenShot (step-by-step), including methods for fixing common issues like black bars and quality loss. Learn how to use OpenShot's crop tool and discover a faster, easier way with the Filmora video editor.
Part 1. How to Crop a Video in OpenShot Step-by-Step Tutorial
To crop in OpenShot, the first step is to set up the editor. The software is free and runs on Windows, Mac, and Linux. You can get it from the official OpenShot site (select the version in accordance with your operating system).
For your computer to operate with ease, you will need:
- A 64-bit OS
- At least 4GB of RAM (16GB is recommended)
- 500MB free disk space
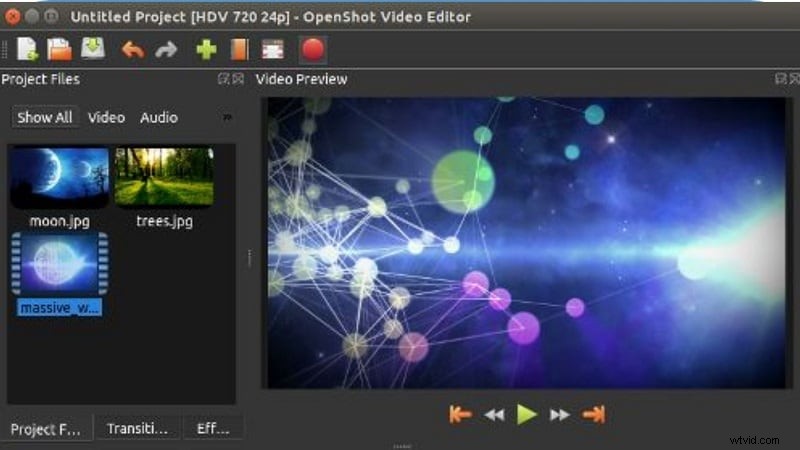
When installed, open the program and start editing.
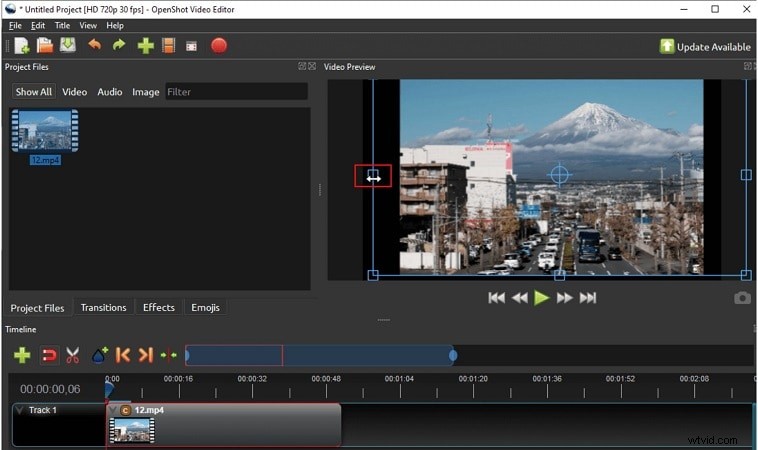
Click the green "+" to add your file or drag it from your desktop. Then drag the clip to the timeline.

Step 2
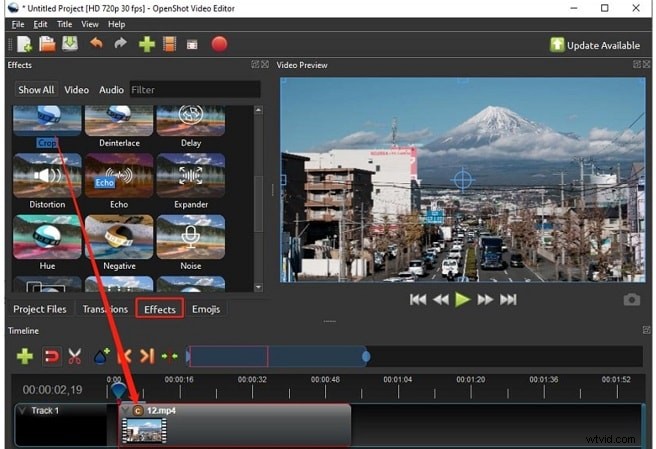
Apply the Crop Effect
Open the Effects tab, find Crop, and drag it onto your clip. A small "C" will appear on the timeline.
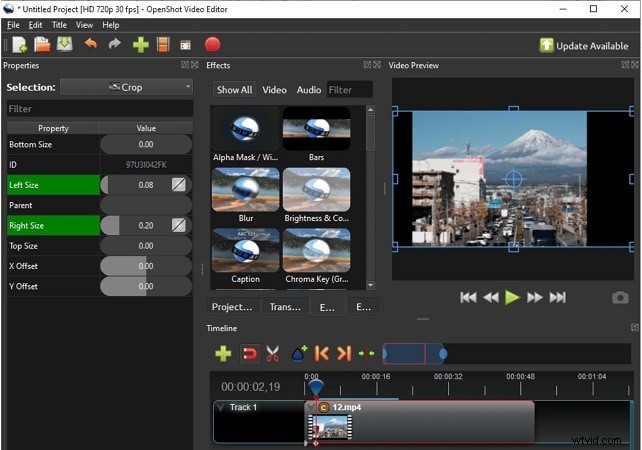
Right-click on the "C" and go to Properties. Adjust values such as Top Size, Bottom Size, Left Size, Right Size, X Offset, and Y Offset until your subject is framed.
If you see borders after cropping, it usually means the aspect ratio doesn't match the project. You can scale the video larger to remove the bars.
Step 5
Export the Cropped Video
When finished, click the red Export Video button, select your format and resolution, choose a save location, then hit export.
Part 2. Crop vs Trim vs Resize (When to Use Which)
New editors frequently mix up cropping, trimming, and rescaling. They may look alike, but they do different things.
Cropping a Video
- Erase some unwanted part (background confusing, strangers in frame).
- Changes the composition and can alter the aspect ratio.
Best used for:
-
- Emphasising a subject.
- Creating custom framing for social platforms.
- Repurposing clips into smaller, focused segments.
Resizing a Video
- Keeps the entire frame, only changes dimensions.
- Preserves aspect ratio and avoids distortion.

Best used for:
Adapting one video to multiple screen sizes.
Maintaining full content for consistency.
Preparing for different device resolutions.
Trimming a Video
- Cuts footage from the start or end of a clip.
- Does not alter the frame or composition.

Best used for:
Get rid of gaps or any audio you don't want, such as intros and outros.
Holding viewer attention from the opening seconds.
Delivering sharper, concise storytelling.
Quick Decision Guide
- Crop: Focus on the subject, hide distractions.
- Trim: Fix timing, remove dead air.
- Resize: Make the video fit the platform/device screen.
Part 3. Fix Common Crop Problems
Cropping is handy, but it's easy to do wrong if you're working in a free editor like OpenShot. Unfortunately, if you're not careful, your OpenShot video crop results may be a situation where all sorts of unwanted borders and blurry frames start to fill in that cropped-up area, or worse, important context gets lost. Here are the crucial problems and their solutions.
Problem 1: Quality Loss After Cropping
When you crop, you're discarding pixels of your video file. If you shrink it and then stretch it out again to a larger size, the picture appears amorphous or unsharp.
How to fix it: Export with the same resolution as the cropped size. When you absolutely must upscale, employ a tool with visual enhancements like Filmora's AI Video Enhancer, which brings back clarity without packing on ugly pixels.
Problem 2: Black Borders Around the Video
Black bars are often an issue when the crop size does not match the desired project aspect ratio (like if you were to crop a 16:9 video into a 4:3 frame). These borders are reminiscent of amateur-looking videos.
How to fix it: Set your project and export profiles to the same aspect ratio as your cropped clip. In OpenShot, you can also scale the video slightly larger to fill the screen without leaving gaps.
Problem 3: Distorted Aspect Ratio
Uneven cropping or incorrect resizing can make the video look stretched or squished. This generally occurs when editors don't keep the proportions of inserting a video in a new size.
How to fix it: Lock or keep the aspect ratio when resizing. For platform-specific requirements (for example, for TikTok or Instagram), look for tools with automatic aspect ratio correction, such as Filmora's Auto Reframe.
Problem 4: Important Content Gets Cut Out
Over-cropping can remove vital elements from your video, such as faces, text, or background context. While the frame may look clean, it could lose meaning.
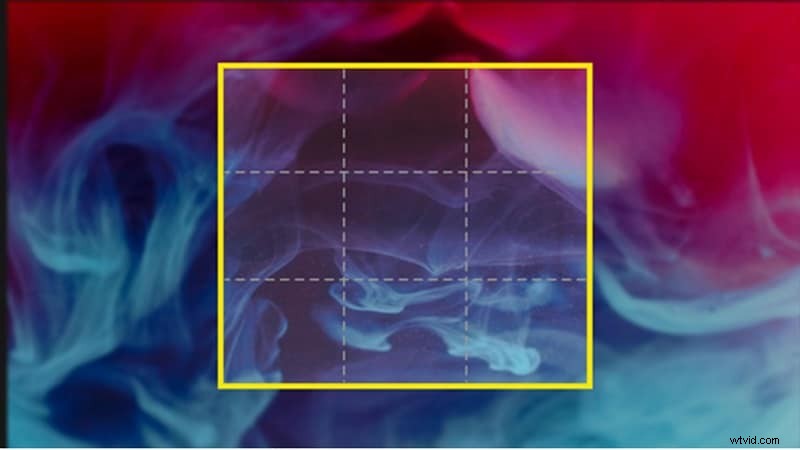
How to fix it: Before applying the crop, preview the framing and adjust offsets carefully. This is crucial when you need to specifically crop the video frame to highlight a subject. If you want to highlight your subject but keep the surroundings, try Pan & Zoom features that let you focus on areas dynamically without losing context.
Problem 5: Inconsistent Crops Across Clips
Adding unique crop sizes to several clips can result in a video feeling disjointed, especially when the subject moves around from one clip to the next.
How to fix it: Use uniform crop values for all of your clips, or add an adjustment layer/preset if your application allows. Write the numbers in openShot (Top, Bottom, Left, Right) and copy them to every clip to keep consistency.
Part 4. The Easier Way: Cropping Videos with Wondershare Filmora
OpenShot is quite powerful open source video editor, but the OpenShot crop video process is a bit manual and too lengthy. If you're after a more seamless experience, professional-looking results and bonus features, Filmora Desktop is worth trying out.
4.1 Why Filmora is the Easier & Faster Alternative for Cropping Videos?
Cropping is more than cutting off the edges of a frame; it's controlling focus without sacrificing video quality. A bad crop Thumbnail can make proportions twist and lose resolution.
However, Wondershare Filmora can handle this process quickly, so you don't have to mess around with any numbers. It is built with accuracy in mind so that even complex edits retain a sharp and professional look.
 Secure Download
Filmora provides preset aspect ratios, so you don't need to guess its dimensions. You can also crop freely (using a rectangle to drag over what you do want to keep). What makes it different, though, is that an intuitive design pairs with advanced features to save time while also upping the results.
Key cropping tools:
- Crop and Pan Tool: Crop using visual handles or add movement with start and end points.
- Auto Reframe: Intelligent control that frames your selected content for social media, such as vertical, square, and wide aspect ratios to keep the action in frame.
- Smart Masking and AI Smart Cutout: Accurately select (isolate) objects or people with ease, without manual masking.
- Chroma Key & Background Replace: Remove and change backgrounds or combine new images for a unique creative look
Steps to Crop a Video in Filmora: The Easier Way (Visual Guide)
Step 1
Download and Install Filmora
Download and install Wondershare Filmora. Open the program and start a new project.
Secure Download
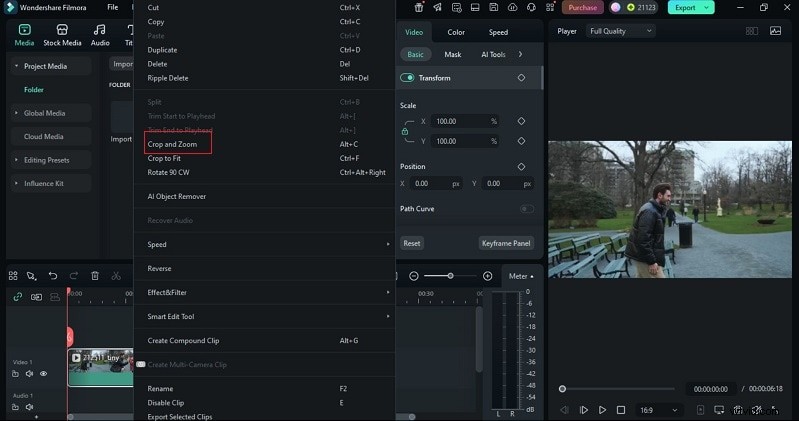
Go to Media > Project Media > Import and add your video to the timeline.
Right-click the clip and select Crop and Zoom.
Step 4
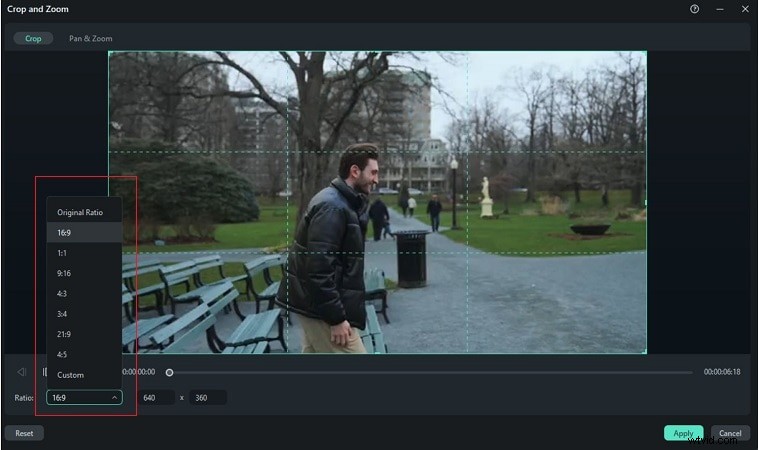
Adjust Aspect Ratio
Choose an aspect ratio from the list or set custom dimensions. Click Apply to confirm.
Preview your result, then export once satisfied.
4.3 OpenShot vs Filmora: Crop Workflow Comparison
Video editing tools offer different approaches to cropping. Understanding how the OpenShot crop video workflow compares with Filmora helps readers decide which fits their needs best, from manual adjustments to AI-powered efficiency. The comparison below distils practical insights to guide user decisions.
Comparison Table: OpenShot vs. Filmora (Crop Workflow)
| Feature | OpenShot (Manual) | Filmora (Desktop) (Streamlined) |
| Interface & Workflow | Basic, clean layout. | Modern drag-and-drop interface. |
| Workflow | Drag the Crop effect onto a clip and adjust values manually. | Dedicated Crop & Pan controls. |
| Cropping Method | Uses Effects > Crop. Users must enter Left/Right/Top/Bottom values manually. | Visual Crop & Pan tool with freeform cropping or social presets |
| Aspect Ratio Handling | Must be aligned manually with project/export settings to avoid black bars. | Quick aspect ratio presets + Auto Reframe for TikTok, YouTube Shorts, and IG Reels. |
| Motion & Subject Focus | Limited. Requires manual positioning or keyframe work using standard effects. | Built-in Pan & Zoom lets you set start/end frames for smooth dynamic focus. |
| Automation & Smart Tools | 100% manual; no automation or AI support. | AI tools like Smart Cutout, Smart Masking, Auto Reframe simplify cropping and subject isolation. |
| Usability & Learning Curve | Moderate learning curve for property editing. Lightweight but less intuitive than paid tools. | Beginner-friendly and intuitive. Faster for repetitive tasks, highly rated for ease of use. |
Final Thoughts
Cropping shapes more than a frame; it defines how a story is seen. With OpenShot crop video, you've learned how to cut distractions, balance proportions, and fix issues like black bars or lost clarity. Each step shows the strength of open-source tools, but also their limits when speed and precision matter.
Stick with OpenShot if you need basic, free, and open-source functionality for simple, infrequent crops. Switch to Filmora if you need fast, professional results with features like Auto Reframe, minimal quality loss, and an intuitive drag-and-drop interface.

Filmora
AI Video Editing App & Software
Best tool for making videos anywhere for all creators!
Simplify all your steps in video editing, from the pre-processing to finalizing, Filmora AI stays tuned.