In Photoshop speak, the term “texture” refers to an image that adds a textural patina to a photograph. By altering the opacity or blending mode of a textural layer positioned over a photograph, you can easily add greater depth and creativity to an image. The technique is often used to apply a vintage or distressed effect to an image that mimics the texture of old photographs or film techniques. But it can be applied in more subtle ways too.
With a quick Google search, you can find thousands of textures in stock image libraries or even Google Images. However, these are often low in quality, which can detract from a photograph rather than adding to it. The best way to maximize the effectiveness of a textural layer is to use high-quality images. By building a texture library with photographs of your own, you can assure the quality of the images and keep track of the resources you have at hand.
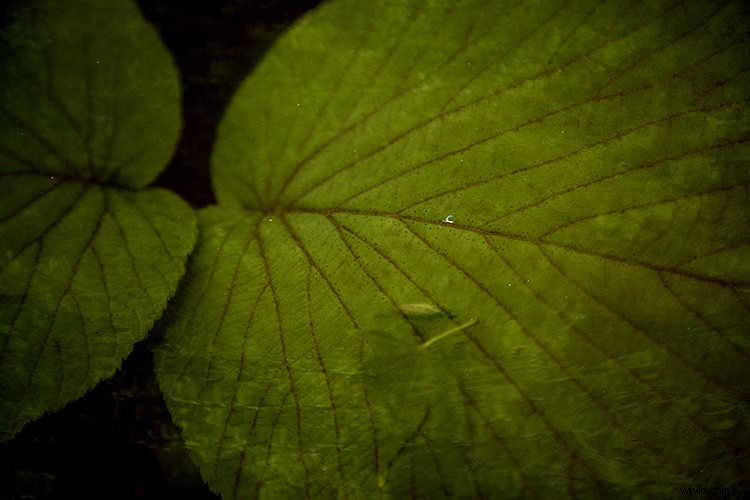
The water in the textural layer of this image lends a vintage feel to the natural subject and added some interesting water-washed patterns.
Going on a texture hunt
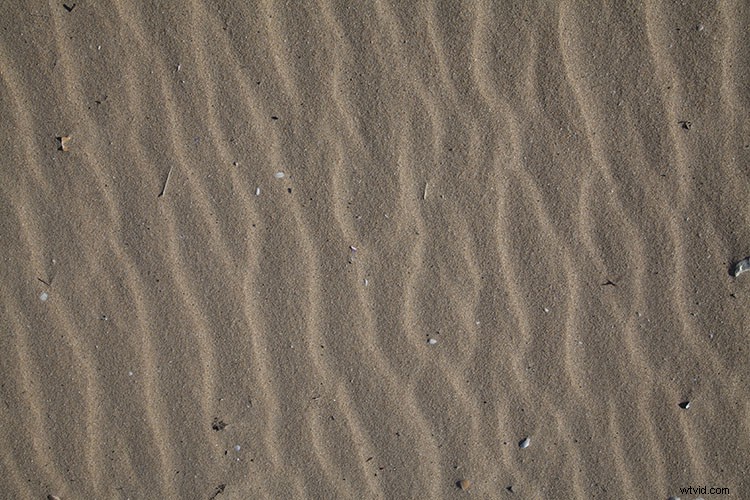
So, where do you find useful textures? Well, just about everywhere! I tried to think of a subject that couldn’t be used as a texture, and came up with nothing! Textures can be anything from photographs of sand or wood to bricks, orange peel, fur, clouds, fabric or… okay you get the idea. Anytime I encounter an interesting texture, I’ll quickly photograph it and stow it away for later.
A few pointers to keep in mind, you want to have a texture image that matches the quality of a destination photograph, so always shoot in RAW if possible to avoid file degradation. I also find creating a folder designated specifically for textures is an easy way to save time. If I need a texture I can simply browse through the folder of textures I have amassed without trawling through other photographs to find them.
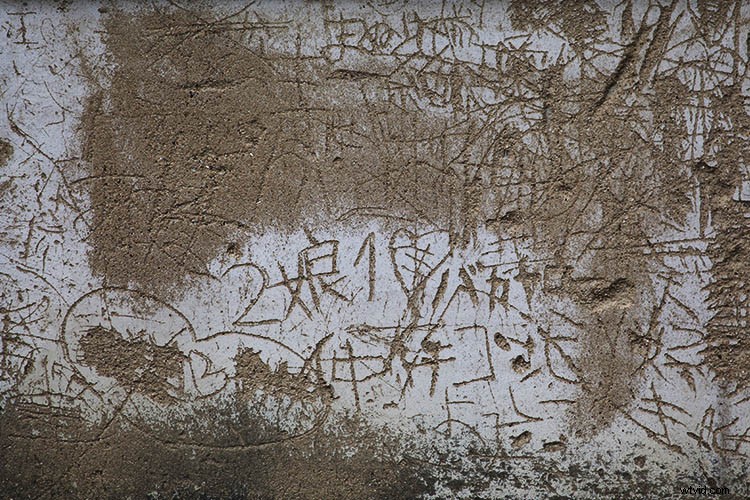
Photographs of textured walls are useful for adding to images that look a little flat.
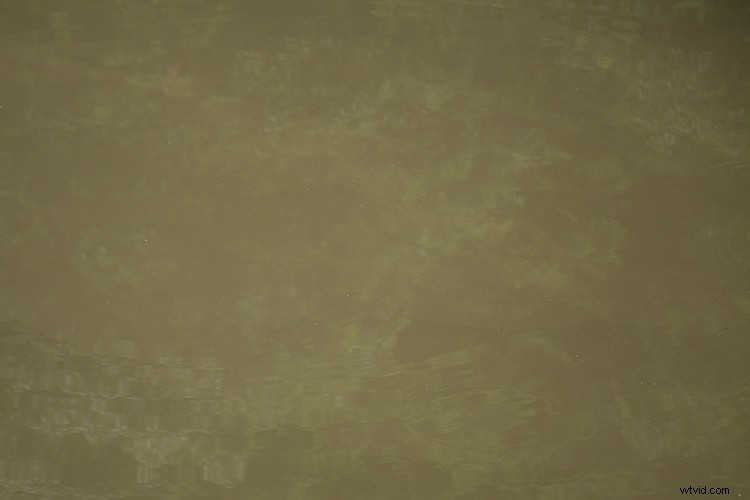
While not particularly interesting as an image on its own, photographs of water, like this one, can add interesting effects to an image.
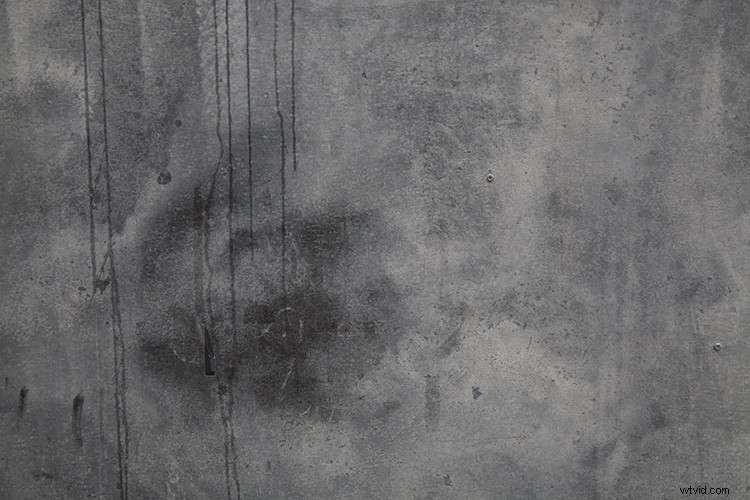
Rusted, painted, or aged surfaces like walls and paths make great textural layers.
How to use textures
Now that you have a few textures in your arsenal, there is a really simple way to apply them to an image. But before we get started, you’ll need to make sure the size of the texture image matches the destination image. If you’ve taken both the texture and destination photographs in the same RAW format, you probably won’t need to worry.
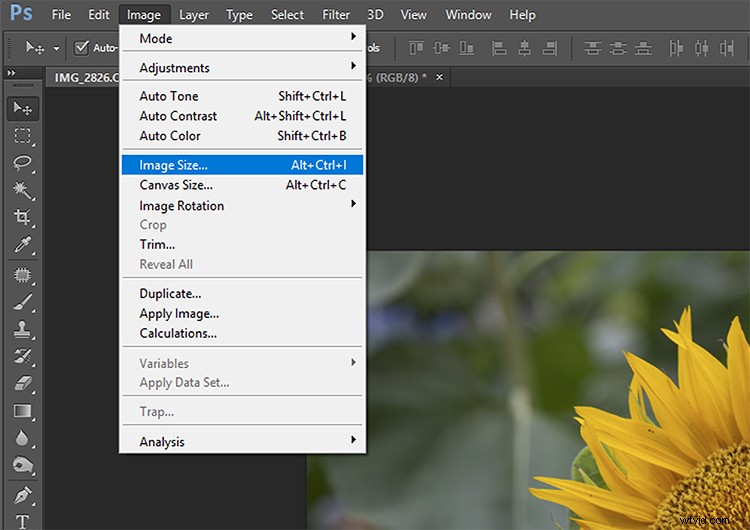
If you want to make sure, first open both the texture and destination files in Photoshop. Select Image > Image Size and have a look at the dialogue box. A texture image with matching or greater dimensions and resolution to the destination photograph is ideal. Anything smaller and you could compromise the quality of the finished product.
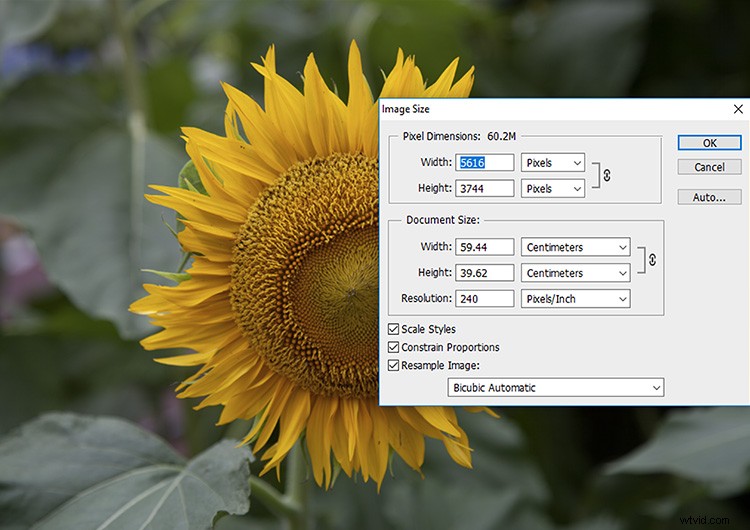
The image is 5616 x 3744 pixels.
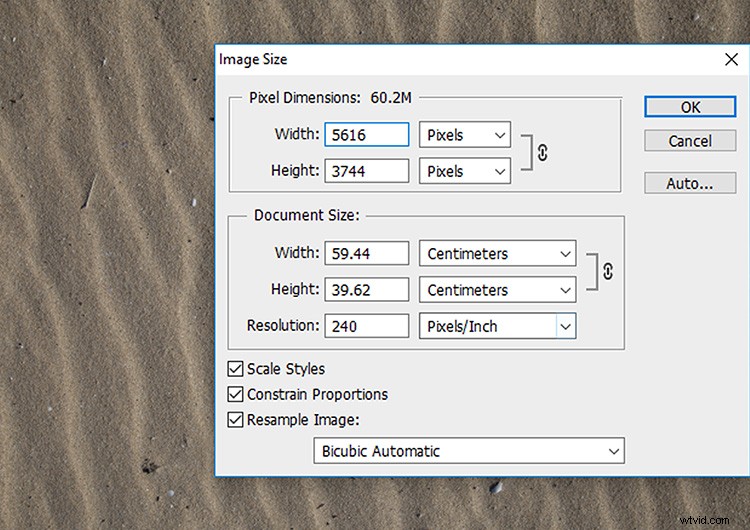
The texture image is the same size. Perfect!
Once you have compared the image sizes, drag and drop the texture image onto the destination layer, so that it is the top most layer in the layers panel. You can also import your texture into Photoshop by selecting File > Place and selecting the desired texture. Resize the texture layer over the original image via the transform controls so that it completely covers the image.
At this point, you won’t be able to see your original photograph as it’s beneath the texture layer. The way you combine the two images together is with the Blending Modes tool, which will put them together seamlessly. Make sure that the texture layer is selected and click on the Blending Modes drop-down menu. You’ll see that there is an abundance of options from which to choose. Each Blending Mode will combine the texture layer with the original photograph in a different way. Simply work down the list until you find one you like!
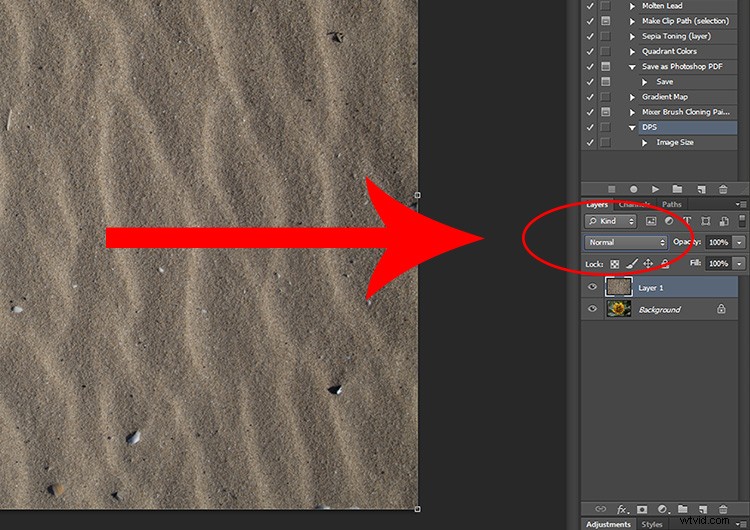
Layer Blend Modes are located here.
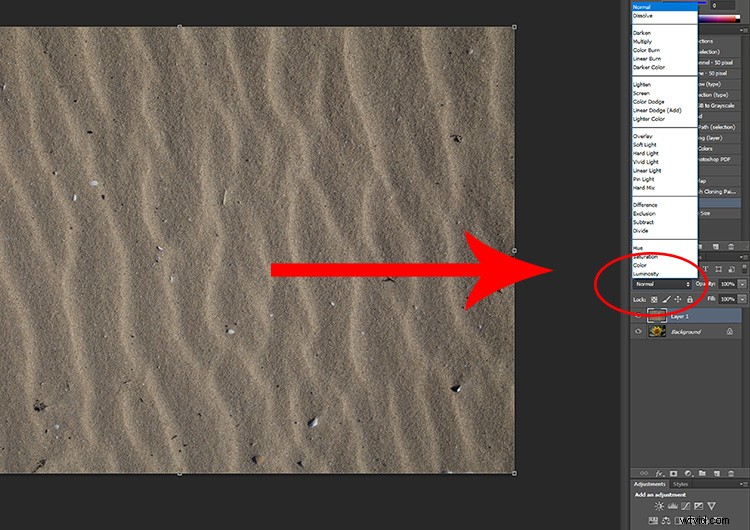
Blend Mode options.
And presto! Your texture and original photographs will be combined to create a new, textured image. Like I mentioned before, each Blending Mode option has a different effect on an image, some will be more obvious where as others will be soft and subtle. Once you start experimenting with textures and Blending Modes it can become a little addictive. Even photographs that would usually be considered as duds can create some really neat effects.
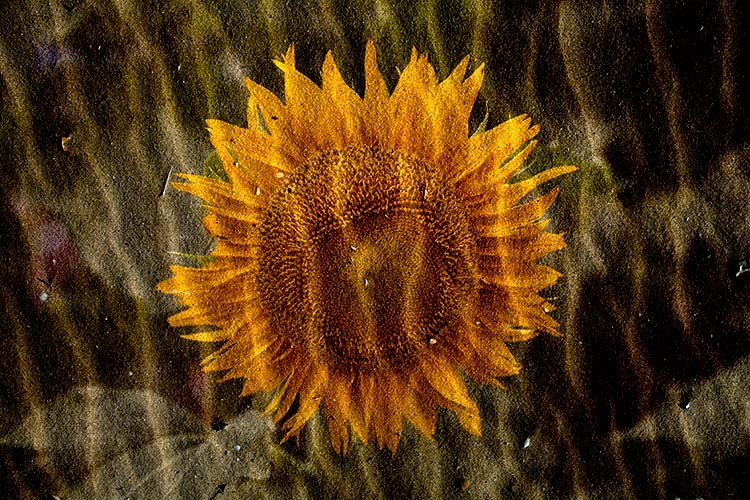
For this image of sand overlaying a sunflower, I used the Linear Burn Blending Mode.
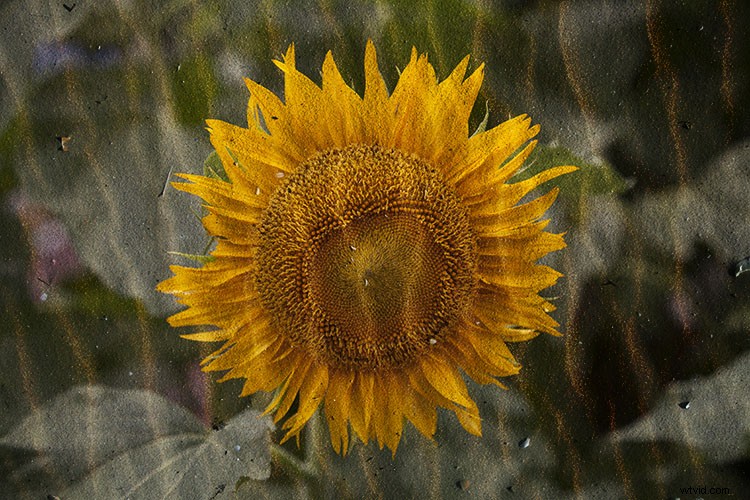
The same image again, but with the ‘Hard Light’ Blending Mode selected creates a slightly more subtle effect.
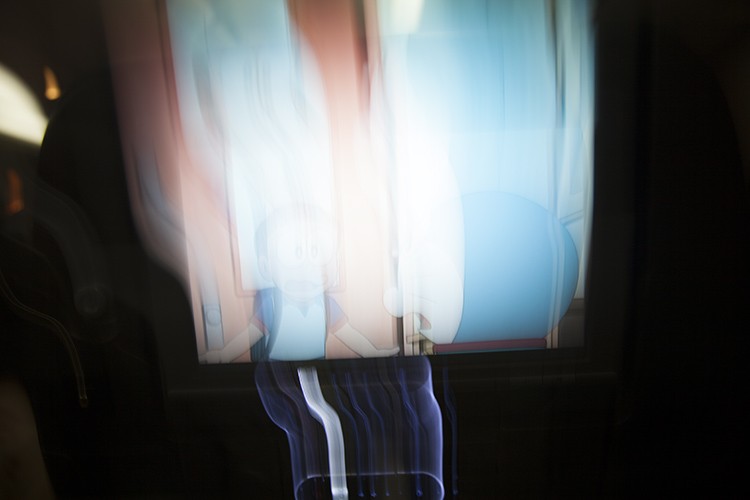
This is a photograph of an in-flight movie I took by accident. I decided to keep it for later as a texture.
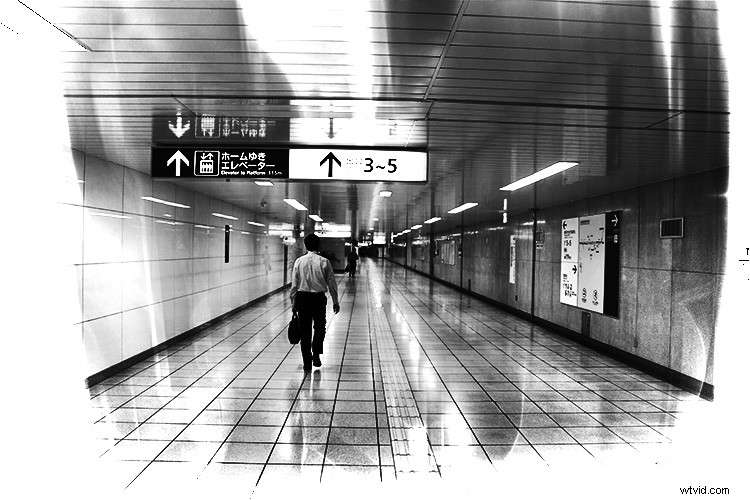
This is one of the photographs I applied my “in-flight movie” texture to. By using the Divide Blending Mode, I added a Liquid Light effect to the photograph.
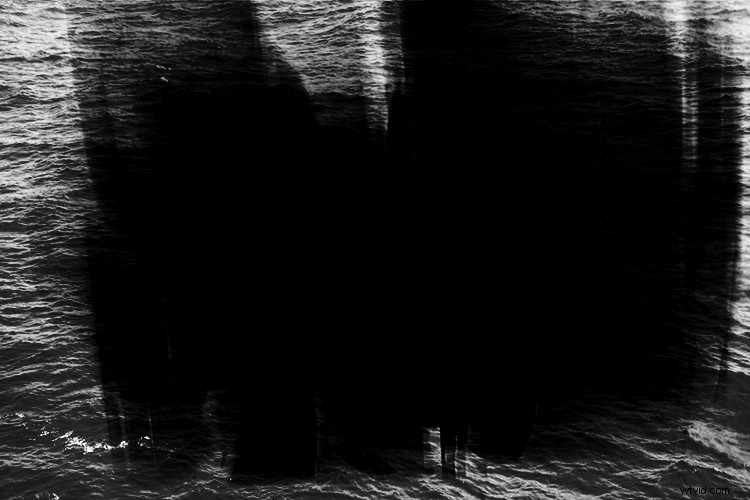
I applied the same “in-flight movie” image to this photograph of an ocean to simulate a light leak. I selected the Divide Blending mode for this textural effect.
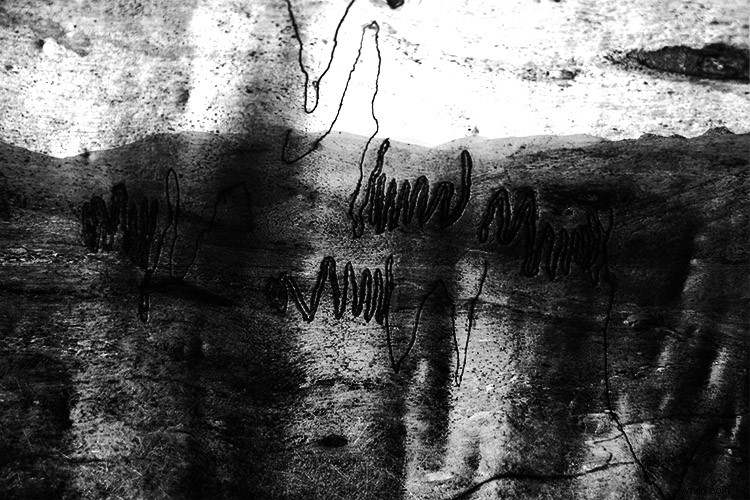
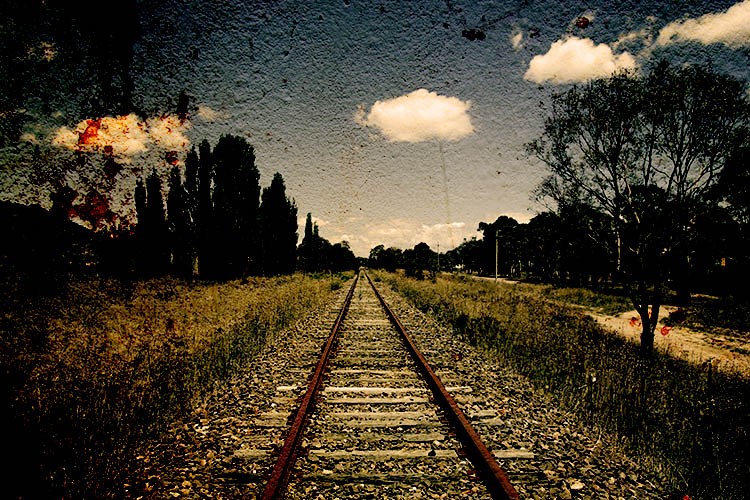
The texture in this image is a photograph of a Scribbly Gum tree. I used the rough texture of the tree to add a surrealistic feel to the photograph of a mountainous landscape.
Your turn
Have you played around with making your own texture images? It’s super easy and fun to do. Please share your texture images and comments below.