
Video editing demands precision in every detail—from the software you choose to the hardware that displays your work. Among the key hardware components, a 4K monitor can dramatically improve your workflow, color accuracy, and overall output quality.
Why 4K Monitors Matter for Video Editors
4K resolution (3840 × 2160 pixels) delivers four times the pixel count of Full HD. This extra detail means:
- Sharper image detail – every frame looks clearer, making fine edits easier.
- Accurate color representation – higher pixel density reduces banding and improves grading precision.
- Future‑proof workflow – editing native 4K footage on a 4K display eliminates down‑scaling artifacts.
While a decent Full HD monitor can handle most projects, the benefits of 4K become evident when you work with native 4K content or require pixel‑perfect color grading.
Getting to Know the Power of 4K Monitors
In simple terms, a monitor’s clarity depends on pixel density. With 4,000 horizontal pixels, a 4K screen shows far more detail than lower‑resolution displays. This is especially useful when you need to:
- Inspect frame‑by‑frame details for jitter or artifacts.
- Apply color correction that requires subtle tonal shifts.
- Preview effects that only reveal themselves at high resolution.
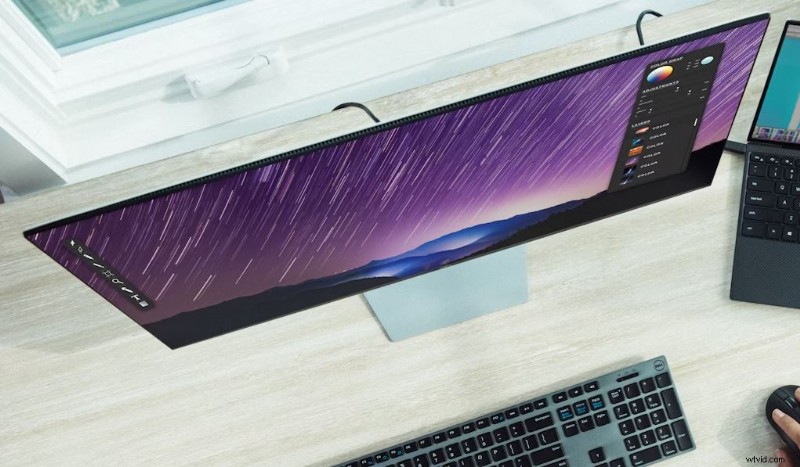
Improved Viewing Quality
A 4K monitor offers a larger workspace, enabling you to see more of your timeline and media files without scrolling. This reduces eye strain and speeds up decision‑making.
Wide Compatibility with Media Formats
Most modern 4K displays support HDMI 2.0/2.1, DisplayPort 1.4, and USB‑C, ensuring smooth playback of HDR10, Dolby Vision, and other high‑dynamic‑range formats.
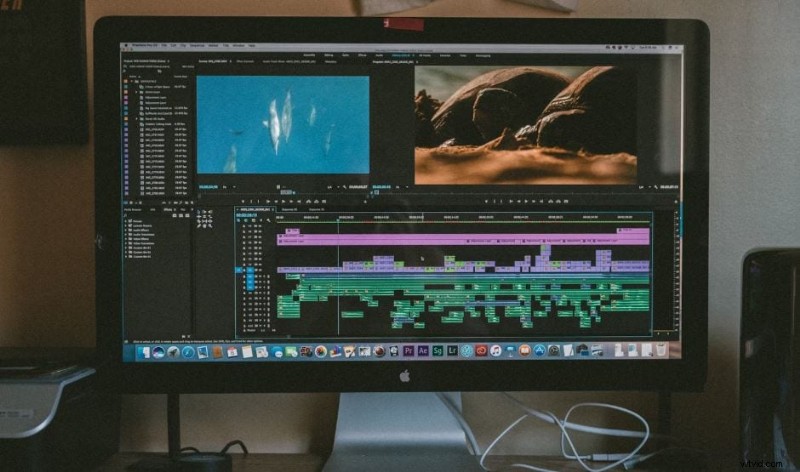
More Editing Freedom
With a larger, sharper canvas, you can experiment with more complex edits—such as multi‑layer compositing—without losing detail.
Tips for Editing 4K Video Content
Below are essential practices that pair well with a 4K monitor:
- Ensure a 4K‑ready workstation – 4‑core CPUs, 16 GB+ RAM, and a dedicated GPU (e.g., NVIDIA RTX 2060 or higher) are recommended.
- Duplicate or layer your original footage – always keep an untouched backup for quick rollbacks.
- Plan your workflow – create a shot list, storyboard, and color palette before you start editing.
- Perform color correction on every clip – use calibrated monitor settings to achieve consistent look.
- Use J‑ and L‑cuts for smoother audio transitions – they provide a more immersive experience.
- Select a 4K‑compatible editing program – Adobe Premiere Pro, DaVinci Resolve, and Filmora all support native 4K editing.
How to Do Color Grading Using Wondershare Filmora and 4K Monitors
Filmora’s intuitive interface, coupled with a 4K monitor, makes color grading approachable for both novices and professionals.
Pre‑Requisites
- CPU – high‑clock, multi‑core processors (Intel i7/i9 or AMD Ryzen 7/9).
- RAM – minimum 16 GB; 32 GB is ideal for heavy effects.
- Storage – SSD for OS and cache, separate NVMe or SATA SSD for media; 1 TB is a good baseline.
- GPU – NVIDIA GeForce RTX 3060 or better for accelerated rendering.
Step‑by‑Step Guide
- Download and install Wondershare Filmora.
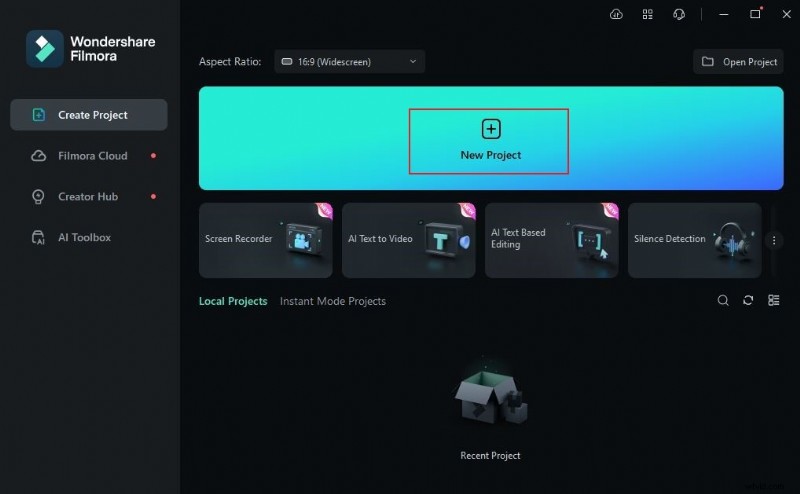
- Open Filmora and start a new project or open an existing one.
- Import your raw 4K footage via the Media panel.
- Drag clips to the timeline and arrange them.
- Click the Aspect Ratio icon in the preview panel and choose a 4K resolution (e.g., 3840 × 2160).
- Go to the Color panel on the left. Toggle Color, Light, Sharpness, and Vignette under the Basic tab.
- Adjust sliders to correct exposure and saturation. Use the HSL tab for hue, saturation, and luminance tweaks.
- For advanced grading, switch to the Curve or Color Wheel tools.
- Preview the changes in real time on your 4K monitor for precise adjustments.
- When satisfied, export with the same 4K resolution settings.
🤩 Posts You Might Be Interested In:
- How to Change Your Eye Color in Video Using Filmora?
- How to Change Any Colors in Video Editing?
Conclusion
While not mandatory, a 4K monitor can significantly elevate your video editing workflow, especially when paired with the right hardware and software. If you’re serious about producing high‑resolution, color‑accurate videos, consider upgrading to a 4K display. For a robust editing suite, try Wondershare Filmora – it offers powerful color grading tools and full 4K support, all at an affordable price.