How to post reels on Instagram
A reel is a multi-clip video that lasts 15-30 seconds. It can be enhanced with audio and different effects and then shared on Feed, as well as publicly on the “Explore” page. Reels are stored on the profile’s home page under the “Reels” tab.
So how to get reels on your Instagram? By default, you can record a reel right from the app:
- Open Stories camera and, at the bottom of the screen, scroll to the “Reels” option.
- Before recording, use the tool menu on the left to adjust the following settings:
- Tap the “Audio” icon to find a song for your video in the Instagram music library. Then use the slider at the bottom to decide which part of the track will be used.
- Use the “Speed” icon to adjust the speed of your reel. Keep in mind that the audio will also be affected.
- Tap the “Effects” icon, and then, at the bottom, scroll through the available effects to apply any of them. This works pretty much the same as in Stories.
- Hit the “Stopwatch” icon if you want to shoot hand-free. This tool allows you to set the desired duration for your clip. You can also choose a countdown before the clip’s recording starts automatically. Thus you will have time to get into position.
- When you have your first clip recorded, you will also see the “Align” icon. This can be helpful if you need to align the last frame from the previous clip with the first one you are going to record.
- To start shooting, tap and hold the “Record” button or just tap to start and again to end the clip. Keep an eye on the pink progress bar at the top as it shows how much time has already been taken up.
- If you need to review or trim the clip you have just recorded, you can tap the left-pointing arrow.
- Once finished with shooting, tap the right-pointing arrow and add text, stickers, and other effects. The slider at the bottom will help you set the time when you want the text to appear.
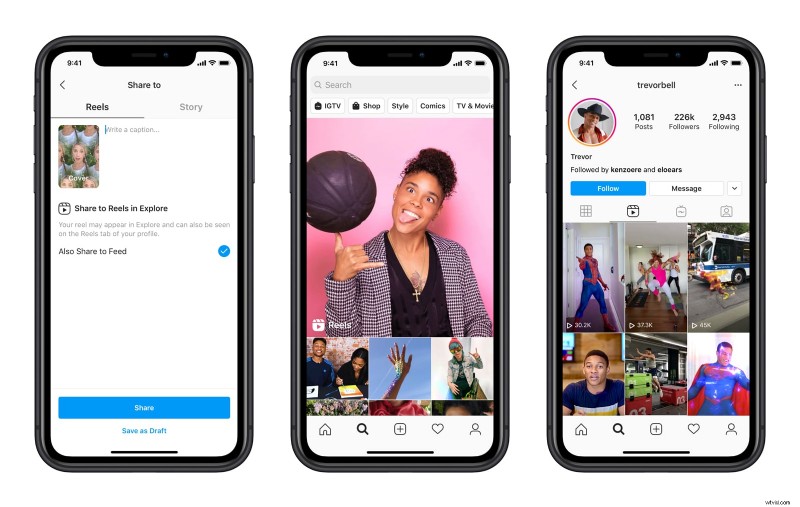
- Then, tap the right-pointing arrow again to prepare the reel for sharing:
- Tap the image to change the cover — you can use either a still-shot from your video or an image from your camera roll.
- Write captions or hashtags and mention your friends.
- Finally, decide where you want to post:
- If you select the “Stories” tab, your reel will be sent to Stories and it will disappear in 24 hours, like any other story.
- With the “Reels” tab selected, your video will be shared to the “Explore” page and also stored on the “Reels” section of your profile.
- To share your reel to your feed, keep the blue switch enabled, otherwise disable it to post to the “Reels” section of your profile only.
- Once you are happy, tap the Share button at the bottom or save your reel as a draft.
How to post any video to reels
Can you use Instagram Reels if your video has already been recorded? Yes, you can!
To add a film from your device, instead of step 3 in the procedure above, just swipe up or tap the Camera roll icon in the bottom left corner of your screen. The rest of the steps stay the same.
However, before you do that, make sure your video has the right size. You can use an online video resizing tool by Clideo for that. It is free if your video is up to 500 MB and you don't even need to be registered to edit your file.
Open Video Resizer on any of the browsers on any of the platforms. To add your file from the device, tap the blue “Choose file” button.
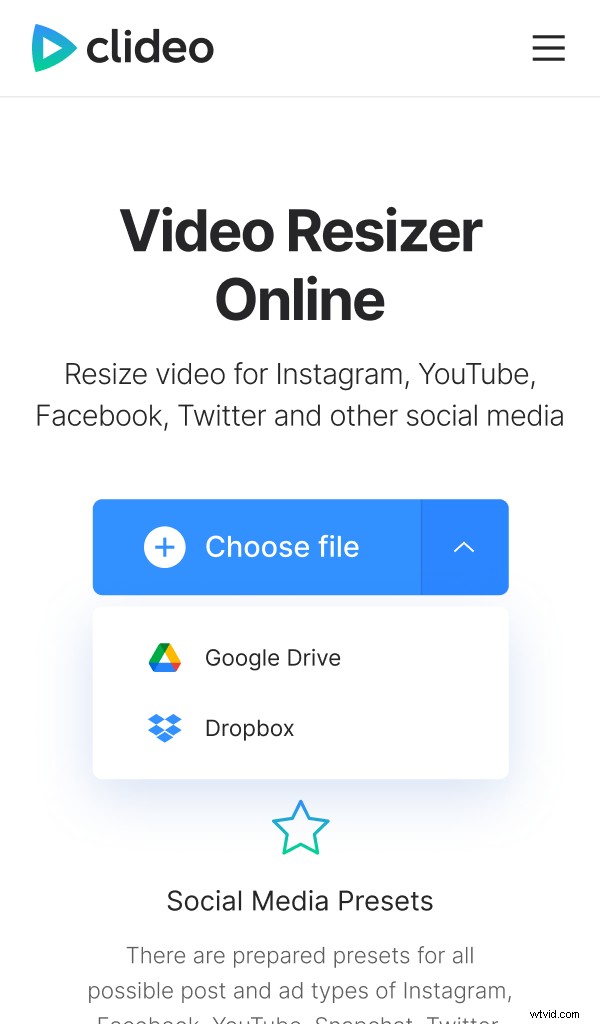
You can also add from Google Drive or Dropbox storage. Just hit the down-pointing arrow and choose the required option.
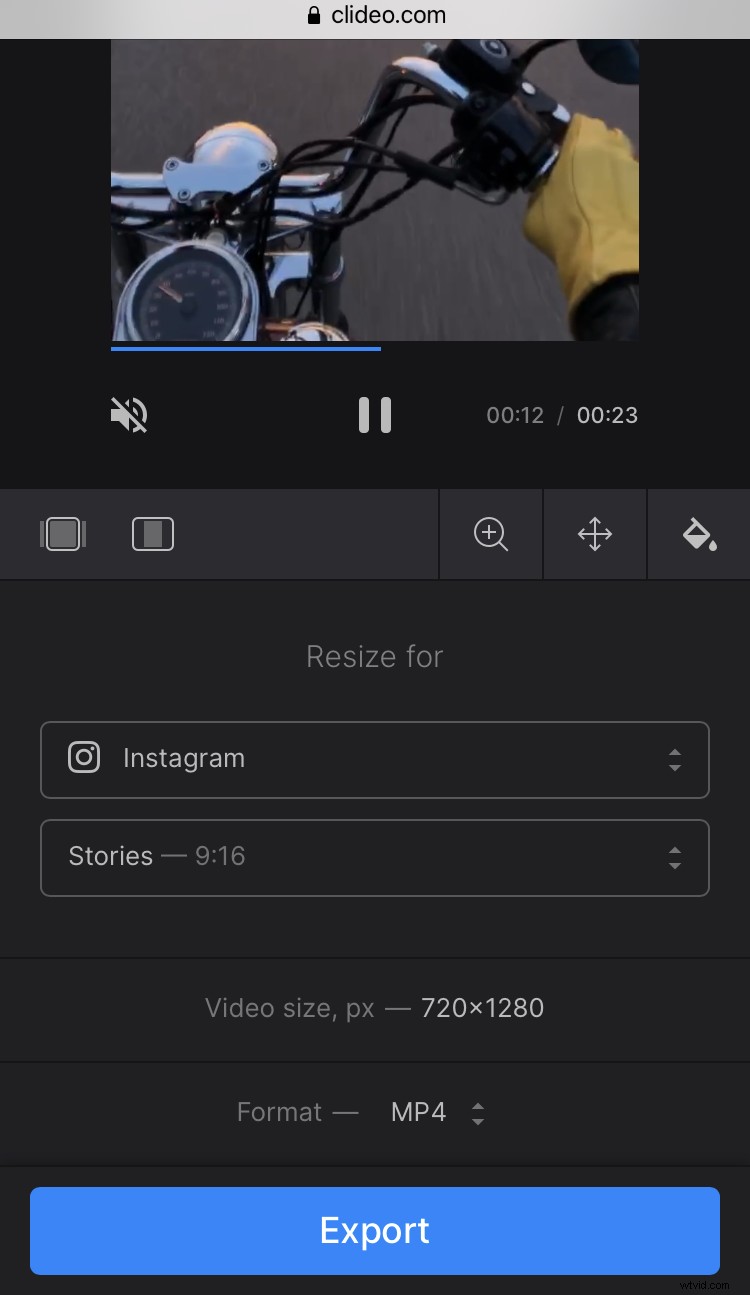
Once your file is uploaded, you will see the preview and different edit options.
Select Instagram in the first drop-down menu. As reels’ requirements are the same as for stories, you can then select the “Stories” preset.
Alternatively, you can select “Custom” and change the settings manually. Just to remind you — the aspect ratio should be 9:16 and the recommended resolution should be 1080:1920.
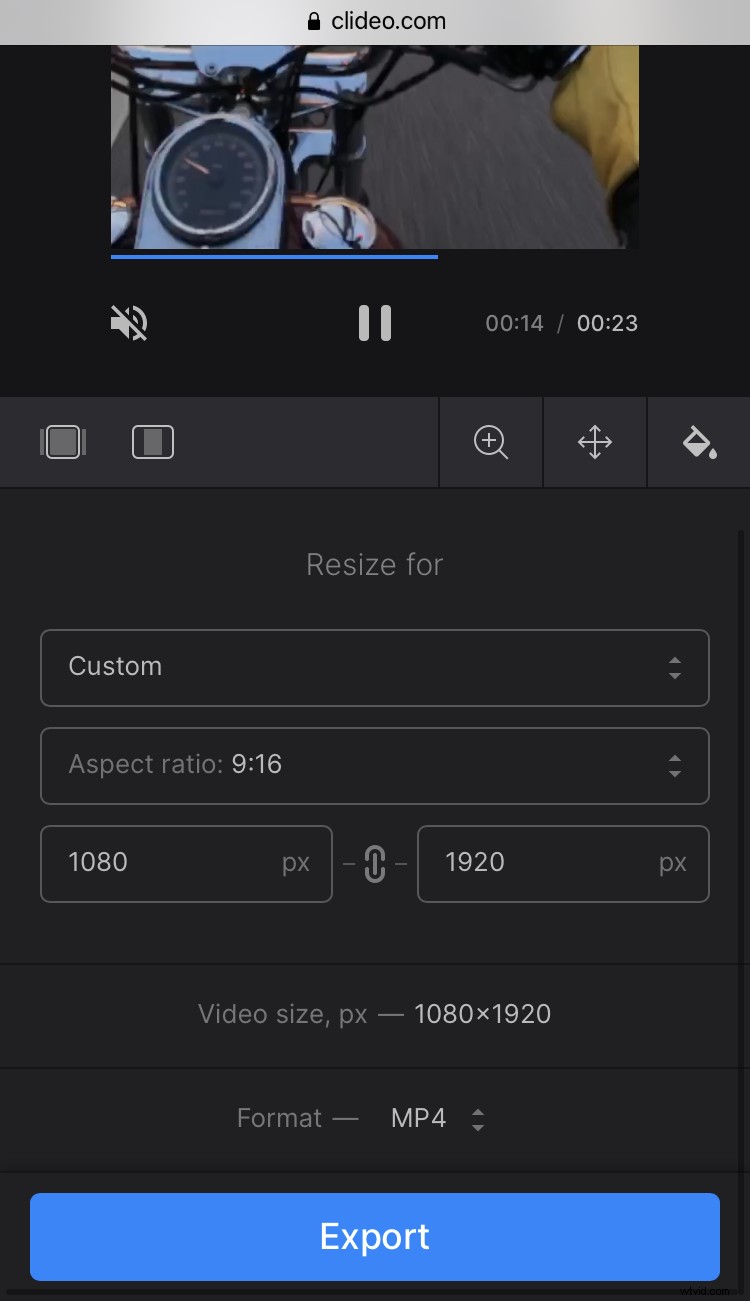
Use “Crop options” to make the final edits for the bars if there are any, and then tap “Export”.
Finally, you will see your video preview. Check if all looks perfect and download the file to your device or tap “Edit” to make further changes if needed.

Now you have the file with the right aspect ratio and resolution perfect for reels.