Grow your photography skills with this detailed tutorial on how to visualize a plant’s growth cycle. Let’s get started!
I’ve always been curious on how to setup and shoot a plant time-lapse sequence, so I finally decided to have a go at it. I’ve played around with both time-lapse and hyper-lapse photography before, but never for the duration required to properly document the growth cycle of a plant. Well, over the last sixteen days, I’ve been capturing images of garden cress, twenty minutes at a time.
Let’s get into the technical details of how I made it happen.
The Location
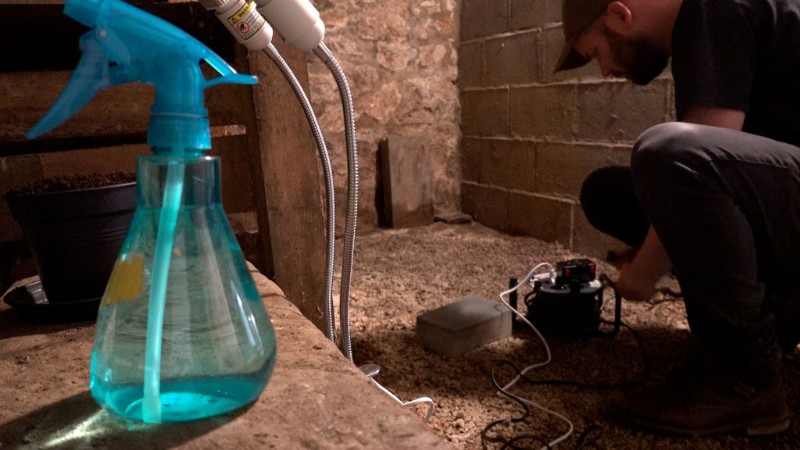
For my location, I wanted the most controlled environment possible. I needed a reliable power source, control over the light, and the ability to keep people away from knocking or bumping into anything.
I ended up using a small room down in the basement of my newly-purchased home. I liked the look of the background, but it’s also nice to use a black or white backdrop. Plus, there are no windows, giving me tight control over my light and exposure.
The only downside of this location is that it didn’t have the best ventilation possible. But it’s my only option, as I had limited space, and two rambunctious children that would love an opportunity to destroy a time-lapse.
Materials
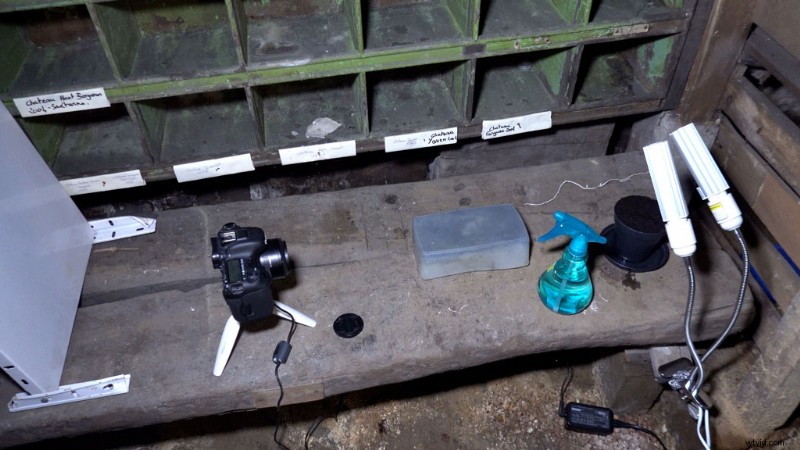
Here’s my checklist of materials:
- Camera with an interval recorder
- Tripod
- Power supply
- Seeds (garden cress)
- Pot
- Planting soil
- Watering can
- Grow lights with clamps
- Power strip
Naturally, your materials will differ from mine. The key is to focus on the techniques of how to time-lapse, and not to get too hung up with the specifics and brand names of the equipment. You can always experiment with gear as you go along, including grow lights, cameras, clamps, and tripods.
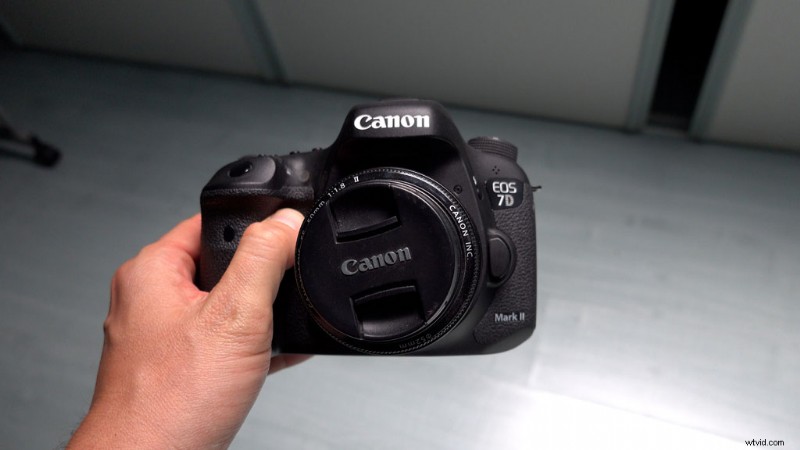
For my setup, I used an old Canon 7D DSLR that I had laying around. This camera is really perfect to shoot plant time-lapse photography, as it has built-in interval recording options.
The camera was powered via wall power, so I wouldn’t have to worry about switching out batteries. Time-lapse photography + batteries = BAD. Naturally, the camera was resting on a tripod to keep things silky smooth.
My light source was a basic 50w LED grow light. This particular light comes with a clamp and articulating arms, which is extremely useful when shooting in small spaces. Both the camera and grow light are connected to a power supply.
The Plant
It’s hard to do a plant time-lapse if you don’t know anything about plants. It’s important to figure out the type and amount of light your plant needs, as well as the time it will take to grow.
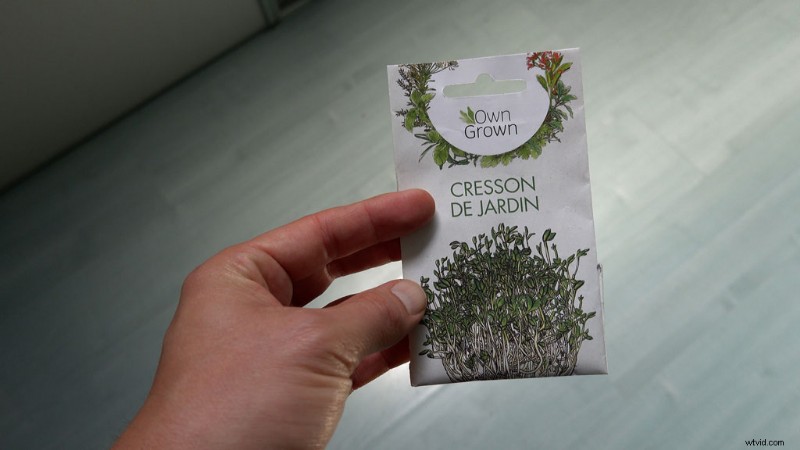
Since I’m a newbie to the plant game, I used garden cress. This is perfect to start off with because it grows fast, which allowed me to practice multiple time-lapses over a short period of time.
Once you’re comfortable with your setup, you can test out time-lapses with other plants that take longer to grow (hello, basil!).
Camera Settings
As with any time-lapse, use manual exposure and focus.
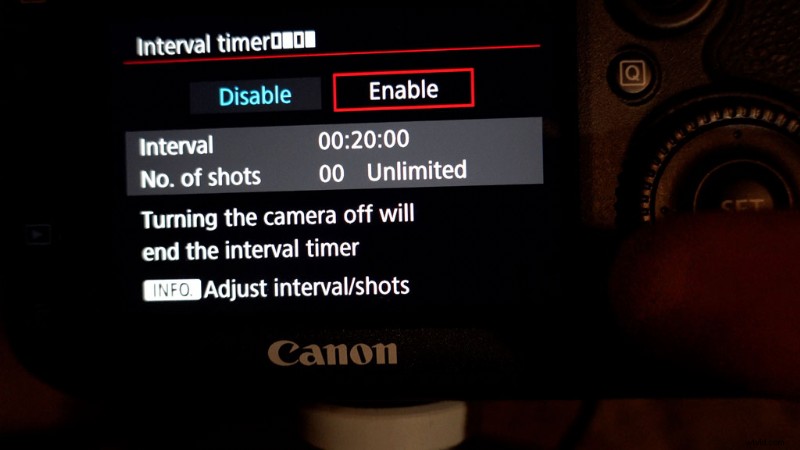
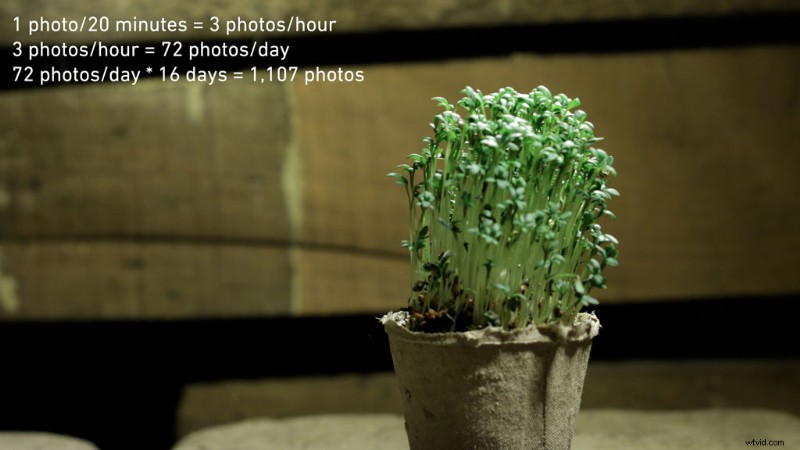
For the interval, I shot one image every twenty minutes over the course of sixteen days. I chose sixteen days because this is roughly when I should harvest the cress. Here’s a mathematical look at what went down:
- 1 image/20 minutes = 3 images/hour
- 3 images/hour * 24 hours = 72 images/day
- 72 images/day * 16 days = 1,107 photos total
As you can see, there are many variables at play when capturing a plant time-lapse. These include the growth cycle of the plant, the recording interval, as well as the desired fps and length of the final clip when played back.
The growth cycle of the plant will help you determine how many images you want to capture every day or hour. Naturally, increasing the number of photos you take every day/hour will make the video smoother, but make for a longer clip. Experiment with the interval until you find a sweet spot.
The interval recorder in my Canon 7D allowed me to not only specify the interval, but also the total number of photos to take (which I set to unlimited). Once I get some practice here, I can get really good at figuring out the correct recording interval for different types of plants.
If I want a specific length for a final time-lapse clip in the future, I can use some basic math to figure out exactly how many photos I need to take every hour/day.
Here’s another useful (and simple) equation I can use to figure out the length of my final clip:
- Total photos shot/frame rate of final clip = final clip length
- 1,107 photos/24fps = 46 seconds
Importing/Editing
Once the time-lapse was shot, I copied over all of the images to my external hard drive. In Adobe Premiere Pro, I brought all of the images into my project via File > Import > Import Folder.
Next, I created a sequence to match the resolution of my photos, which was 5472 x 3648. You can do this quickly by simply dragging a single photo to the new item button, then deleting the photo out of the sequence.
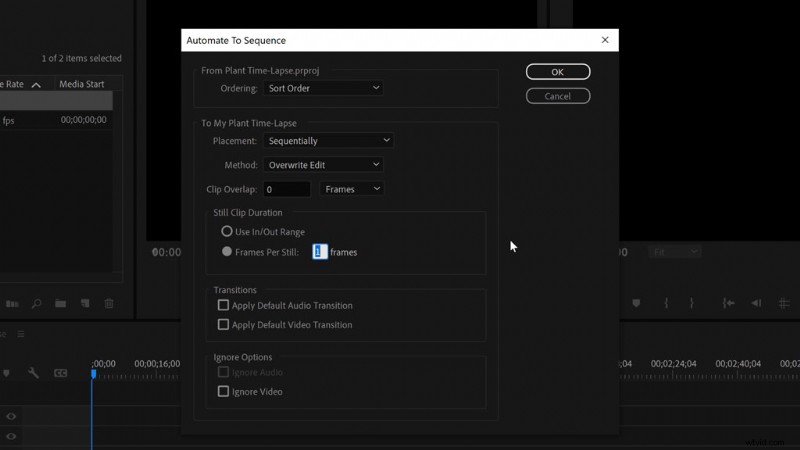
To place all of the images in the sequence together, I grabbed the folder and clicked on Clip > Automate to Sequence. Here, I set the clip duration to one frame, then turned off transitions and clip overlap. Voilà, my time-lapse is ready for export, right? Not quite.
To give my time-lapse some movement, I nested the sequence in a 1920×1080 sequence, then animated it to bring it to life. The beauty of shooting the photos at such a high resolution is that I could now do digital pans and zooms via keyframing in the Motion parameters in the Effect Controls panel.
There you have it, a fancy-schmancy time-lapse.
Some Lessons Learned
- Start recording at the top of the hour so you know when you can come into the room and water the plants.
- High resolution is the key, as it allows for digital zooms and pans.
- Shallow focus wasn’t great for me. It can easily ruin a shot it you aren’t careful.
- DO NOT TOUCH the camera. Just hitting the play button caused a bump in my time-lapse.
- Certain grow lights can even speed up the growth cycle, so be sure to study the different spectrums to see what works best for your plant.
- Practice will definitely make perfect.
If you’re lazy and you just need some time-lapse footage of plants, be sure to check out Shutterstock.
A few more photography articles, just for you:
- When Less Is More: A Guide to Minimalist Photography
- FREE Spinnable, Transparent 3D Florals: In the Garden with PixelSquid
- How to Add Dreamy Blur and Bokeh Effects to Your Photos
- Voice of the Artist: How One Brazilian Photographer Approaches Inclusivity
- What Does Masculinity Look Like?
Cover image via Romolo Tavani.