Can’t seem to get the right look and color out of your raw video? Explore the wonderful world of LUTs and how to apply them to your next project.
Whenever you first dive into color correction and color grading, they may seem like foreign concepts. The color wheels and curves look like instruments for professionals way above your pay grade. Fear not: there is a tool you can use to make your videos look just as professional. It’s called a LUT, or a Lookup Table. To put it simply, LUT are coded math equations that you plug into your NLE to alter the color of your footage.
When people first start making videos, usually the cameras they use already come with software that captures true colors. It’s when you start using cameras that record in LOG that you will start seeing a satin-like sheen over all of your videos. You may think to yourself, “Why does it look like this? This is supposed to look better than my crappier camera!” Don’t worry: it looks like that because you’re supposed to correct this footage in post-production. You can get richer and more vibrant colors this way. In this tutorial, we’ll dive into the very basics of how to apply these LUTs to your video.
I’ll be using these 35 FREE LUTs from RocketStock. Go download them now!
Let’s get started.
(First, head over to RocketStock to download the 35 FREE LUTs that I use in this video.)
Placing Adjustment Layers
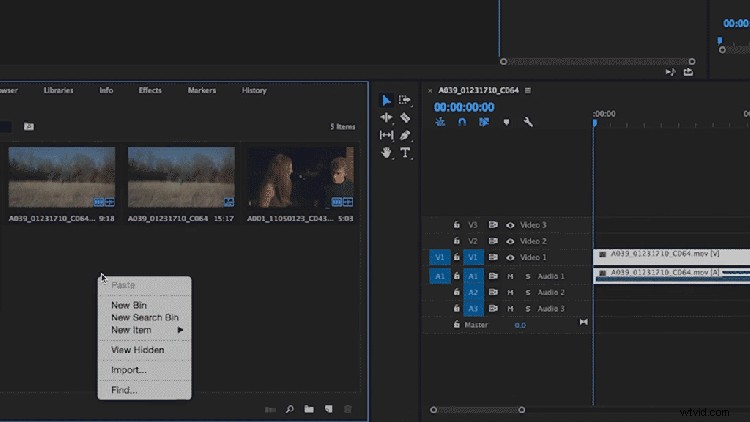
After you have imported your video and placed it into your timeline, you’re going to want to create an adjustment layer for your LUT. Using an adjustment layer makes the process a lot easier, and it creates ample opportunities for intricate grading customization. To do this, right-click inside the Project Window > New Item > Adjustment Layer. A new clip will pop up in your project window; just drag and drop onto your video from there.
Inserting the LUT
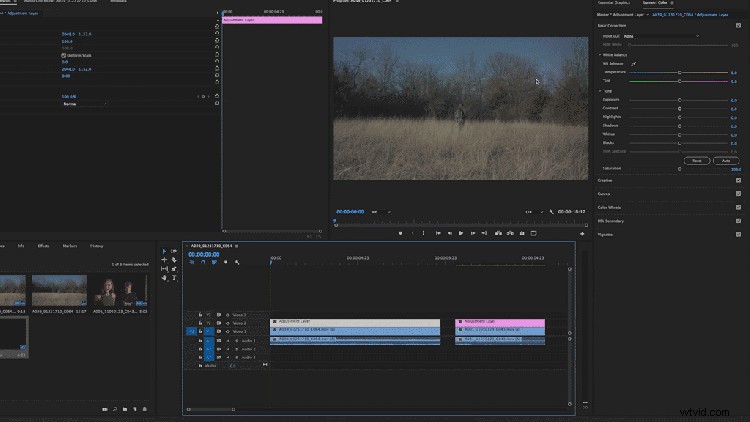
For this step, make sure to open your Lumetri Color panel. If it’s not open, go to Windows > Lumetri Color. It should open on your right. Now, under the panel, you will see a drop-down menu labeled Input LUT. Select Browse. From there, you can open up a LUT from the 35 free ones you downloaded earlier. They should apply instantly.
If you want to access your LUTs easily, try adding them to your drop-down menu. You can find out how to do this in this easy-to-follow article from PremiumBeat.
Adjusting the Settings
Go ahead and experiment with different LUTs to see which one fits your video best. Once you have picked one, see how it affects your video — and what steps you need to take to change it. Maybe you need to up your exposure, or even adjust the highlights. Remember, a blanket LUT over your entire timeline won’t solve everything. Every clip is different, and you should treat them all as such. If you want to learn more about intensive color grading, check out the tutorial below.
Looking for more video editing tips? Check out these articles.
- Video Editing 101: Pacing Your Film
- Stock Footage: Every Filmmaker’s Secret Weapon
- DIY Foley and Field Recording
- VFX Basics: Compositing, Rotoscoping, and Mattes
- 5 DIY Filmmaking Gear Tutorials