How to Create a Custom Slide Show in PowerPoint
PowerPoint’s custom slide show feature allows you to curate specific content for targeted audiences, making your presentations more focused and engaging.
With a variety of effects and a user‑friendly interface, you can easily create, preview, and modify custom slideshows directly within the application.
Official tutorials and detailed guides are available from Microsoft’s support channels.
Designing custom slideshows is an enjoyable way to share information efficiently. Below is a concise guide to help you get started.
In this article
Part 1: How to Create a Custom Slide Show in PowerPoint?
PowerPoint remains a powerful medium for delivering content, whether for personal, educational, or professional purposes. The custom slideshow feature lets you extract relevant slides from a larger deck, ensuring your audience sees only the material that matters.
Follow these steps to create a custom slideshow:
Step 1: Open Your Presentation
Launch PowerPoint on a desktop or PC and open the presentation from which you want to build a custom slideshow.
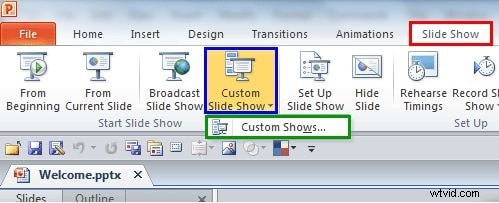
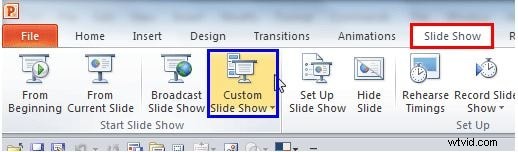
Step 2: Access the Custom Slide Show Menu
Navigate to the Slide Show tab on the ribbon. Click Custom Slide Show in the Options panel, then select Custom Shows… from the dropdown.
Step 3: Create a New Custom Show
In the Custom Shows dialog, click New to open the Define Custom Show dialog.

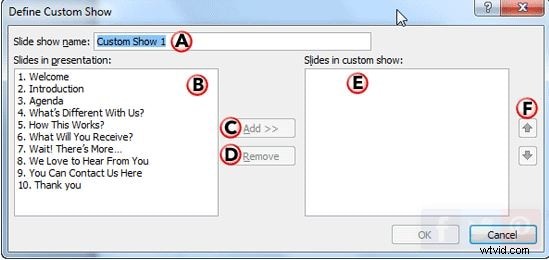
Step 4: Configure Your Custom Show
Fill in the fields as follows:
- Slide Show Name: Give your custom slideshow a descriptive title. If left blank, PowerPoint defaults to “Custom Show 1.”
- Slides in Presentation: A list of all slides in your current deck. Select the slides you want to include.
- Add: Moves selected slides to the Slides in Custom Show list on the right. This button activates only after a selection is made.
- Remove: Deletes slides from the custom show list. It remains disabled until a slide is selected.
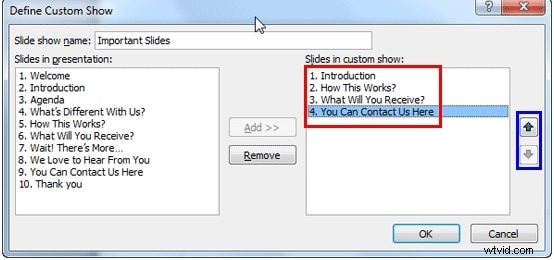
- Re‑Order: Use the Up and Down arrows to adjust slide order.
Step 5: Finalize and Preview
Click OK to create the custom slideshow. It will appear in the Custom Shows list. Select it and click Show to preview.
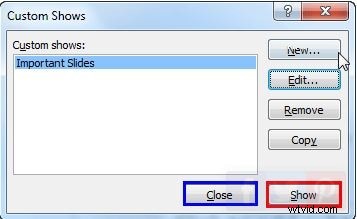
The dialog also offers:
- New: Create additional custom shows.
- Edit: Modify an existing custom show.
- Remove: Delete a custom show.
- Copy: Duplicate a custom show for minor variations.
When satisfied, click Close to save the custom slideshow.
Part 2: How to Show a Custom Slide Show in PowerPoint?
Creating a custom slide show is only the first step. Here’s how to play it and even set it as the default presentation.
Step 1: Open the Parent Presentation
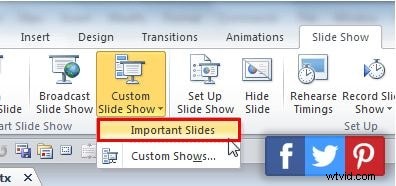
Launch the main presentation, then click Slide Show on the ribbon and choose Custom Slide Show.
Step 2: Select the Custom Show
A dropdown will list all custom shows. Click the one you wish to run.
Set a Custom Show as the Default
To make a custom show the default for future presentations:
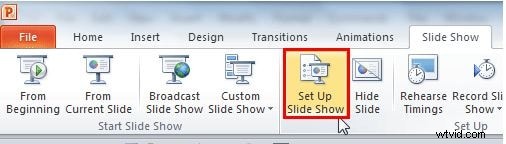
- In the Slide Show tab, click Set Up Slide Show.
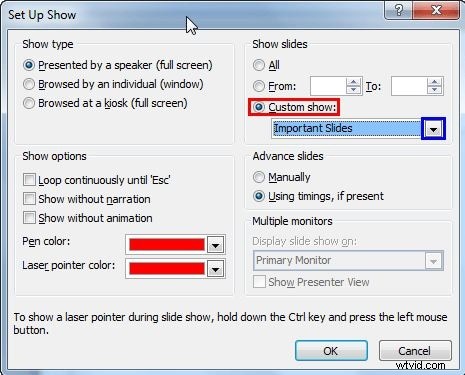
- In the dialog, select the Custom Show radio button, then pick your show from the list.
- Click OK to confirm.
Future slide shows will automatically use this custom set.
Part 3: How to Hide Slides in PowerPoint?
Hiding slides is useful when you want to exclude specific content from certain audiences without deleting the slides.
Step 1: Open Your Presentation
Start PowerPoint and open the deck you want to modify.
Step 2: Select the Slide(s) to Hide
In the left navigation pane, click the slide you wish to hide. You can select multiple slides by holding Ctrl (Cmd on Mac).
Step 3: Hide the Slide(s)
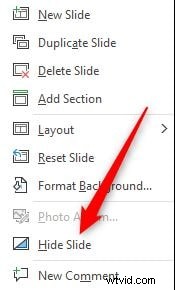
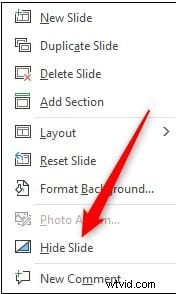
Right‑click the selected slide(s) and choose Hide Slide. Hidden slides appear lighter in the navigation pane.

Step 4: Unhide a Slide
To unhide, right‑click the grayed‑out slide and toggle Hide Slide off.
During a live presentation, right‑click anywhere on the slide to open the Options Panel, then select See All Slides to view both visible and hidden slides. Hidden slides will be marked with a crossed number.

Creating PowerPoint Slides in Filmora
The Wondershare Filmora Video Editor is a versatile tool for crafting polished slide presentations and converting them into engaging videos. Its extensive library of effects, transitions, and audio options lets you elevate simple slides into dynamic content.
Key benefits include:
- Intuitive interface for quick learning.
- High‑speed rendering and professional output.
- Wide device compatibility.
- Seamless conversion of slide decks to video formats.
Filmora is an excellent alternative if you need advanced visual enhancements beyond PowerPoint’s native capabilities.
Ending Thoughts
- Custom slideshows enable targeted delivery of information within larger presentations.
- After creation, you can play, set as default, or hide slides to tailor the experience.
- For advanced video‑style slideshows, consider using Wondershare Filmora.