Windows Movie Maker is a lightweight video editor that ships with many Windows PCs. If you don’t have it yet, you can download the latest version from Microsoft’s official website.
Using smooth transitions between clips prevents jarring cuts and keeps your footage looking polished. A fade‑to‑black transition is one of the most discreet yet powerful ways to end a clip or transition to a new scene.
Below is a clear, step‑by‑step guide to adding a fade‑to‑black effect in Windows Movie Maker, plus quick tips for other popular editors like Filmora, iMovie, and FlexClip.
Part 1. Fade to Black in Windows Movie Maker
Windows Movie Maker offers a simple “Fade out” effect that can be applied to any clip. Follow these steps to add the effect:
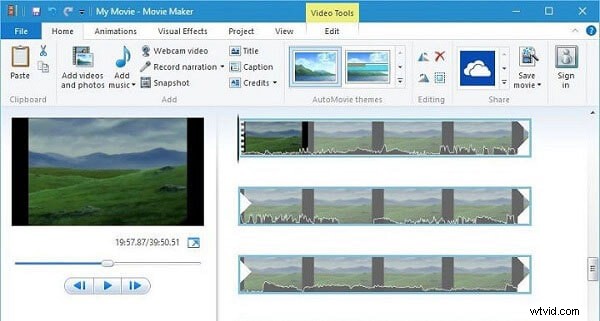
1. Open Movie Maker and import the clip you want to fade. Drag it onto the timeline.
2. In the upper toolbar, click the Visual effects tab. Press More to open the full list of effects.

3. Scroll through the list until you find Fade out. Click Add and then Apply to attach the effect to your clip.

4. Preview the clip by clicking Play to confirm the fade appears as expected.
5. When satisfied, save or export your project. The file can then be shared or uploaded to any social media platform.
Part 2. Advanced Fade Settings in Windows Movie Maker
For more control over the timing and style of your fade, use the built‑in editing options:
- Right‑click the clip in the timeline and choose Edit/Fading.
- Drag the slider to set the fade‑in and fade‑out durations.
- Click Return to apply the changes.

These steps work on both Windows and Mac versions of Movie Maker.
Other Editors You Might Use
While Movie Maker is great for beginners, more advanced editors offer additional transition options:
- Filmora: Drag a clip onto the timeline, then add a Dissolve transition from the Basic menu at the start and end of the clip.
- iMovie (Desktop): Create a new project, add your clip, then select Fade out to black from the Settings dropdown.
- FlexClip (Online): Upload your media, click the Transitions button, choose Fade to Black, and apply it to the desired clip.
Each of these platforms follows a similar workflow: import, select the fade transition, adjust timing, preview, and export.
Summary
Fading to black is a quick and effective way to finish a video clip or transition to a new scene. With Windows Movie Maker’s simple visual effects panel, the process takes just a few clicks. For more nuanced control, try the editing options or switch to a different editor like Filmora, iMovie, or FlexClip.