Freeze frames in Camtasia let you spotlight a key moment, build suspense, or embed a voiceover when the timeline is tight—making it an essential editing tool.
Camtasia offers three straightforward ways to freeze or extend frames, each tailored to different editing scenarios. Below you’ll find step‑by‑step instructions for all three methods, plus a comparison with Filmora, a beginner‑friendly alternative that simplifies freeze‑frame work.
In this article
-
- How to Add a Freeze Frame in Camtasia With the "Export Frame As" Option
- How to Extend Frames in Camtasia Using the "Extend Frame" Option
- How to Add Freeze Frames in Camtasia With the "Add Exported Frame" Icon
How to Freeze and Extend Frames in Camtasia: Complete Guide
Below are three practical techniques to hold a frame longer on the timeline, whether you’re exporting it as an image, extending its duration directly, or inserting an exported frame with a single click.
How to Add a Freeze Frame in Camtasia With the "Export Frame As" Option
Use the Export Frame As feature to capture a specific moment as an image, then re‑insert it and stretch it to match your audio or voiceover.
Step 1: Open Camtasia and import your media into the editor.
Step 2: Drag the clips onto the timeline and edit as usual.
Step 3: Select the clip that contains the frame you want to freeze.
 Step 4: From the Export menu (or press CTRL + F), choose "Export Frame As".
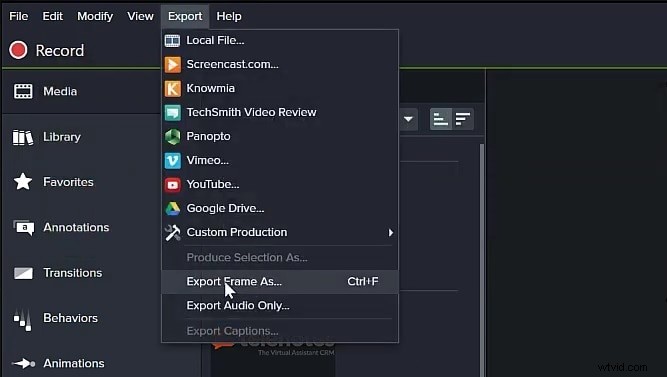 Step 5: Save the image to your device.
Step 6: Import the saved image back into Camtasia via the Plus icon.
Step 5: Save the image to your device.
Step 6: Import the saved image back into Camtasia via the Plus icon.
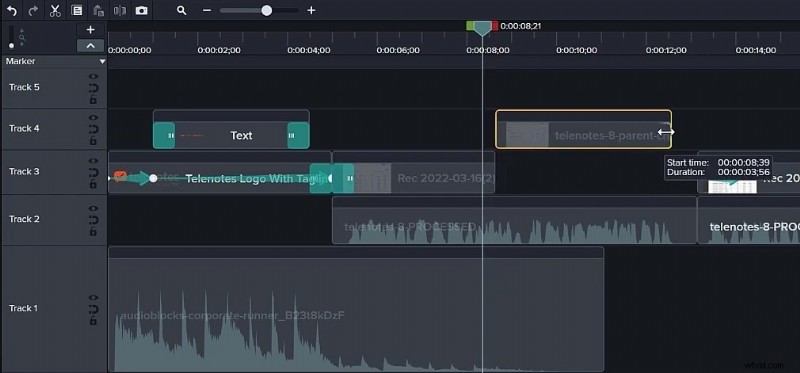
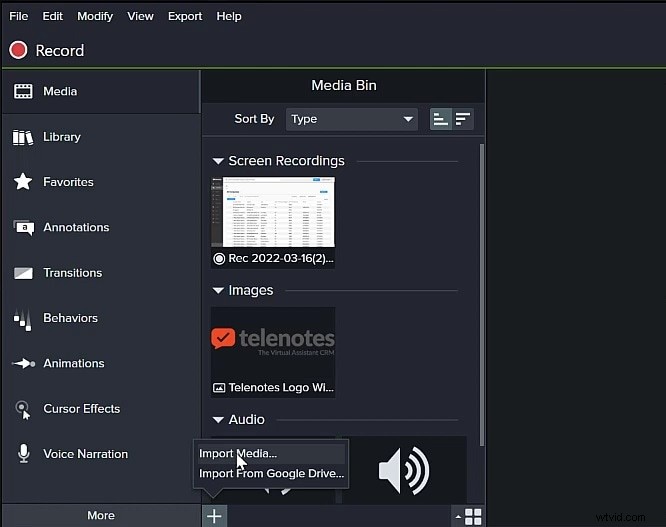 Step 7: Drag the image onto the timeline after the original clip.
Step 8: Stretch the image to fill the desired duration.
Step 7: Drag the image onto the timeline after the original clip.
Step 8: Stretch the image to fill the desired duration.
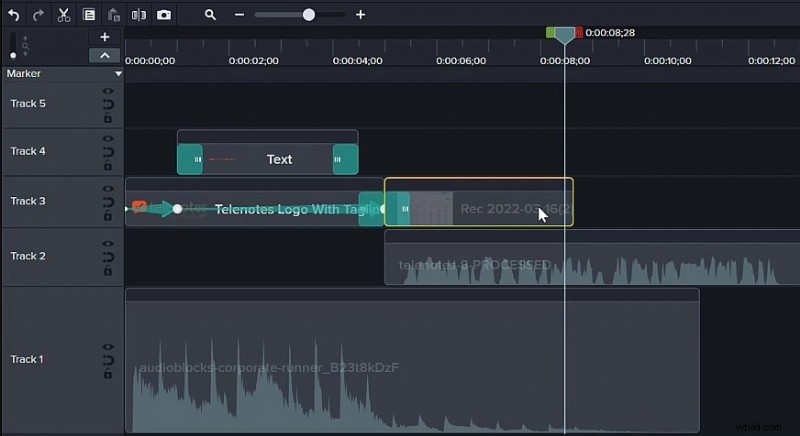
How to Extend Frames in Camtasia Using the "Extend Frame" Option
This method lets you specify the exact length of the freeze frame in seconds.
Step 1: Position the playhead at the start of the empty space you wish to fill.
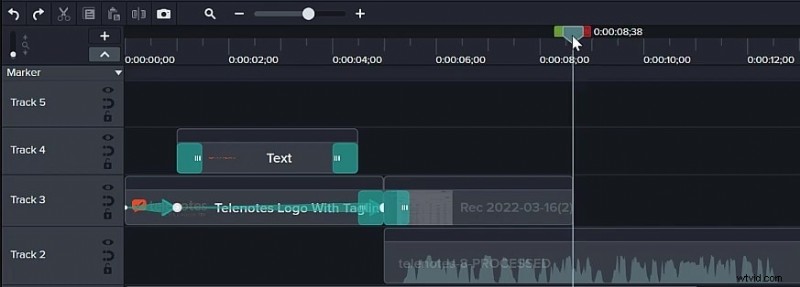 Step 2: Drag the playhead to the end of the gap and note the duration.
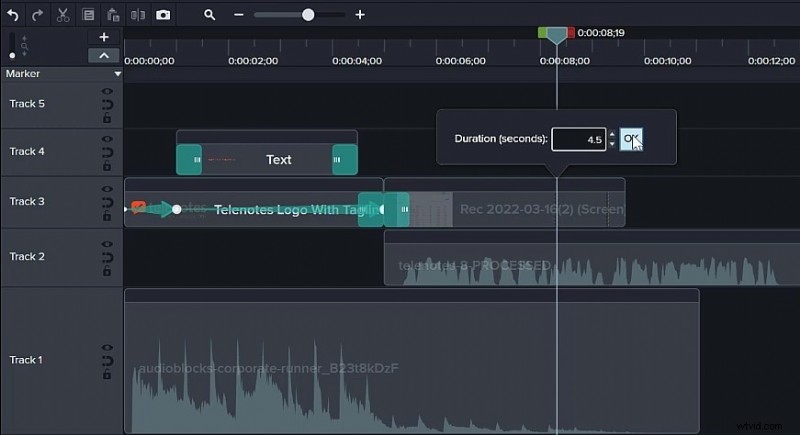
 Step 3: Return to the frame you want to freeze, right‑click it, and choose "Extend Frame" (or press SHIFT + E).
 Step 4: Enter the measured duration in seconds and click OK.
How to Add Freeze Frames in Camtasia With the "Add Exported Frame" Icon
This quickest option inserts a new frame directly into the timeline as an image, which you can then stretch.
Step 1: With your edit complete, place the playhead on the frame you wish to freeze.
 Step 2: Click the "Add Exported Frame" button above the timeline (or press CTRL + SHIFT + E).
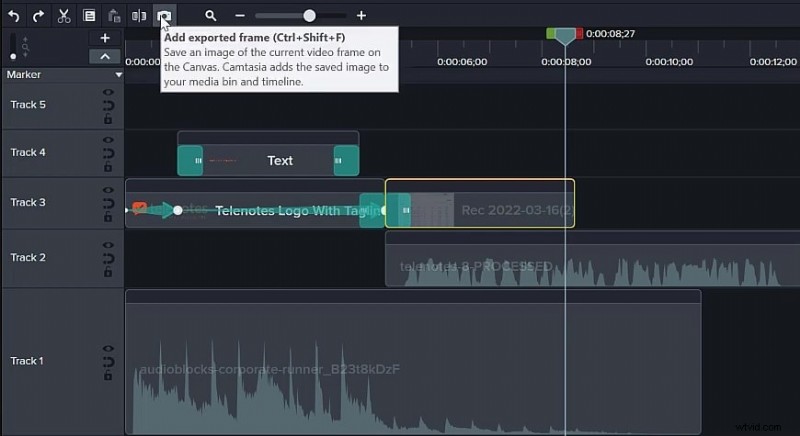 Step 3: The new image will appear; adjust its length to fill the gap.
Extending or Freezing Frames with Filmora: A Better Alternative
While Camtasia is powerful, its interface can be unintuitive for beginners, and the learning curve may be steep. Filmora offers a more streamlined workflow, especially for those new to video editing.
Filmora’s key strengths include:
- Robust video stabilization with minimal distortion.
- Extensive library of effects, transitions, and creative assets.
- AI‑driven tools that simplify content creation.
- Intuitive, professional‑grade yet beginner‑friendly UI.
- Cross‑platform support: Mac, Windows, iOS, Android.


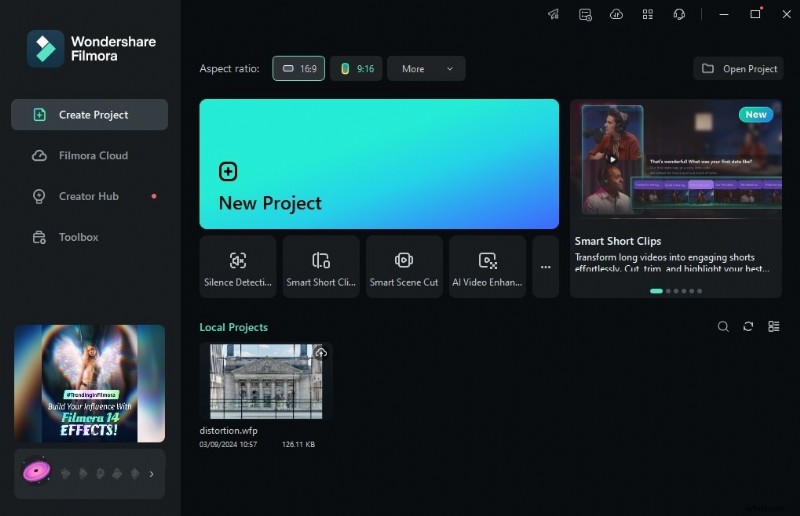
Step 1: Launch Filmora and start a new project.
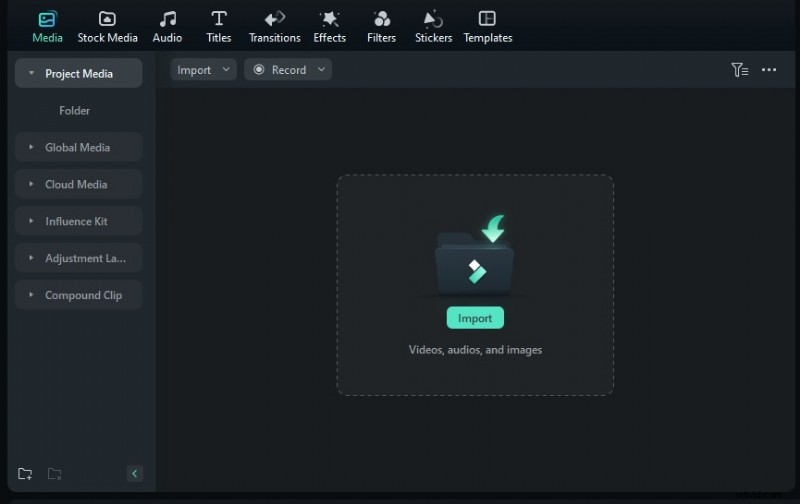
 Step 2: Import your media and drag clips onto the timeline.
 Step 3: Position the playhead where you want the freeze frame.
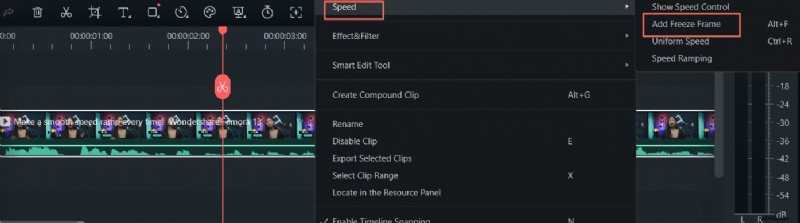
Step 4: Right‑click the clip, select Speed > Add Freeze Frame (or press ALT + F).
Step 3: Position the playhead where you want the freeze frame.
Step 4: Right‑click the clip, select Speed > Add Freeze Frame (or press ALT + F).
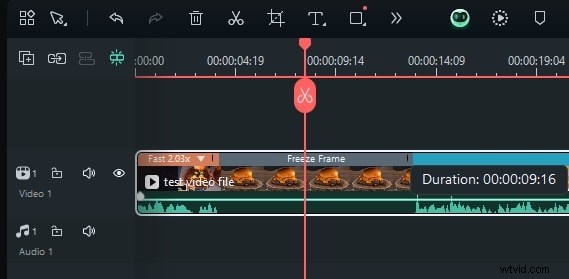
 Step 5: Resize the gray freeze‑frame bar to set the duration.
 Step 6: Export your project, choosing format, resolution, and target platform.
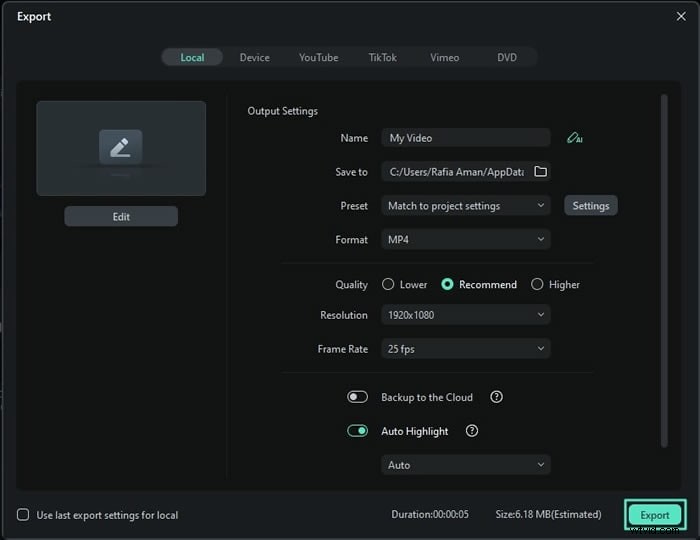
Filmora also offers direct export to YouTube, Vimeo, and TikTok, making it ideal for social media creators.
Adding Freeze Frames in Filmora Mobile
Filmora’s mobile app mirrors the desktop workflow for quick edits on the go.
Step 1: Open Filmora on your phone, create a new project, and import media.
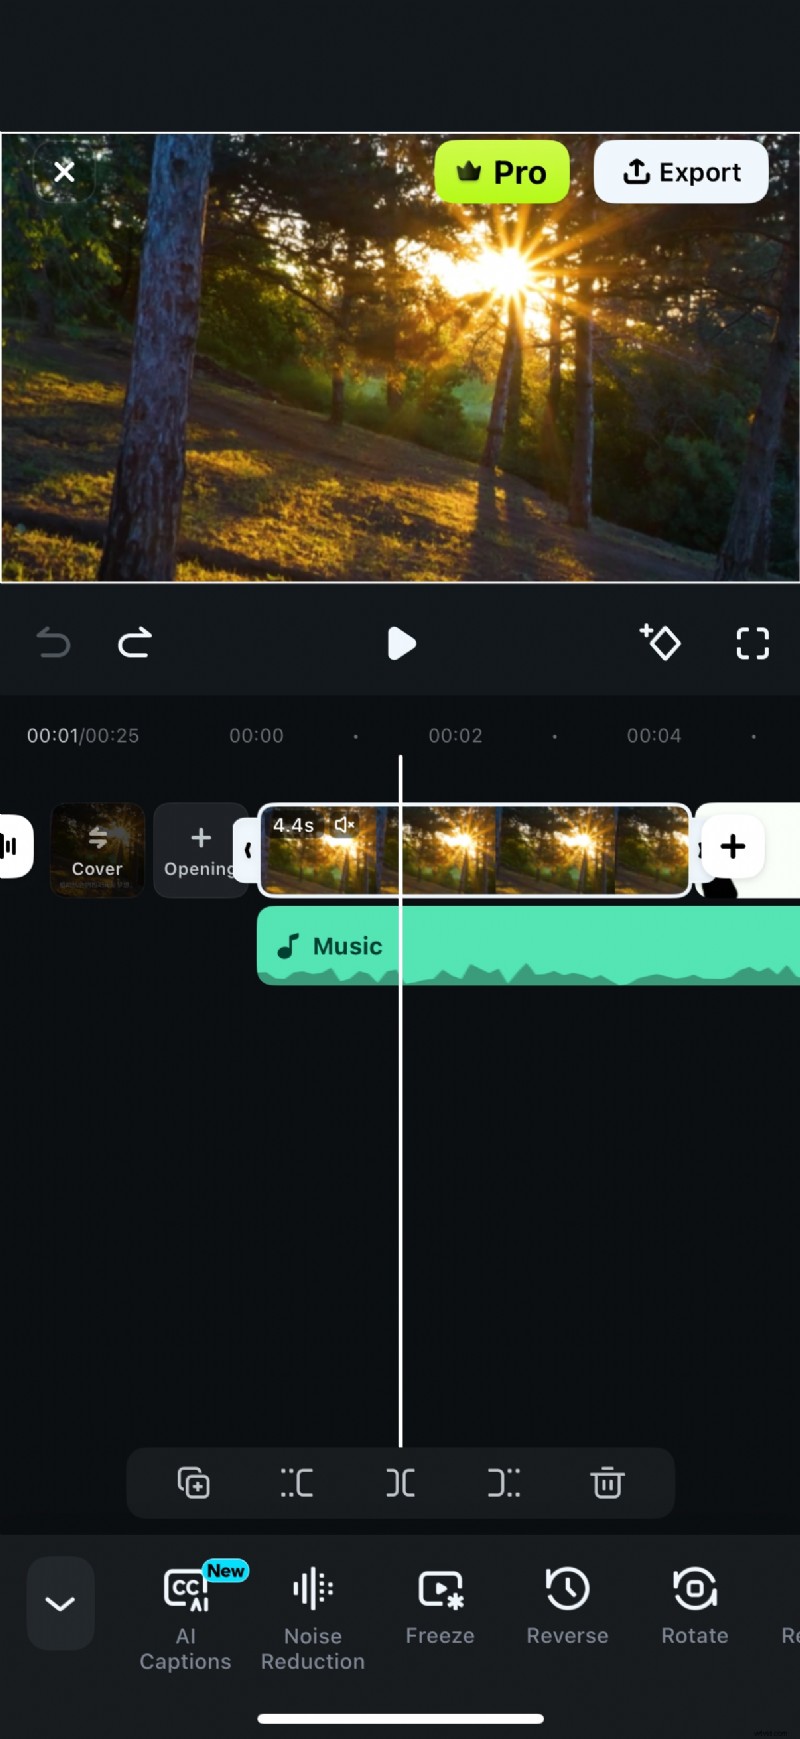
 Step 2: Select a clip, swipe right to reveal the Freeze option, tap it, and adjust the duration by dragging the white box edges.
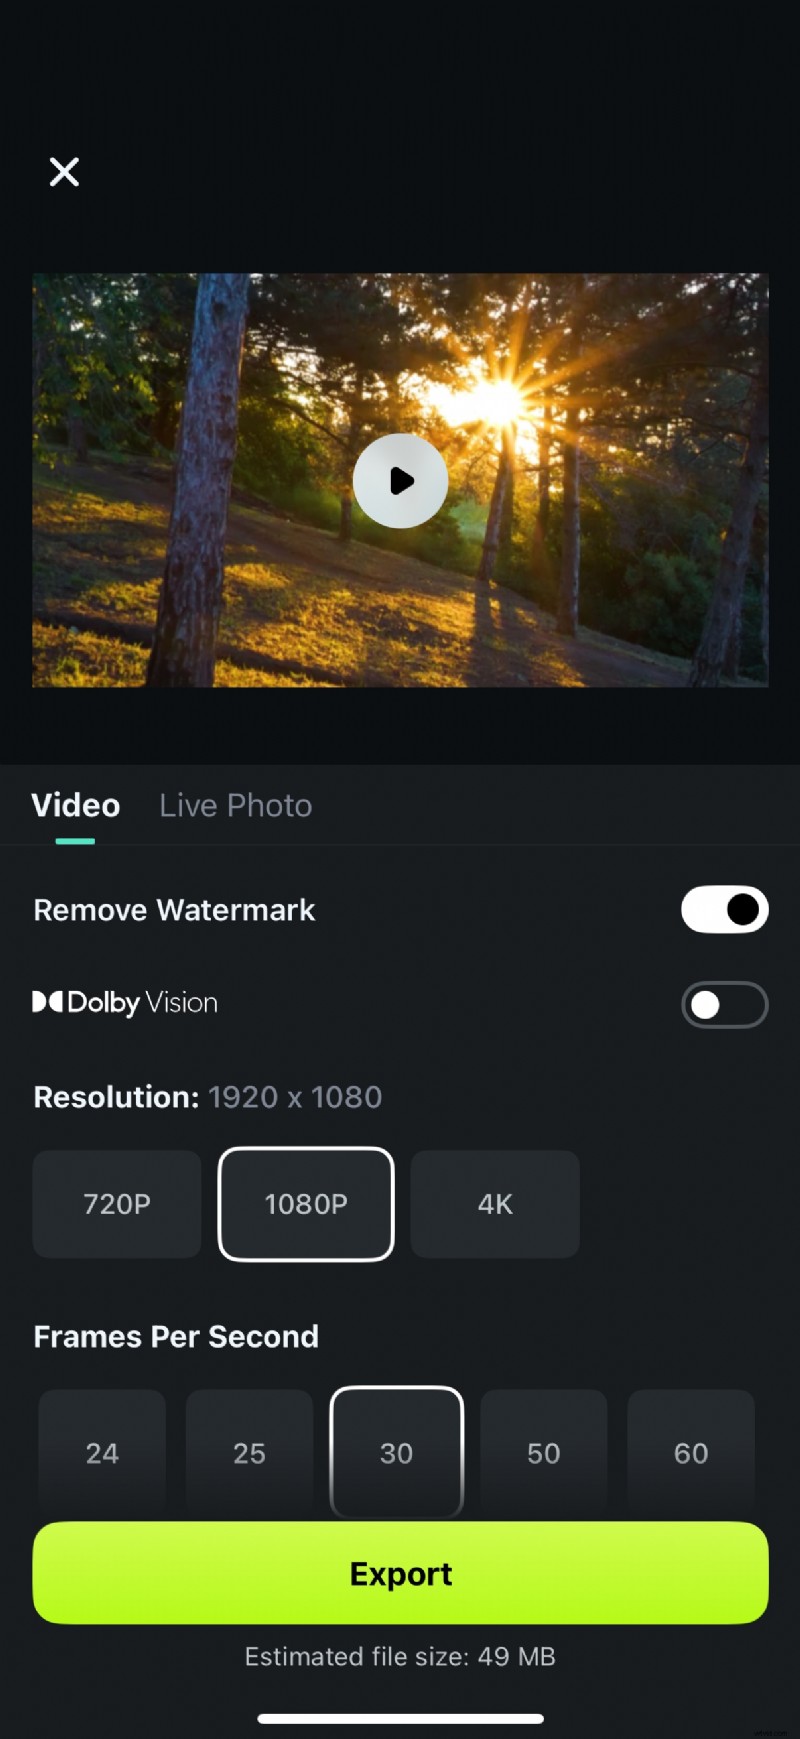
 Step 3: Export the finished video with your preferred quality settings.
Conclusion
Freeze frames are a versatile editing technique in Camtasia, enabling you to emphasize moments, add dramatic pauses, or integrate voiceovers. By mastering the three methods—Export Frame As, Extend Frame, and Add Exported Frame—you can choose the workflow that best fits your project.
For users seeking a more intuitive platform with a richer feature set, Filmora presents a compelling alternative. Its AI enhancements, extensive asset library, and simplified freeze‑frame tool make it a top choice for both beginners and seasoned editors.

Filmora – ⭐⭐⭐⭐⭐ The Best AI‑Powered Video Editing Software and App