Why Zooming in Google Meet Matters
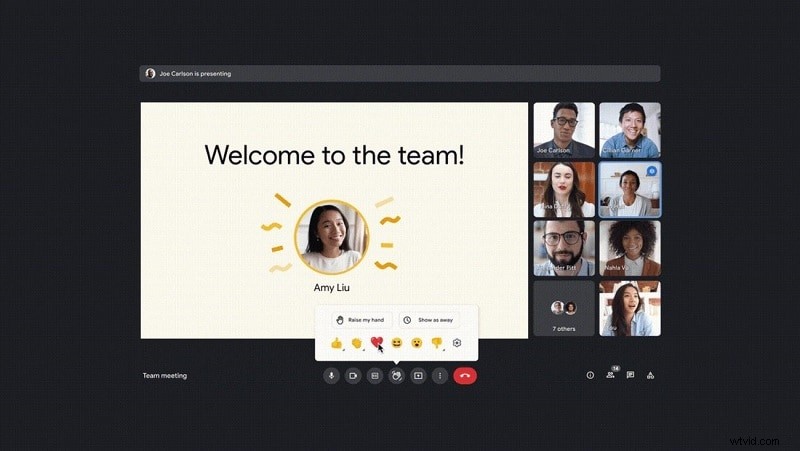
Google Meet has become a cornerstone of remote collaboration, especially for teams that rely on Google Workspace or G Suite for Education. Whether you’re presenting a slide deck, reviewing a spreadsheet, or simply sharing your screen, the ability to adjust the view can make a significant difference. Zooming in allows you to focus on details, while zooming out gives you a broader context, improving readability for participants who may be far from the display or have visual impairments.
How to Zoom In and Out in Google Meet
- Start or Join a Meeting
Open meet.google.com, launch the Google Meet app on mobile, or select a scheduled meeting from Gmail or Google Calendar. - Use Built‑In Keyboard Shortcuts
During a meeting, you can quickly change the zoom level with:- Ctrl + + (Windows/Linux) or Command + + (macOS) to zoom in.
- Ctrl + - (Windows/Linux) or Command + - (macOS) to zoom out.
- Ctrl + 0 (Windows/Linux) or Command + 0 (macOS) to reset to the default view.
- Adjust the Browser Zoom
If you prefer a broader adjustment, use the browser’s zoom function (Ctrl/Cmd + Scroll or the browser menu). This changes the entire page, including the meeting interface. - Full‑Screen Mode
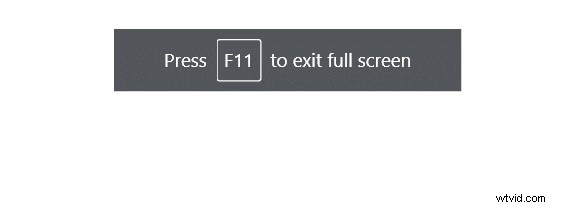
Press F11 (or Ctrl + Shift + F on Mac) to enter full‑screen mode, removing browser UI elements for a cleaner view. - Use the Meeting Toolbar
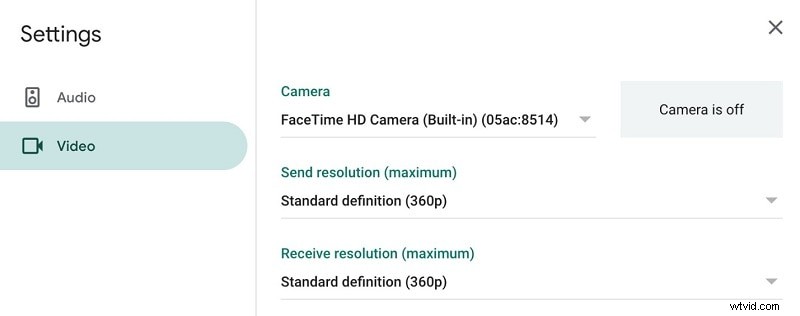
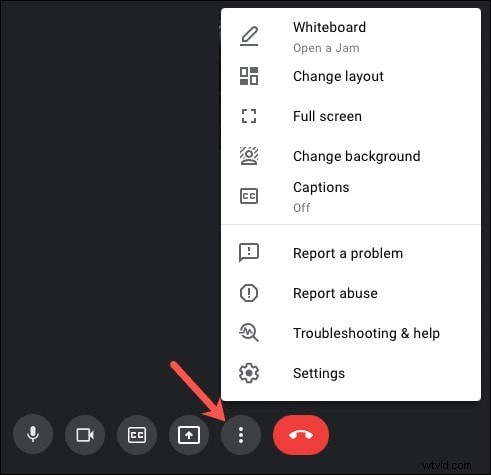
Click the three‑dot menu at the bottom right of the screen and choose Settings → Video. Here you can select the camera device and adjust the Camera Control slider to fine‑tune your view. - Pin a Participant for Focus
If you want to concentrate on a speaker, hover over their video, click the pin icon, and select Focus. This pins the speaker to the top row and can be combined with zoom shortcuts for optimal clarity. - Utilize the “Tiled” Layout
For large group calls, switch to Tiled view via the three‑dot menu. Adjust the slider to display between 6 and 49 participants, ensuring everyone is visible. - Record and Review
To capture the session, click the Record button in the three‑dot menu. Recordings are saved to Google Drive for easy sharing. - Enable Captions
Activate real‑time captions by clicking Turn on captions in the bottom right corner. Captions are currently available in English. - Cast to a Second Display
Use the Cast option to project the meeting onto a TV or second monitor, ideal for larger audiences or presentations. - Mute Others if Needed
As the host, you can mute participants by clicking the volume icon next to their name and selecting Silence.
Step‑by‑Step Visual Guide
1. Open the camera settings from the meeting toolbar to choose your webcam and adjust Camera Control options.
2. Pin the screen share by hovering over the shared content and clicking the pin icon. Then adjust the layout slider as needed.
3. Switch to Focus layout via the three‑dot menu and use Ctrl + - to zoom out. Press Ctrl + 0 to revert.
Essential Tips for a Seamless Experience
- Test audio and video in the Green Room before joining a call to avoid surprises.
- Pin the primary speaker to keep focus and reduce eye strain during dense conversations.
- Use the Recording feature to archive sessions for absent teammates.
- Enable Grid/Tiled view to see all participants, especially in large meetings.
- Use Captions for accessibility and clearer communication.
- Take advantage of Screen Casting to share meetings with a wider audience.
Conclusion
Adjusting zoom levels in Google Meet is straightforward yet powerful. By mastering keyboard shortcuts, toolbar settings, and layout options, you can tailor the meeting experience to suit every participant’s needs. Whether you’re presenting a detailed diagram, reviewing a spreadsheet, or simply ensuring everyone can read the shared screen, the right zoom level enhances clarity, engagement, and overall productivity.