Video overlaying is a staple technique for adding visual interest, branding, or dynamic color effects to your footage. Whether you’re creating a polished intro, a cinematic splash of color, or a social‑media clip that demands eye‑catching graphics, Premiere Pro’s powerful layering tools make the process efficient and flexible.
Step‑by‑Step: How to Add and Layer Videos in Premiere Pro
Below is a clear, expert‑approved workflow that covers everything from setting up a new project to fine‑tuning your overlay’s blend mode and opacity.
Step 1: Launch Premiere Pro and Build a New Sequence
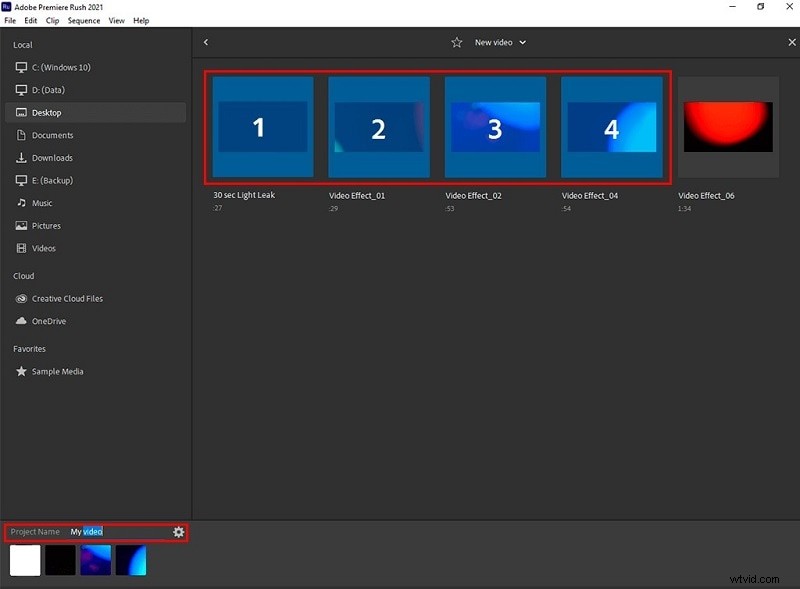
Open Premiere Pro, create a new project, and import your primary footage. Drag the clip onto the timeline – the sequence’s settings will automatically match the clip’s parameters.
Step 2: Open the Effects Workspace
Navigate to Window > Workspaces > Effects (or click the Effects workspace icon). This ensures all needed tools are immediately accessible.
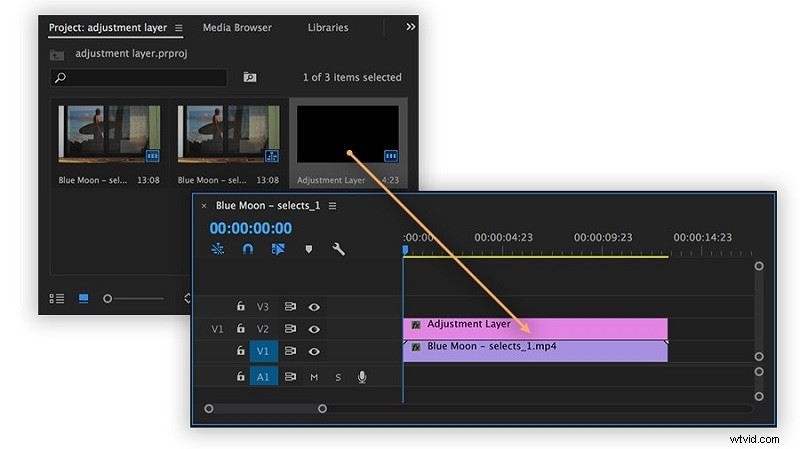
Step 3: Create an Adjustment Layer
Go to File > New > Adjustment Layer. Drag the new adjustment layer onto a track above your primary clip. The layer will cover the entire sequence.
Step 4: Apply a Gradient Overlay
In the Effects panel, locate the 4‑Color Gradient under the “Generate” folder. Drag it onto the adjustment layer in the timeline.
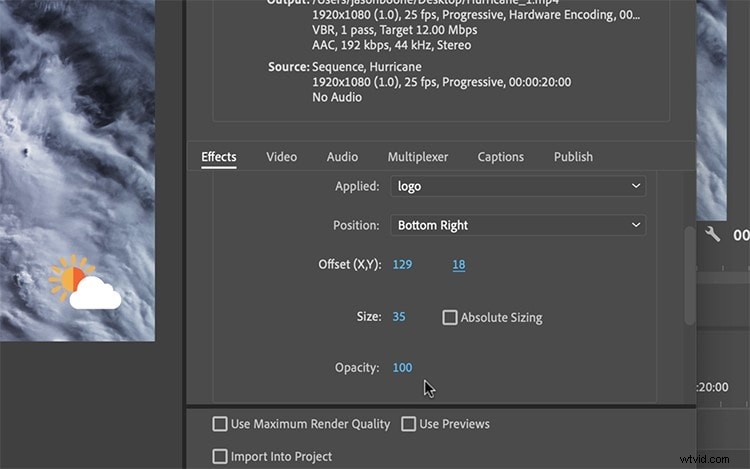
Step 5: Fine‑Tune in Effect Controls
Select the adjustment layer and open the Effect Controls panel. Here you can adjust size, position, and opacity, and change the blend mode to “Blend With Original” for a subtle overlay.
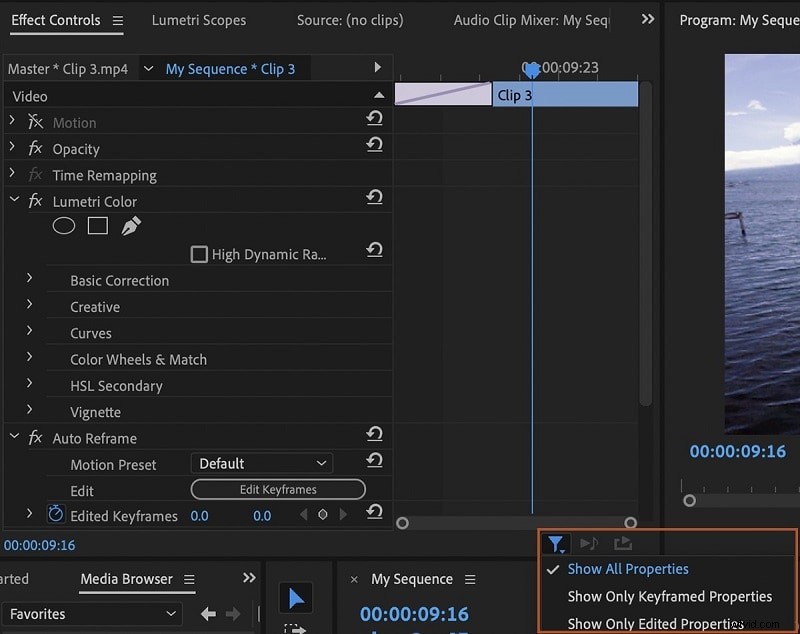
Toggle Show all properties to compare before‑and‑after views. Increase the blend value to strengthen the overlay effect.
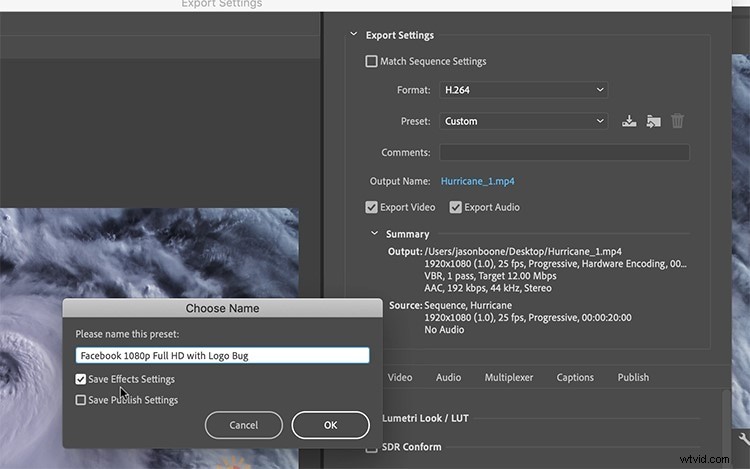
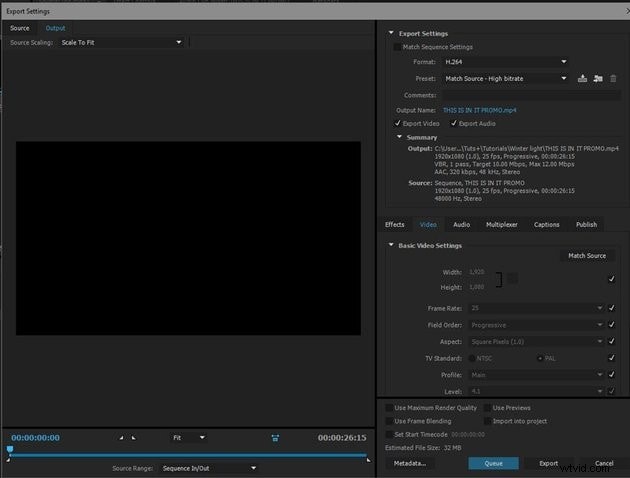
Step 6: Save and Export
Once satisfied, choose Auto‑Save from the Presets drop‑down to preserve your settings for future projects. Export the sequence normally, and the gradient overlay will be baked into the final render.
Premiere Pro vs. Filmora: Quick Overlay Alternative
For editors who prefer a more intuitive interface or have smaller projects, Filmora offers a straightforward overlay workflow. Below is a side‑by‑side comparison.
| Feature | Filmora | Premiere Pro |
|---|---|---|
| Workflow | Direct drag‑drop, PIP icon (mobile) | Adjustment layers, Effects workspace |
| Ease of Use | Simple, user‑friendly, quick application | Multi‑step, requires deeper concept understanding |
| Overlay Content Sources | Built‑in library, AI‑generated assets | Adobe Stock, external import |
| Best For | Beginners, casual creators, quick small‑to‑medium projects | Professional editors, complex projects, demanding precise control |
Using Filmora to Overlay Videos
Follow these concise steps to add an overlay in Filmora, whether on desktop or mobile.
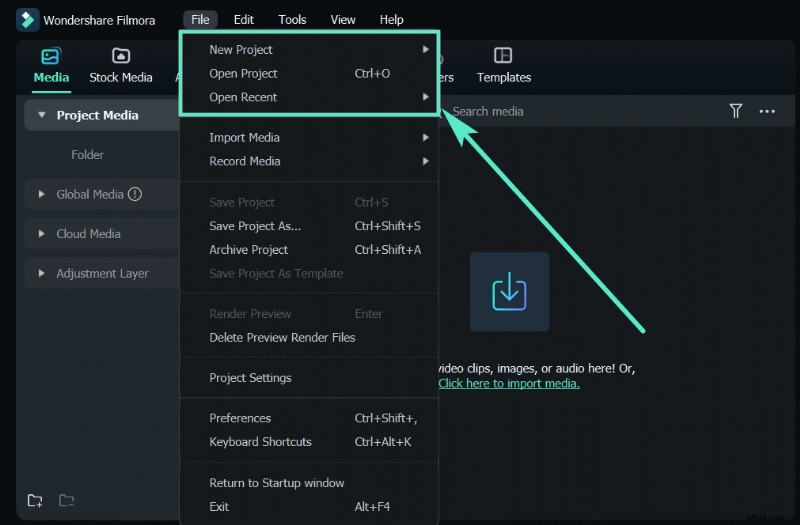
Step 1: Launch Filmora and Import Media
Open Filmora, switch to Video Editor mode, and import your main video into the timeline.
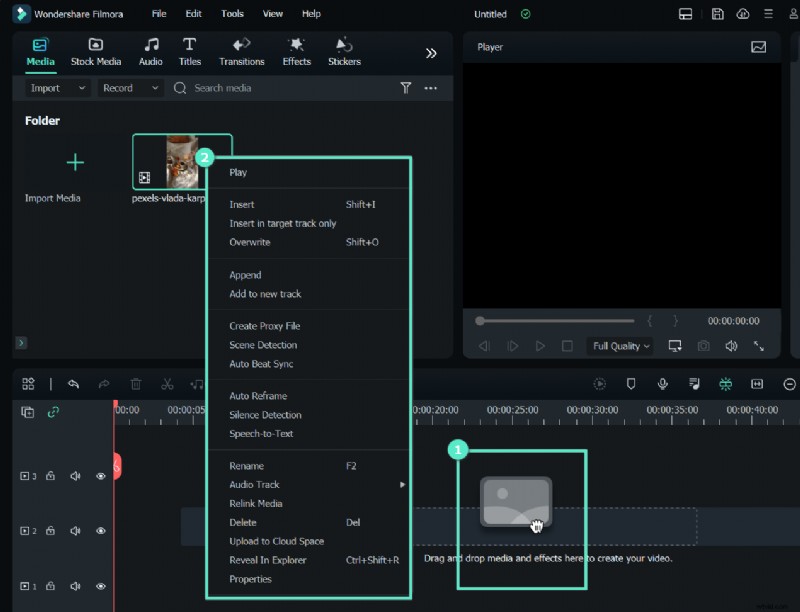
Step 2: Add Overlay Media
Right‑click the desired image or video in the media library, then resize or reposition it on the timeline.
Step 3: Enhance with Effects
Use the Effects tab to apply additional filters or choose a green‑screen background if needed.

Step 4: Finalize and Export
Click OK to apply changes, preview the result, and export the finished video.
Overlay in Filmora Mobile
For quick edits on the go:
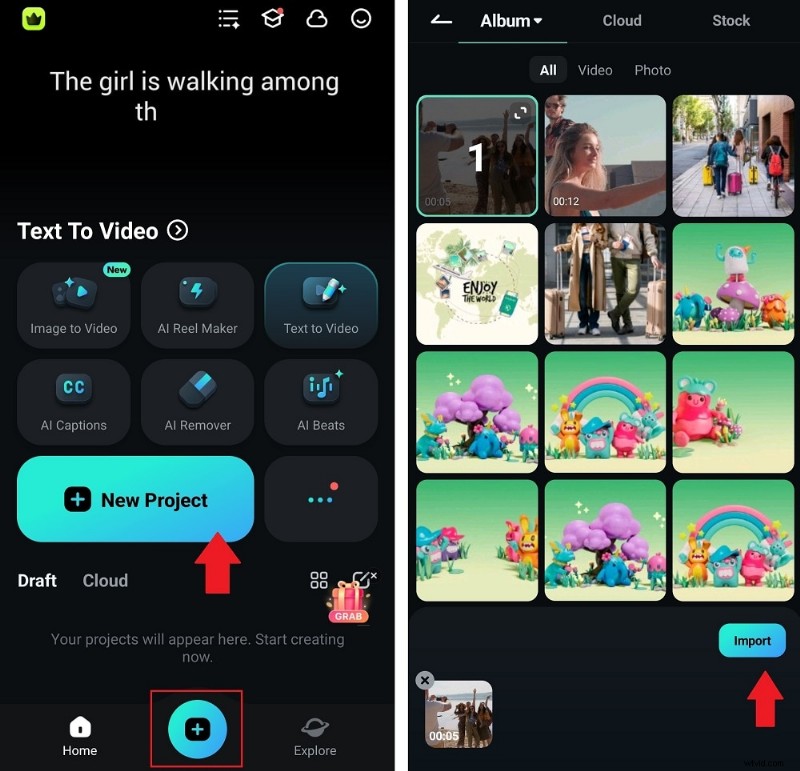
- Start a new project and import the background clip.
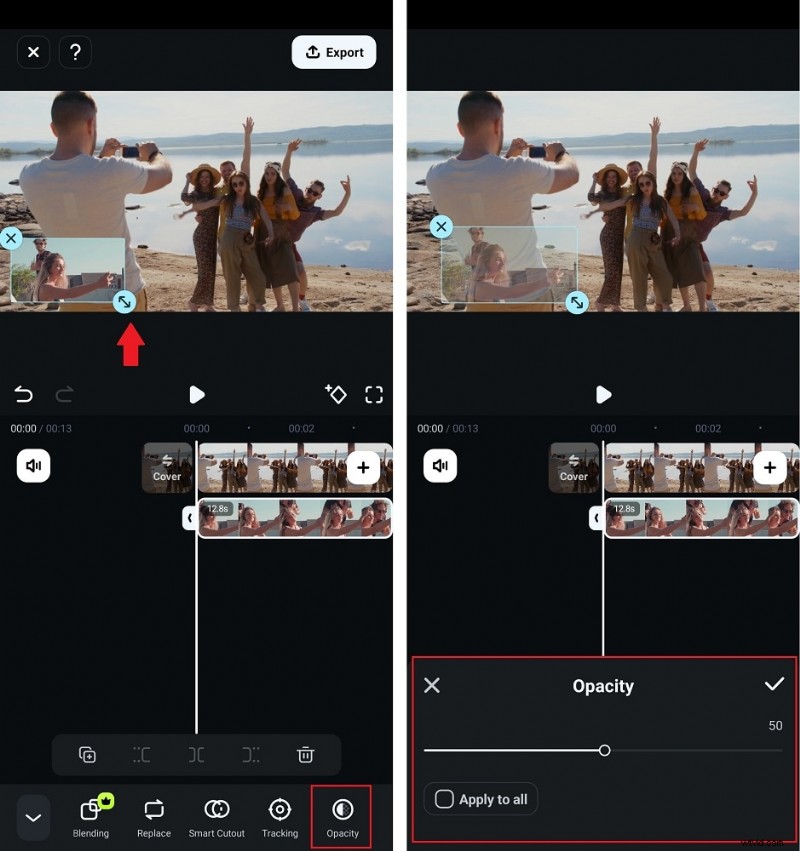
- Tap the PIP icon, select the overlay media, and adjust its size and position.
- Use opacity sliders or filters to refine the look before exporting.

Conclusion
Whether you’re layering a gradient in Premiere Pro or adding a picture‑in‑picture clip in Filmora, overlays are a powerful way to enhance storytelling without cluttering the frame. Follow the steps above to apply overlays confidently, and remember to adjust blend modes and opacity to achieve the desired visual impact.