
Adobe Premiere Pro is a powerful, feature‑rich editor trusted by professionals worldwide. Its extensive toolbox can feel intimidating at first, but mastering the basic cutting techniques will dramatically speed up your workflow and help you produce polished videos.
In this article
- Method 1: Using the Timeline Playhead
- Method 2: Using the Razor Tool
- Method 3: Using the Selection Tool
- Method 4: Using the Trim Tool
- Method 5: Using the Source Monitor
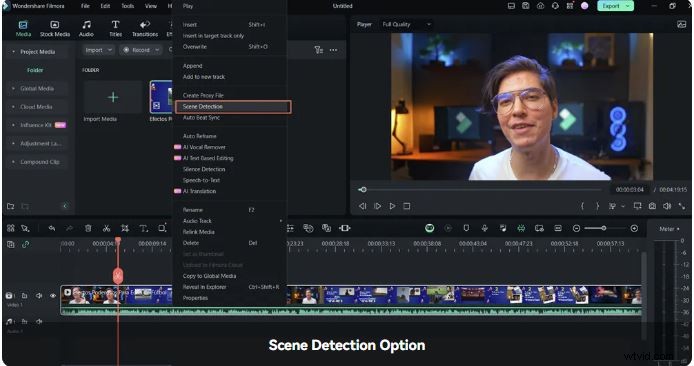
- Scene Detection (Filmora)
How to Cut/Trim Videos in Premiere Pro in Different Ways
Below are five proven techniques that cover everything from quick one‑click cuts to precise, frame‑accurate trimming.
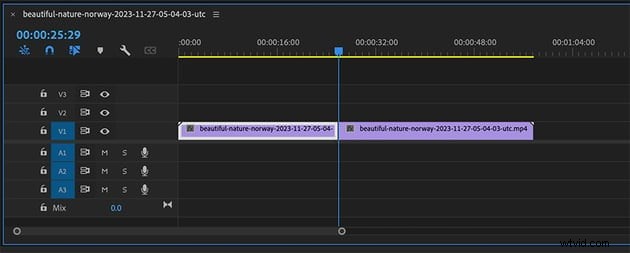
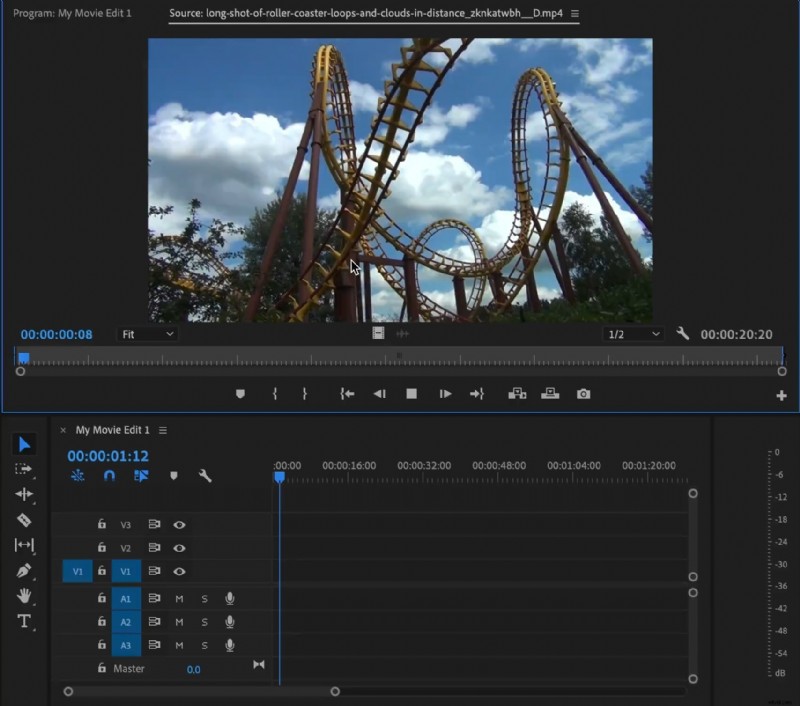
Method 1: Using the Timeline Playhead
1. Drag your clip into the timeline. 2. Move the vertical blue playhead to the exact frame where you want to cut. 3. Press Ctrl+K (Windows) or Cmd+K (Mac) to split the clip. Repeat to create multiple short segments.
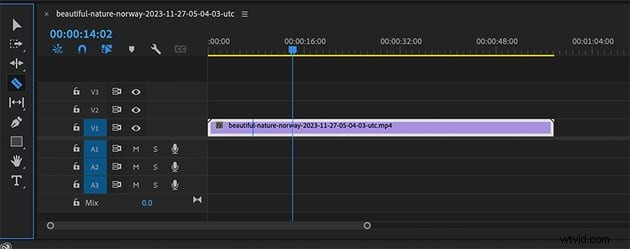
Method 2: Using the Razor Tool
1. Select the Razor Tool (C key) from the toolbar. 2. Click the clip at the desired split point. 3. Repeat as needed to divide a long clip into shorter, editable pieces.
Method 3: Using the Selection Tool
1. Activate the Selection Tool (V key). 2. Drag the clip’s edge to the marker you set, or drag the entire clip to reposition it. 3. To delete a section, select the clip and drag its edge inward to trim away the unwanted portion.

Method 4: Using the Trim Tool
1. Select a clip and hover its edge until the Trim icon appears. 2. Drag the edge to fine‑tune the cut point, ensuring smooth transitions.


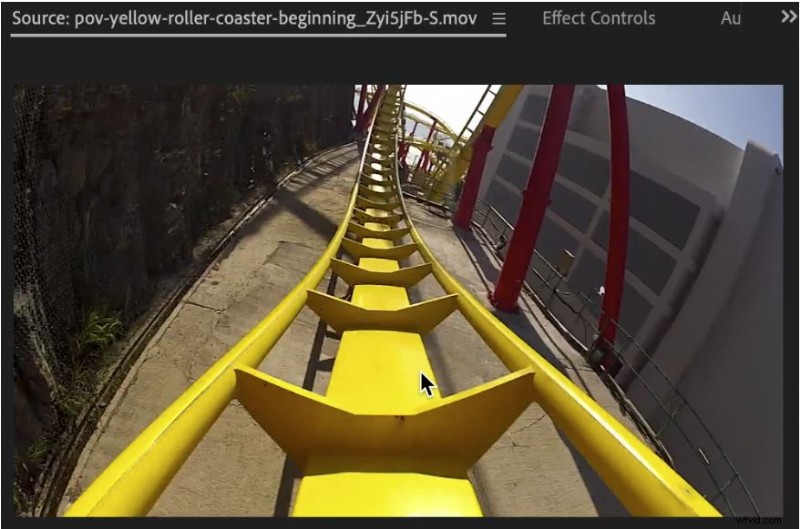
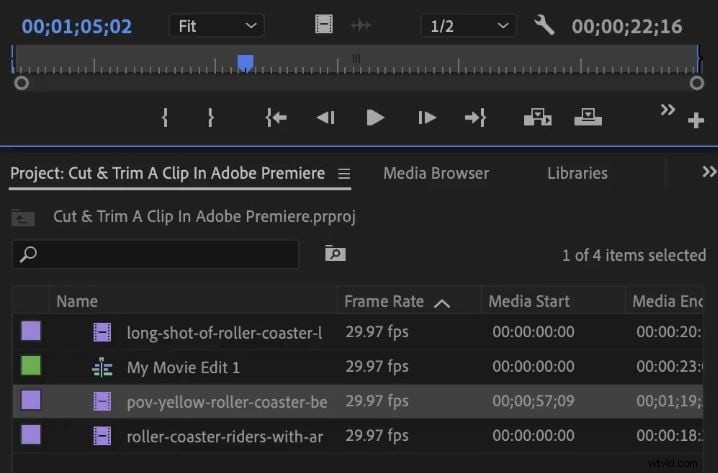
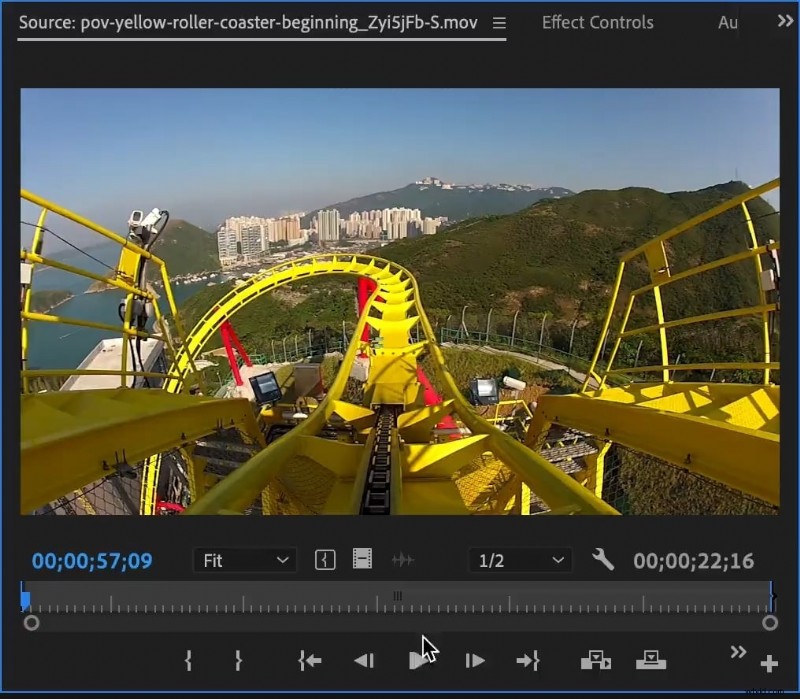
Method 5: Using the Source Monitor
1. Drag the clip into the Source Monitor. 2. Set In (I key) and Out (O key) points to isolate the desired segment. 3. Drag the marked clip onto the timeline or create a subclip via Clip > Subclip.
An Alternative to Premiere Pro for Cutting/Trimming: Wondershare Filmora
For editors who need a simpler, AI‑powered workflow, Filmora delivers essential tools—cut, trim, split—plus advanced features like Scene Detection, all within a beginner‑friendly interface.
Key Benefits
- Intuitive stabilization with minimal distortion.
- Extensive library of effects, transitions, and stickers.
- AI‑assisted content creation for rapid editing.
- Cross‑platform support (Windows, macOS, iOS, Android).


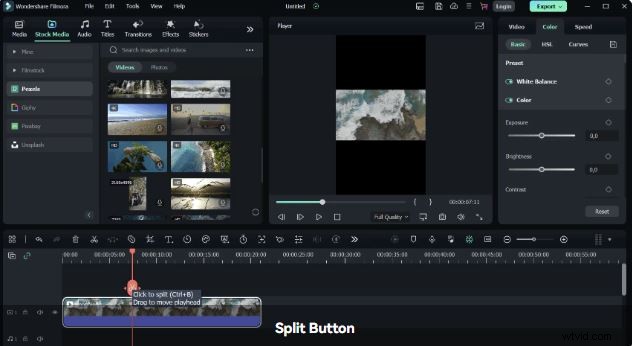
How to Cut and Trim Videos in Filmora
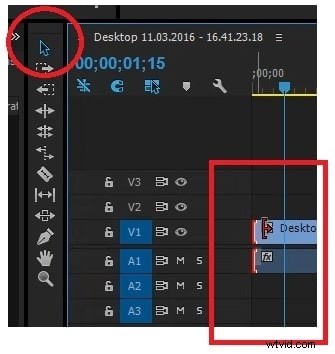
1. Create a new project and import your clip. 2. Drag the clip to the timeline, move the red indicator to the split point, and click the Split button or use the Scissors icon. 3. Trim unwanted edges by hovering the clip’s borders and dragging inward. 4. Export the finished video by selecting Export, choosing format, quality, and resolution.
Advanced Feature: Scene Detection in Filmora
1. Right‑click a timeline clip and choose Scene Detection. 2. Run the detection to split the original clip into individual scenes. 3. Drag desired scenes back onto the timeline for further editing.

Pro Tips for Seamless Video Cutting
- Cut during action to mask transitions.
- Match shots by movement, size, or color for fluidity.
- Avoid jump cuts unless intentionally stylistic.
- Use cross‑cutting to build tension between parallel scenes.
Conclusion
Premiere Pro offers multiple efficient cutting methods that suit every editing style—from the quick playhead split to the precise trim tool. If the interface feels too complex for your needs, Filmora provides a lightweight, AI‑enhanced alternative that handles cutting, trimming, and splitting with ease.