Clip splitting is an essential video editing technique that lets editors create precise cuts, make smoother transitions, and refine their editing projects through tailored scenes. This fundamental editing function gives users precise control over timing and pacing, helping them create unique and exciting content.
In today's guide, you'll learn how to split clips in Final Cut Pro, one of the most widely used video editing tools for Mac users . We'll show you how to split audio and video in Final Cut Pro with five different methods and provide an alternative, cross-platform video editing solution for those outside Apple's ecosystem.
In this article
-
- Method 1: How to Split Clips in Final Cut Pro Using the Blade Tool
- Method 2: How to Cut Clips in Final Cut Pro Using the Playhead
- Method 3: How to Trim a Clip in Final Cut Pro Using the Position Tool
- Method 4: How to Split Clips in Final Cut Pro by Inserting New Clips
- Method 5: How to Cut Videos in Final Cut Pro Simultaneously
-
- How to Split Audio and Video Tracks Using Wondershare Filmora
- How to Use Filmora's Quick Split Mode
- Cutting a Longer Video With Filmora's Smart Short Clips
5 Methods for Splitting Clips in Final Cut Pro
There are several ways to split clips in Final Cut Pro, each suited for different cutting needs and user preferences. Whether you're just starting your editing journey or looking for a technique to enhance your editing productivity, the following five methods will teach you how to cut clips in Final Cut Pro quickly and efficiently, so let's explore them together.
Method 1: How to Split Clips in Final Cut Pro Using the Blade Tool
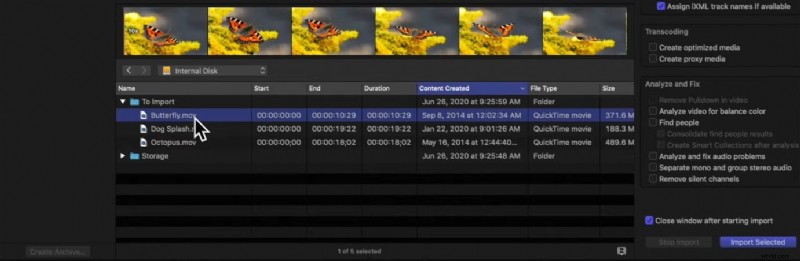
Step 1: Launch Final Cut Pro on your Mac and hit the Import button in the top left corner.

Select the device where your media files are stored: an internal disk, an external drive, or your iPhone.
Find and select the clip you wish to import in the window section at the bottom.
Step 2: Click Import Selected in the bottom right corner to add your media files to Final Cut Pro.
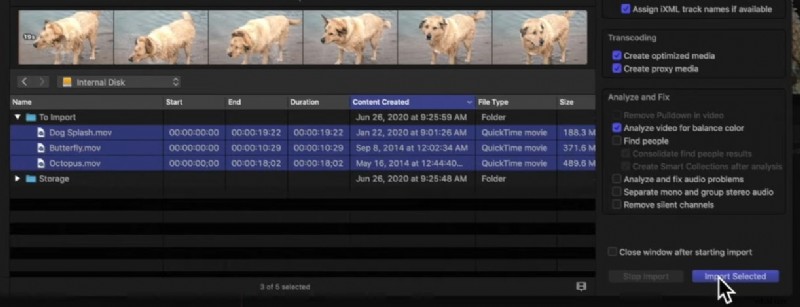
Drag and drop clips from Final Cut Pro's Import section into the Timeline window at the bottom.
Step 3: Click on Tools above the Timeline window and select the Blade tool. Alternatively, press the B key on your Mac's keyboard.

Step 4: With the Blade tool selected, skim the playhead to where you want to cut and click on the video in the Timeline window. That'll create two separate clips with a clean split.

Tip: Hold down the B key to quickly switch to the Blade tool, release it to go back to the Selection tool.
Method 2: How to Cut Clips in Final Cut Pro Using the Playhead
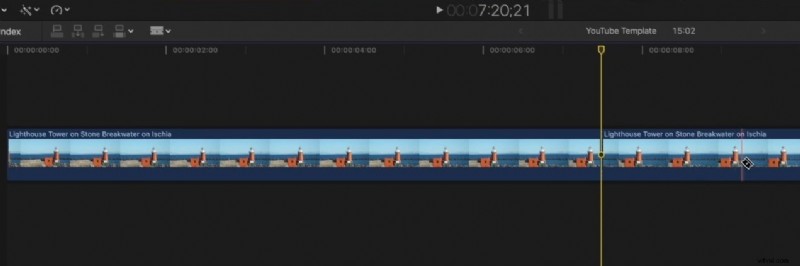
Step 1: With the video in Final Cut Pro's Timeline window, move the Playhead to a position where you want to cut the clip.

Step 2: Hit your Mac keyboard's COMMAND + B keys to split a clip in Final Cut Pro without deselecting the Select tool.
The Playhead and keyboard shortcut method is much quicker than the Blade tool, and you won't have to hold down any buttons or change the selected tool above the Timeline either.
Method 3: How to Trim a Clip in Final Cut Pro Using the Position Tool
Step 1: Head to the Timeline window and move the Playhead to where you want to split the original clip.
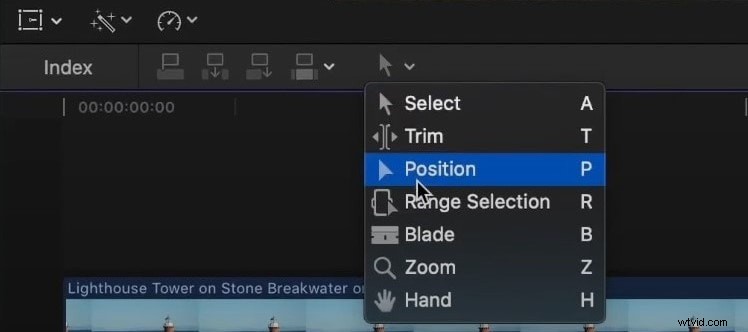
Step 2: Click Tools and select the Position tool. You can also press the P key on your Mac's keyboard to activate this tool.
Step 3: Drag the new clip from the Import section into the Timeline window, and the Position tool will insert it into the original clip at a spot marked by the Playhead.

Note: Using the Position tool overwrites a few seconds of the original clip, making it useful when maintaining the original video length is important (e.g., to sync audio).
Method 4: How to Split Clips in Final Cut Pro by Inserting New Clips
Step 1: Move the playhead or skimmer in the Timeline to where you want to insert a new clip.
Step 2: Press the W key on your keyboard to insert the new clip at the selected point, automatically splitting the existing clip without overwriting any part of the original video.
Note: Inserting clips with the W key works similarly to the Position tool, but does not overwrite the original video. Choose between these methods based on whether you need to keep the original video length.
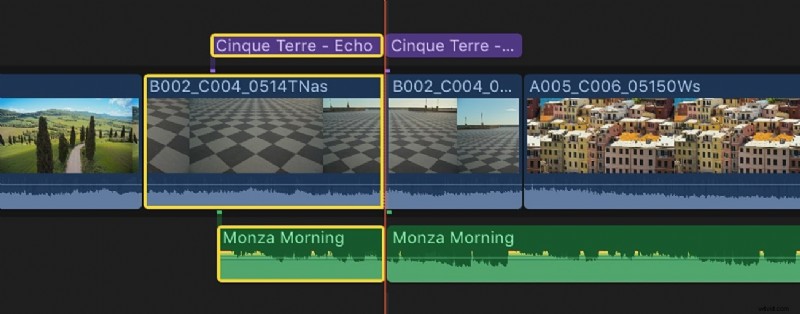
Method 5: How to Cut Videos in Final Cut Pro Simultaneously
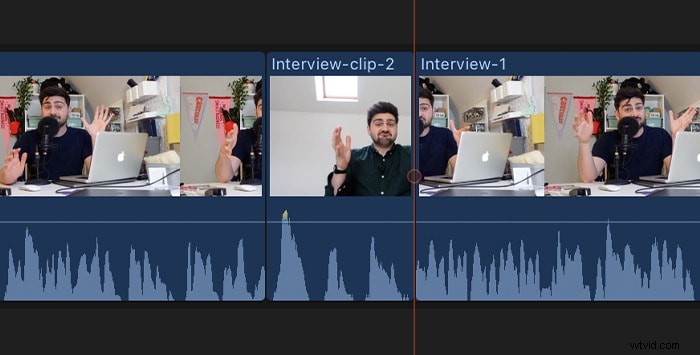
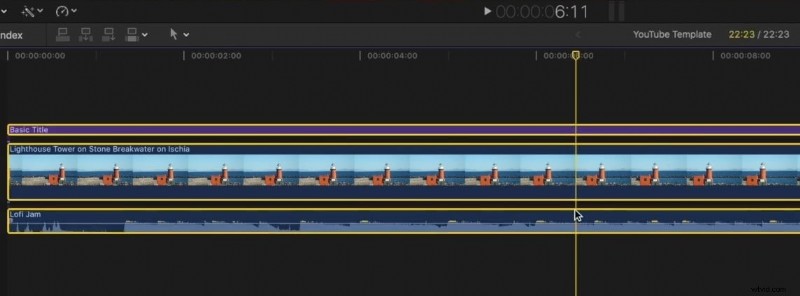
Step 1: With multiple tracks loaded into Final Cut Pro and aligned in the app's Timeline, position the Playhead or the Skimmer to where you want to cut these clips.

Step 2: Left-click a spot in the Timeline. Then, holding the button, move the cursor to highlight all Timeline tracks.
Step 3: Press your Mac keyboard's COMMAND + B keys to split all highlighted clips simultaneously.
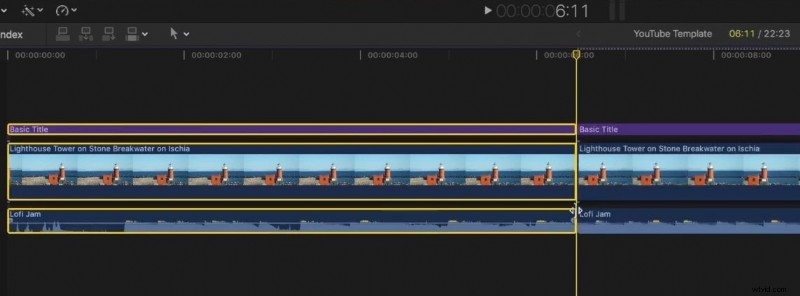
When you move the Playhead in Final Cut Pro's Timeline window, you'll see that all your highlighted clips have been split, and you can then rearrange them, remove any excess materials, or insert additional clips between them.
Tip: Use SHIFT + COMMAND + B to cut all tracks at once without needing to highlight them. This shortcut works with both the Playhead and Skimmer, saving time when you have multiple tracks in the Timeline.
Wondershare Filmora: An Alternative to Final Cut Pro
Final Cut Pro's interface can be overwhelming for beginners, as the tool was created with professionals in mind and only for Mac users. However, Final Cut Pro isn't the only video editor you can use to split clips, with more and more users turning toward beginner-friendly editing solutions like Wondershare Filmora, a simplified and user-friendly yet robust video editor for Windows, macOS, Android, and iOS.
This friendly tool was built around ease of use, creating an app that any video editor can navigate. Yet, it also packs a punch in terms of editing features, offering extensive libraries of effects, filters, animations, transitions, and other creative assets. It even has advanced editing features, such as Keyframing and Smart Color Correction, while its AI-powered tools can make editing effortless.
Stabilize Videos with Wondershare Filmora
- Superb video stabilization with low distortion.
- Vast video/audio effects and creative assets.
- Powerful AI for effortless content creation.
- Intuitive, professional yet beginner-friendly.
- Works on Mac, Windows, iOS, and Android.


How to Split Audio and Video Tracks
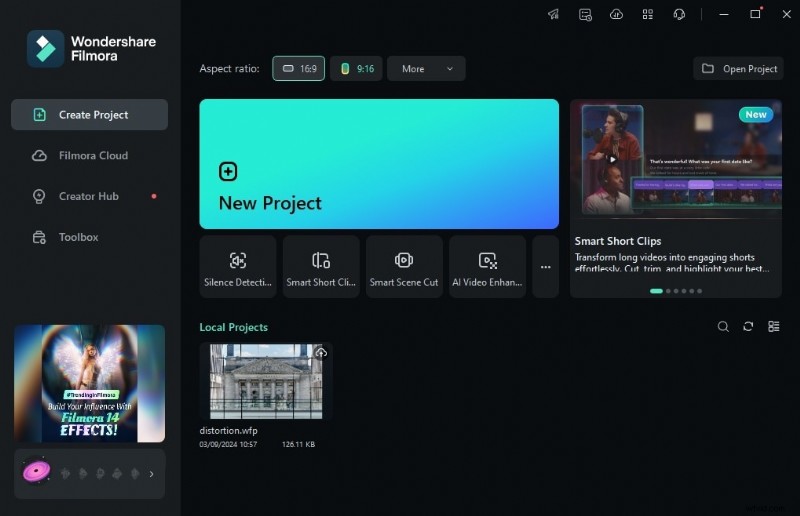
Step 1: Open Wondershare Filmora on your device and tap New Project.
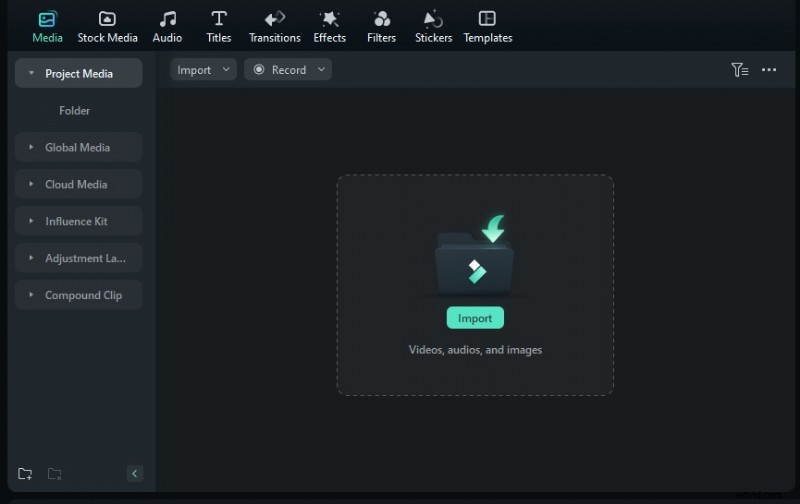
Step 2: Tap the Import button and add your media files to the program. Then, move them onto the Timeline.
Step 3: Click the video in the Timeline, drag the playhead to where you want to split, and tap on the video to split it. Alternatively, press CTRL + B on your keyboard.
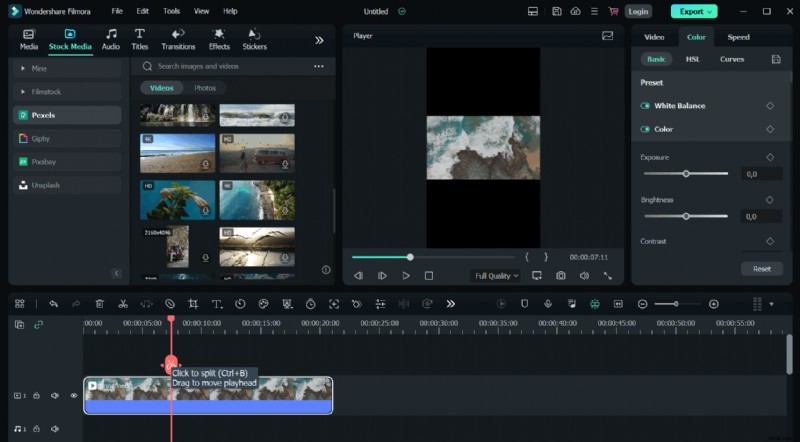
Note: If you'd like to split multiple audio, video, and text tracks simultaneously, you can follow the same method but skip the first part of Step 3, where we select a specific track in the Timeline.
How to Use Filmora's Quick Split Mode
Step 1: Click the Cursor icon (the second button on the left above the Timeline window) and select Quick Split Mode. Alternatively, press the C key on your keyboard.
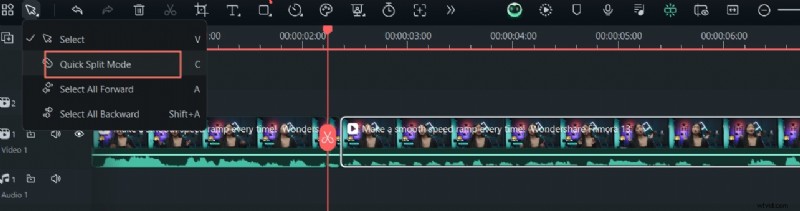
Step 2: Click on the parts of the clip where you want to create splits.
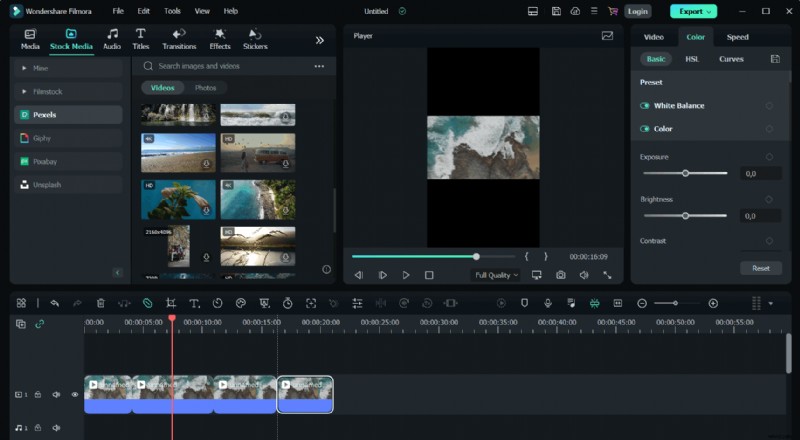
Note: Filmora's Quick Split Mode functions similarly to Final Cut Pro's Blade tool, but unlike FCP, you won't have to hold down the B button in Filmora while you split clips into multiple segments.
Cutting a Longer Video With Filmora's Smart Short Clips
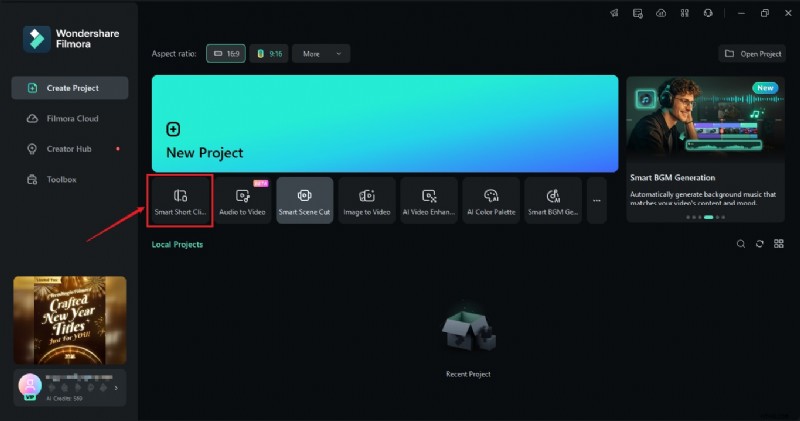
Step 1: Launch Filmora and select the Smart Short Clips feature from the app's startup screen.
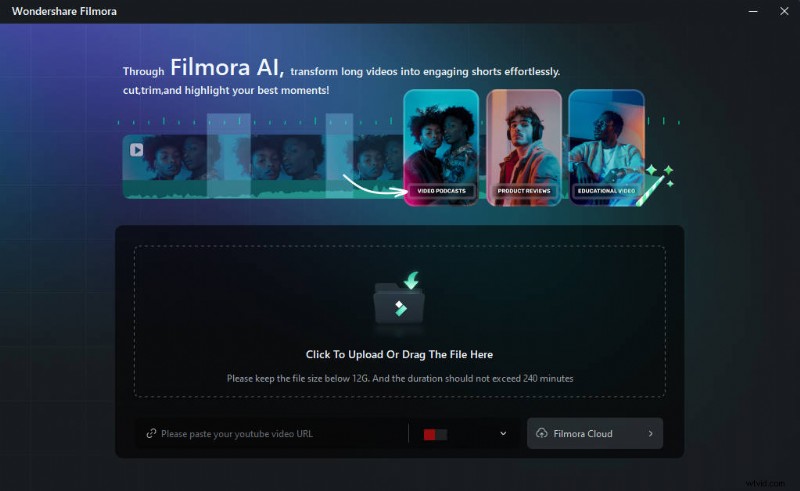
Step 2: Upload a video from your device or paste a YouTube URL of your already-uploaded video.
Step 3: You'll then need to select the language, duration, theme, aspect ratio, templates, and other settings and add keywords to instruct Filmora's AI to create the short clips you want.
Step 4: Based on your settings in Step 3, Filmora's Smart Short Clips feature will generate several ready-to-export clips with ratings based on the social media platforms they're intended for. You can export these clips directly or tap the Edit button to adjust them further.

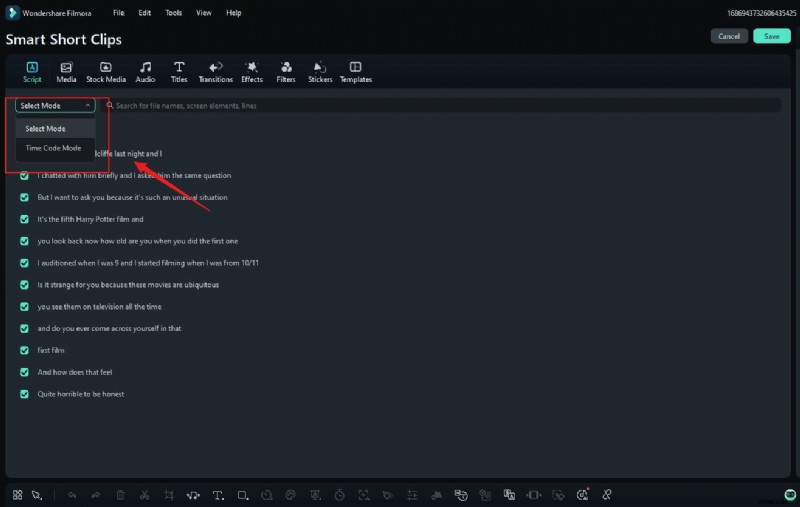
Step 5: If you choose to edit, you'll be met with a distinct Smart Short Clips Editing window where you can edit the generated clips via captions or timecodes. Furthermore, you can explore other tabs at the top and use templates, texts, and other creative assets Filmora offers.
Step 6: Once ready, hit the Save button. You can then adjust your export settings and share these generated short clips directly to social media.
Note: You can also visit Filmora's Guide section on the website and find detailed instructions for every step of using the app's Smart Short Clips feature. Alternatively, head to the guide page for Scene Detection and learn about another AI feature that can make your clip-splitting tasks effortless.
Conclusion
Learning how to split clips in Final Cut Pro is a fantastic idea, There are five ways to cut videos in FCP, but keeping track of it all can be challenging, especially in FCP's challenging-to-navigate interface.
Filmora offers a more straightforward approach to splitting clips. Thanks to its wide range of advanced and AI-powered features like Smart Short Clips to Scene Detection, Filmora can automate various tasks related to splitting videos, making editing effortless.

Filmora
⭐⭐⭐⭐⭐
The Best AI-powered Video Editing Software and App