Apple's iMovie is welcomed by all Mac users for home movie making, which allows people to edit video clips, add sound and voice-over tracks, and share movies in various ways. You can edit any kind of movie you want by using iMovie. In this article, we will show you how to use iMovie to create a short film step by step.
- Part 1: The Best iMovie Alternative for Mac and Windows
- Part 2: How to Use iMovie to Make Movies [Step-by-Step]
Part 1: The Best iMovie Alternative for Mac and Windows
If you don't have a Macbook, but you really like the function and interface of iMovie or you don't like iMovie, you just need some alternatives to run on your Mac or PC. Wondershare Filmora will be your best choice.
Using Filmora, you can trim, split, rotate, flip and merge almost all kinds of input movies with over 300 themes and effects. It can operate in Mac or Win with high compatibility without any quality loss. A free trial version is available below, download and try it now.
Related:
- Why You Should Use Fimora instead of iMovie
- Learn More about Filmora Video Editing Tips
Part 2: How to Use iMovie to Make Movies [Step-by-Step]
To make a movie with iMovie, you can follow these steps:
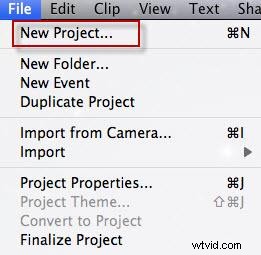
Step 1. First, from applications, launch iMovie. And from "File" at the main menu, select "New Project" to start a new iMovie project.
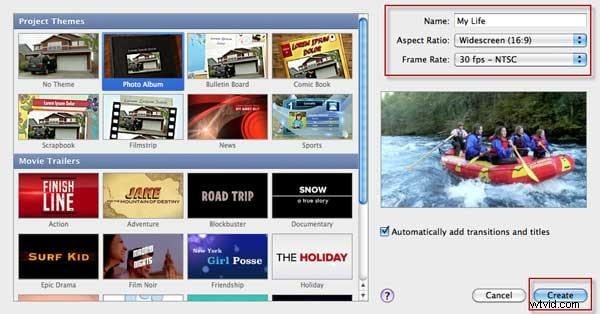
Step 2. Then a window will pop up as below. Type in the title name of your project and select a theme, then click "Create".
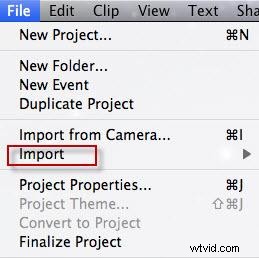
Step 3. In the File drop-down list, choose "Import" > "Import Movies" to browser the movies and videos on your computer and select the movies you want to edit to iMovie, then click "OK".
Tips: Please make sure your videos are supported by iMovie, if the video shows gray, it means they are not compatible with iMovie. At this time, you should use a Video Converter for Mac to convert the videos to iMovie supported video formats first and then add the converted videos to iMovie. Or, you can import your video to some best iMovie alternatives for Mac.
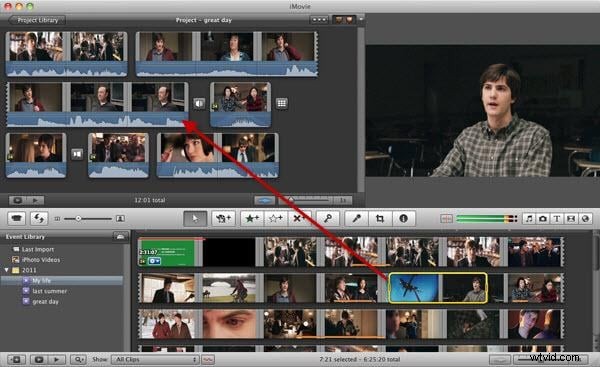
Step 4. The videos will be displayed in the Event Library at the bottom of the screen. Double-click on the video clip to mark it yellow to select the clip. Select and drag the video clip you want to make a movie to the project library.
Step 5. And now you can edit your videos freely, such as add transition to iMovie, create a picture in picture effect, speed up and slow down videos, etc. You can also edit your audio clips in iMovie, like fade in and fade out music and audio, add voice-over to video, etc.
You May Also Like: Learn More about iMovie Editing Tips
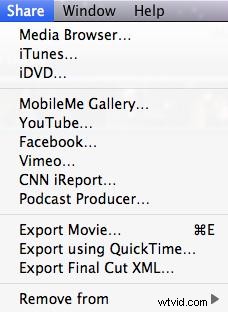
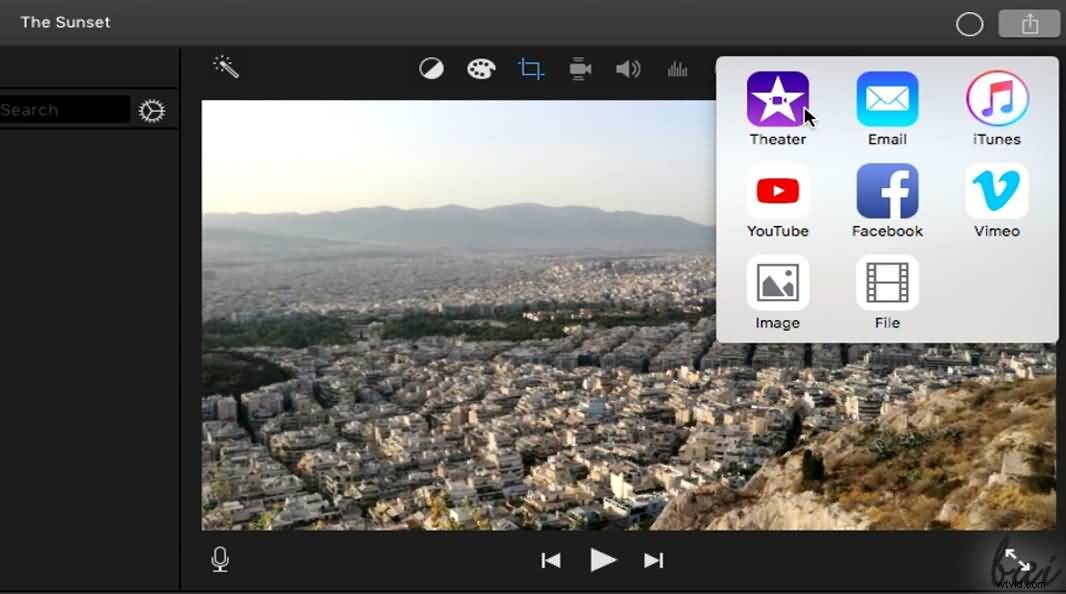
Step 6. After you finished your iMovie project, you can select the completed project, and from the menu bar at the top, choose Share.
You can share it in many ways, such as exporting your iMovie video to YouTube or burning it to DVD. Just choose the one you want and follow the indication to finish the iMovie project exporting.
Done! You have used iMovie to create a home movie, enjoy it!
How to Use iMovie 2017 to Make Movies?
If you are using iMovie 2017, you can check the steps below to edit your videos in iMovie:
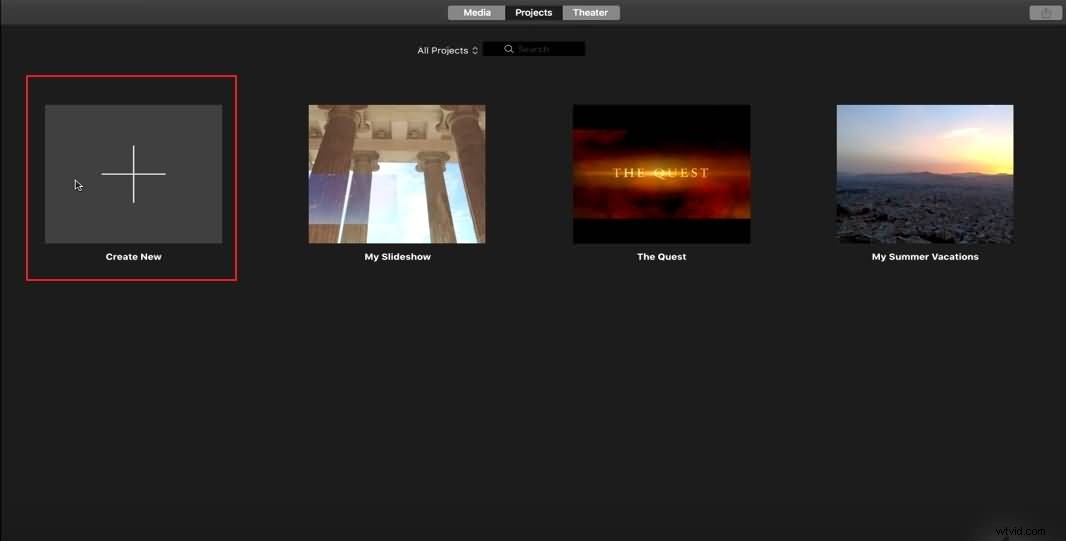
Step 1. Create a new project and select "Movie".
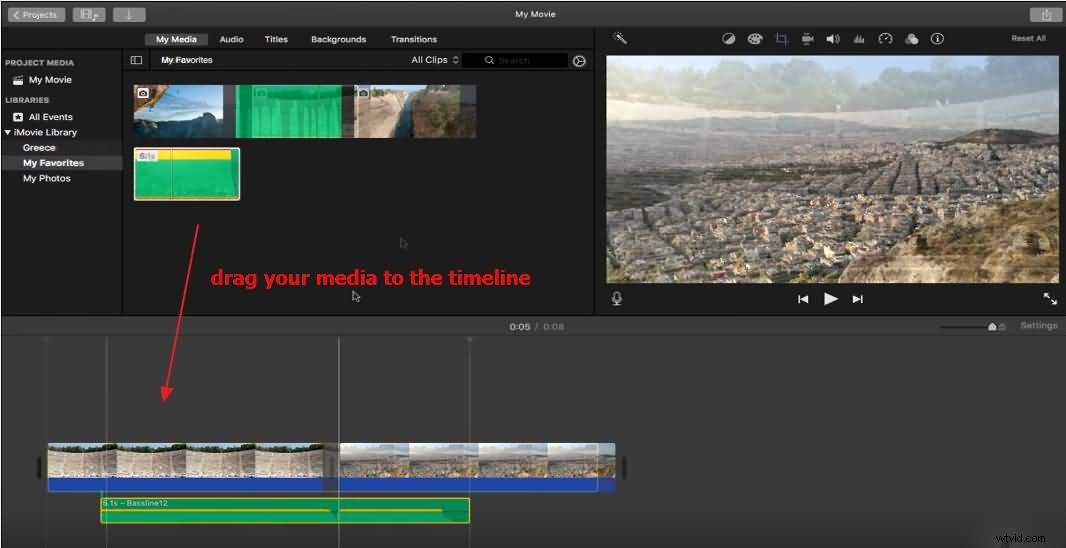
Step 2. Import your video clips, still images, and audio files to the timeline.
Step 3. Click Settings in the top right corner of the timeline window, and select the desired theme. Or you can select the theme later.
For getting more iMovie themes, you can check: How to Get More iMovie Themes
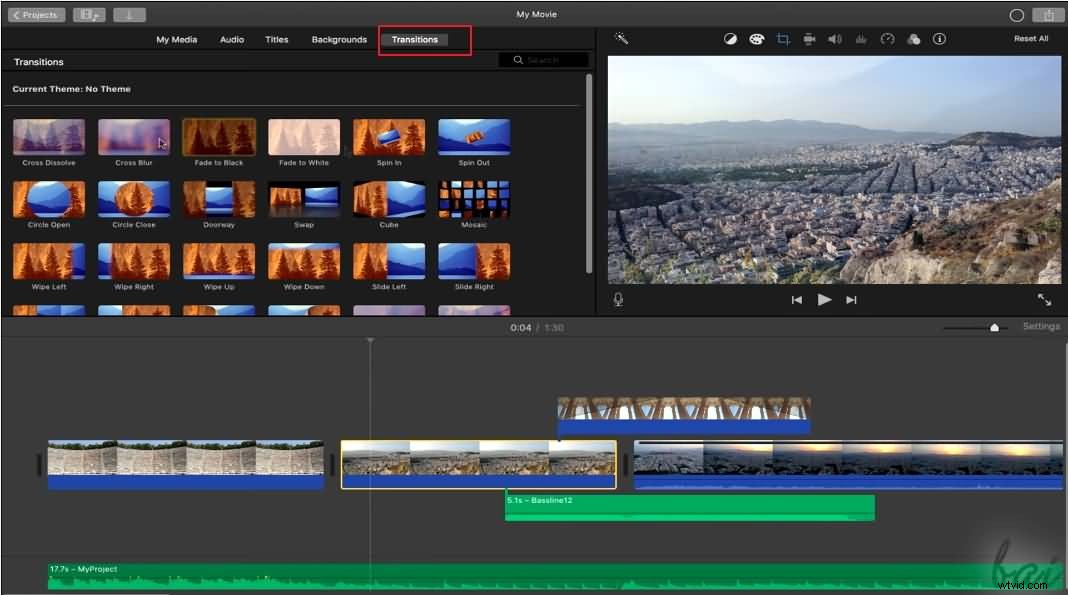
Step 4. Edit your clips. In the timeline, drag the edges of the clip away from its center to extend the clip, or drag the edge of the clip toward its center to shorten the clip.
You can also add transitions, titles, backgrounds and music, and effects to your video clip.
Step 5. After finish editing, you can share your video on social media platforms such as YouTube and Facebook, or save it on your disk.
Watch the tutorial below to get detailed information about how to use iMovie 2017.
That's it. If you have any questions about making movies with iMovie, feel free to drop a line to let us know.