Wondering how to add or edit video transitions in Vegas Pro? Well you have come to the right page where we are going to take you through a step by step process which would tell you all about editing and adding video transitions in Sony Vegas Pro. When you add transitions for various scenes in your video clip, the end product automatically looks more professional and well edited. In today’s tutorial we will guide you through a simple process which would allow you to edit and add transitions to videos in Vegas Pro.
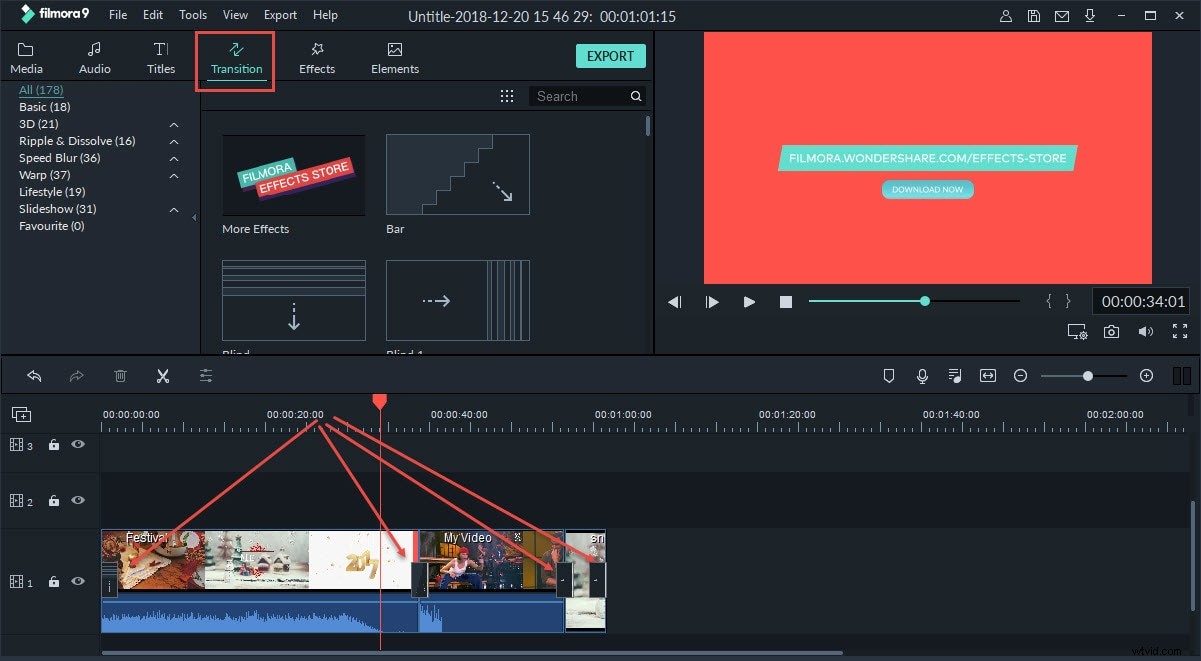
Sony Vegas Pro is meant for professional video editors and comes with a price tag of $599.00. Moreover it can only be used on windows. If you are an amateur video editor who is trying to find a simple and useful software for editing your video clips, then you need to consider using Wondershare Filmora. This powerful editing software comes with a range of interesting effects and can be used on both Windows and Mac. A must have tool for starters in the world of editing this software comes for less than $60.00.
How to add transitions in videos with Vegas Pro
You might also interested in: How to fade in/out audio in Vegas Pro
The process of adding transitions in Vegas Pro isn’t much complicated. Even a simple fade in and fade out effect can bring about a variation in your video. In this tutorial, I will show you how to add fade in and fade out transitions in a quickest way and also how to add various transitions and do some settings to get a unique transition.
Method 1: Adding Transtions in the Easiest way to fade in/ fade out your video
1. Import media files
The first thing you need to do is drag the 2 media clips onto your timeline. The 2 media clips can be 2 videos, 2 photos or one photo and one video. A video can also be split to create 2 separate clips.
Note: Transitions can only be applied between two events (clips), so you have to drag at least two video clips into the timeline, or split a video clip into separated parts.
2.Add fade effects
In this step you need to fade the 2 clips into one another. The 2 clips are merged when you drag the 2nd clip into the first one.
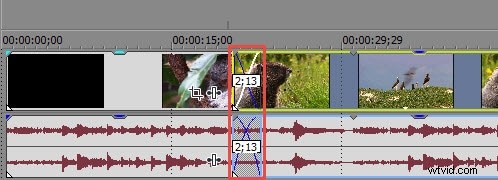
In the above example there are 25 frames between the 2 photos which is ½ second when you go at a speed of 30 frames/second. When you play it would give you a simple fade in and fade out effect.
Method 2: Adding Transition overlays
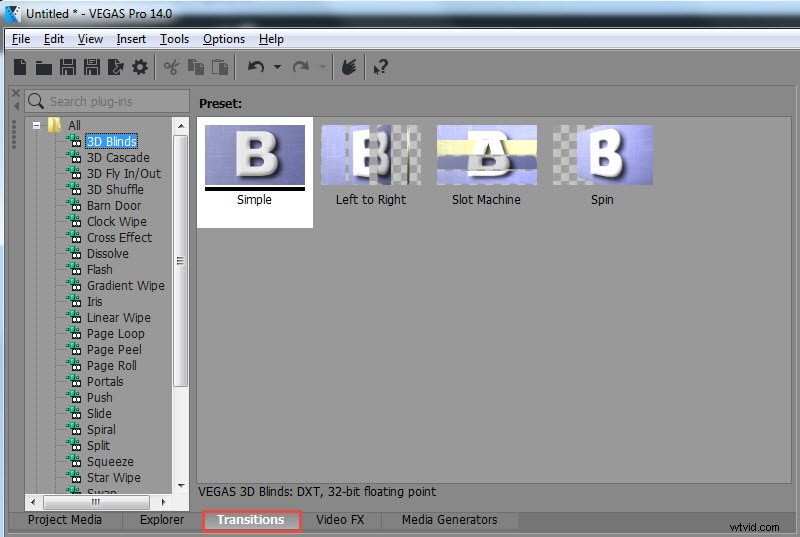
If you are looking forward to some variations then you need to hit the "Transitions" button and choose from a list of selections. The transition tab is located just above your timeline and you will be able to choose from a number of transition options. When you move the cursor over any given preset the effect would be seen automatically. The first clip is represented by the letter A and the second clip by the letter B.
Select your desired transition option and drag it onto your timeline so that the two media clips can fade into each other.
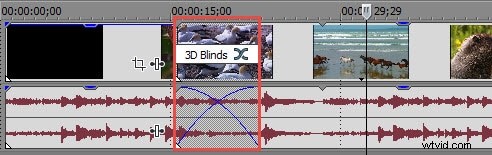
As soon as you release the click the transition would be placed and a Video Event FX window would open. The Video Event FX window comes with loads of interesting option. Every single transition shows a different version of the Video Event FX window. The effect can be immediately seen on the preview window. However it is recommended that you keep the settings at normal unless you are a professional editor.
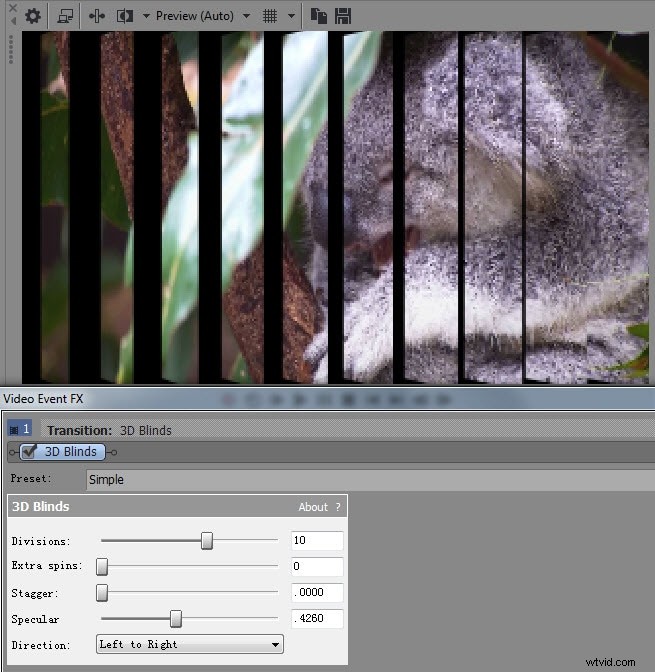
Another simple way to enter the Video Event FX window is just by hitting the "Transitions Properties" button. This button can be found right above the transition over your timeline.

When you want to alter the transitions you need to select another one and then drag it to the same place as that of your first transition.
Note: There is a very easy way of adding the same transition to all your media clips in a go. First you need to ensure that there is a basic dissolve between all your media clips. Now you need to choose your images/videos by hitting Ctrl+A and then drop your chosen transition on the first image. All further transitions would follow this pattern.
Changing the duration of the transition
The transition can be made shorter or longer by locating the edges of the transition and then dragging it along. It can be dragged on both sides. The transition would still look the same but this effect would lengthen or shorten the transition period. Now you are all set to play around with the transitions in Sony Vegas Pro and create professional looking video clips.
That’s how to add transition to videos in Vegas Pro. Hope you find it is helpful. If you are looking for a much affordable video editing software which also allows you add various transitions in a quick way. As we said before, download and try Filmora.