How to Add Transitions in Adobe Rush
Transitioning smoothly from one clip to another is the best way to avoid sudden hard cuts that can disrupt the flow of your video. Additionally, transitions are frequently used to open up or end a scene slowly and gradually, so you can use them at the beginning, between two sequences or at the end of a video. Most video editing software products feature preset transitions you can quickly add to your project, and in this article, we are going to show you how you can apply transitions to your videos in Adobe Rush and we're going to offer an alternative solution.
Adding Transitions to Video Clips in Adobe Rush
The latest addition to the Adobe's Creative Suite, named Adobe Rush, is designed to make the video editing process faster for social media video content creators. The app offers a quick way to add a transition to a video, as you just have to place video clips to the timeline and click on the Transitions icon located in the upper right corner of the app's main window.
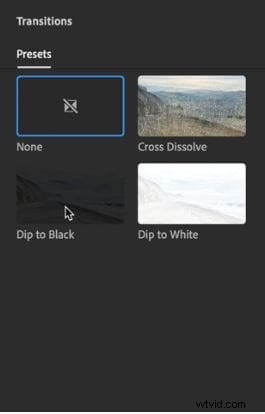
You can choose from Dip to Black, Dip to White and Cross Dissolve presets, and you have to drag and drop the transition you selected to the desired location on the timeline.
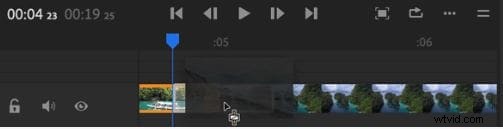
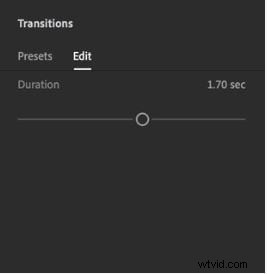
Once you've added the transition you can adjust its length using the Duration slider in the Edit tab. Optionally, you can click on a transition in the timeline to bring up the handles and drag it left or right to adjust its duration.
Even though applying transitions to videos in Adobe Rush is a straightforward process, the app offers just a limited amount of presets you can use in your projects, That is why using a more resourceful video editing software like Wondershare's Filmora is a better option if you want to have more creative freedom while choosing a transition you'd like to use in a project.
Using Transitions in Filmora
Once you import the footage into Filmora, place it to the timeline and make all the cuts you want, using the software's Split tool, you can click on the Transition icon located in the upper left corner of Filmora's main window.

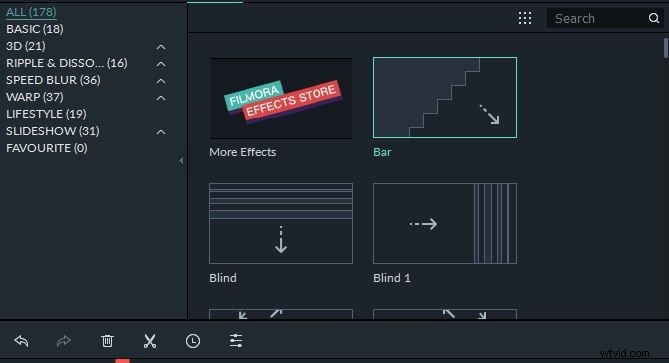
You can start browsing the software's Transition Library that contains over a hundred effects by simply scrolling down the Transition Panel or you can click on a category such as 3D or Slideshow to search for a particular transition.
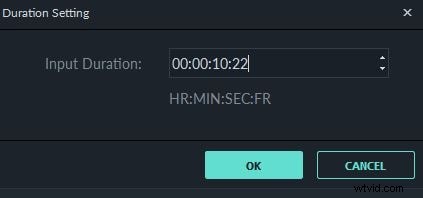
When you select a transition you'd like to apply to a video clip, you just have to drag and drop it to the timeline. Click on the transition and drag one of its ends to adjust its duration, or use the right-click menu to Split, Delete or change the duration of a transition. Selecting the Duration option from the right-click menu will bring up the Duration Setting window where you can manually change the length of a transition.
Choosing the Show Properties option from the right-click menu will grant you access to Transition Mode settings and it will enable you to adjust the duration of the transition you added to your project. Optionally, you can click on the Apply to All icon if you want all the transitions in your project to have the same duration.
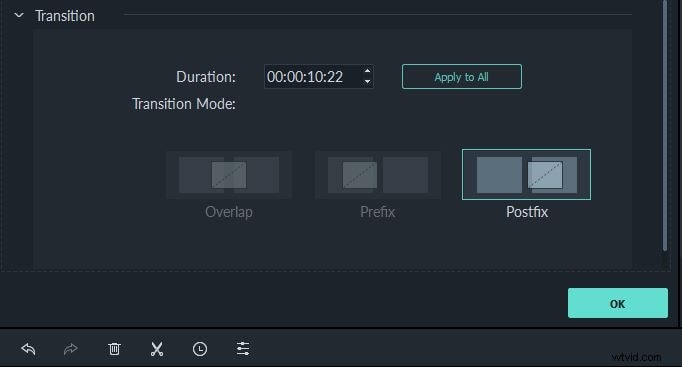
Hit the OK button to confirm the changes you've made and you can proceed to add another transition on a different cut between two clips. Applying and customizing transitions in Filmora is easy and you don't have to be an experienced video editing professional to create seamless transitions between video clips. The software offers you a rich selection of preset transitions you can simply drag and drop to the timeline in order to make the flow of your video smoother.
Conclusion
Creating video content for social media can be a challenging task if you don't have the right tools at your disposal. That's why it is better to edit your videos in video editing software like Filmora that supplies you with an abundance of transitions and all other video editing tools. Adobe Rush offers only a limited amount of transition presets, which significantly reduces your options during the video editing process. In addition, purchasing the Adobe Rush as a single app is much more expensive than obtaining the Lifetime license to use Filmora.