Learn how to streamline your edit by using subclips in this Adobe Premiere Pro video tutorial.
I use subclips in Adobe Premiere Pro to stay organized. They allow me to quickly reference interview sound bites without shuttling around in a lengthy raw clip. Ideally, I prefer to break my interviews into subclips right at the beginning of a project. Once I have these in place, the editing process becomes much smoother, especially if I’m working with a client or other editors.
In this tutorial, I’ll take you through a quick step-by-step approach to creating subclips.
Step 1 — Select the Sound Bites
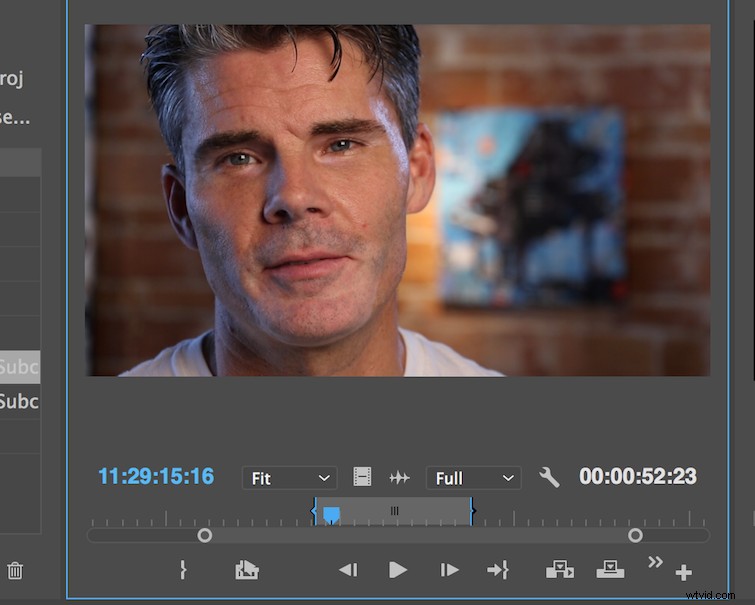
The first thing I need to do is select a sound bite. To do this, I will load my raw interview clip into the source monitor. Once in the source monitor, I’ll listen to my clip and select a sound bite. To select a sound bite, I’ll simply place In and Out points in the source monitor. Now I’m ready to create my subclip.
Step 2 — Create Subclip
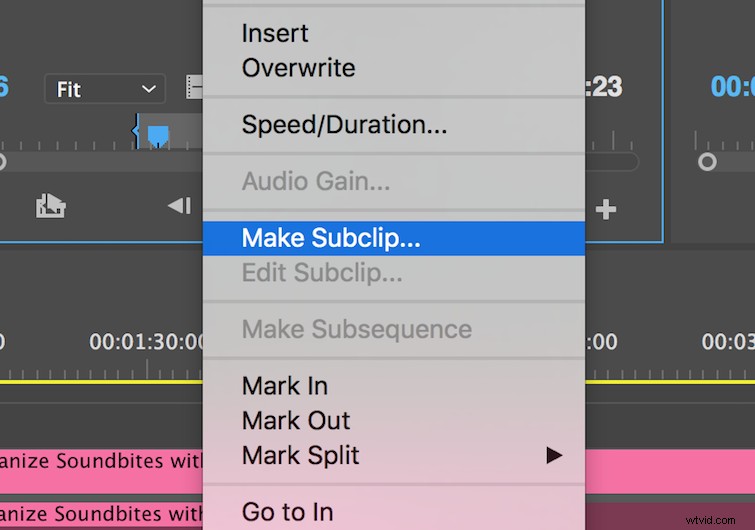
To create a subclip, I can control-click on the source monitor and select Make Subclip. This will open up a dialogue box that will allow me to name my subclip, as well as specify if I would like to restrict the boundaries of the subclip.
If I check this, then I will not be able to extend the clip beyond the subclip boundaries when I have the subclip in the timeline. (Be aware that you can also create subclips from the timeline panel.)
Once I finish my first subclip, I can repeat steps 1 and 2 to create as many subclips as I need. Next, let’s organize our project.
Step 3 — Get Organized
My final step is to organize my subclips. I will create a folder in my project panel and name it Good Soundbites.
Now I can throw all of my subclips’ sound bites into the folder, and viola — I’m organized. If you’ve ever worked with another editor or had a client hanging over your shoulder, you know that this kind of organization makes a world of difference.
Even if I return to this project at a later date, I’ll be able to quickly reference soundbites.

Do you have other interview editing tips? Let us know in the comments.