In the latest version of Adobe Premiere Pro, you can put your graphics and video elements exactly where you want them — with new Rulers and Guides.
The latest version of Adobe Premiere Pro has been released, and one of the most anticipated new features is Rulers and Guides. Much like After Effects and Photoshop, users can now add custom guides to the Program Monitor. Let’s take a step-by-step look at how to create a custom overlay setup for exporting square videos to social media platforms.
Step 1 — Turn on Guides and Rulers
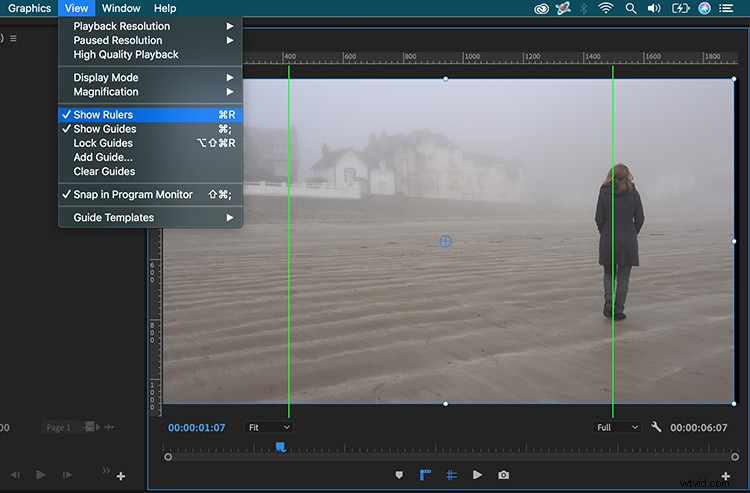
Before I start creating custom guides for my Program Monitor, I first need to turn them on so I can see them. For this, I’ll select View > View Guides and View > Show Rulers. To avoid constantly jumping up into the View menu, I’ll add shortcut buttons. To add them, I’ll click on the Button Editor (plus sign) at the bottom right of the panel, then simply drag the two buttons over to add them.
Step 2 — Add Custom Guides
One of the features (I absolutely love) about the new guides is that you can position them precisely via a pixel or percent value. To add a square value, I’ll need to perform some basic math. If I’m editing in a 1920×1080 format, then I’ll want to add vertical guides to measure 1080 between them, from the center of the frame. For this, I’ll simply subtract 1920×1080, which will give me 840 pixels. Now, I’ll divide by two. This will give me the distance of each guide from the outer edges (420 pixels).
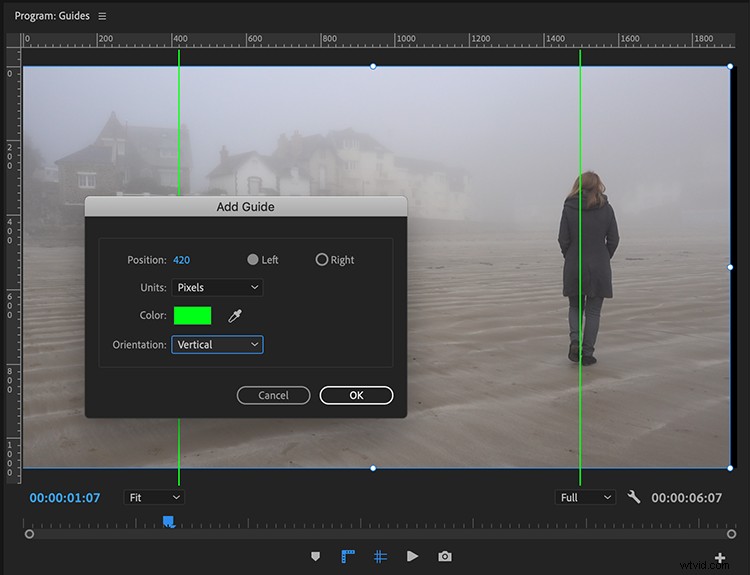
To add a guide, I’ll go to View > Add Guide, or simply right-click on the ruler. In the Add Guide dialogue box, I can now create two guides. I’ll simply put the position at 420 pixels, making sure that the orientation is set to vertical, then create one set to the left and the next to the right. Finally, I’ll add a few additional guides so I can see the upper and lower thirds, as well as the center of the frame. For these, I can use basic percent values — such as 50 and 33.
Step 3 — Position Your Elements
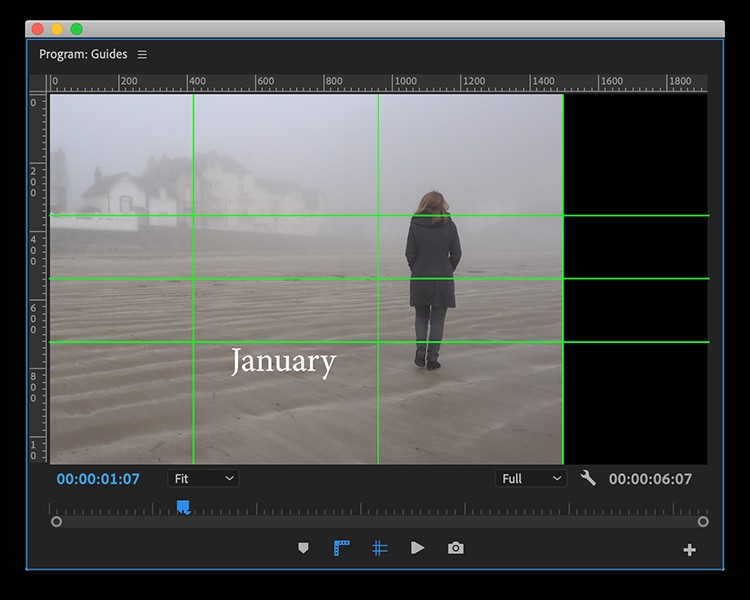
Now, it’s time to position my elements. To make sure I don’t accidentally move one of my guides, I’ll select View > Lock Guides. Next, I’ll bring in my video clips, as well as any graphic elements. To perfectly position items, I’ll turn on snapping via View > Snap in Program Monitor. If I’m not happy with any of the guides, I can unlock them and simply drag them off screen.
Step 4 — Save and Share
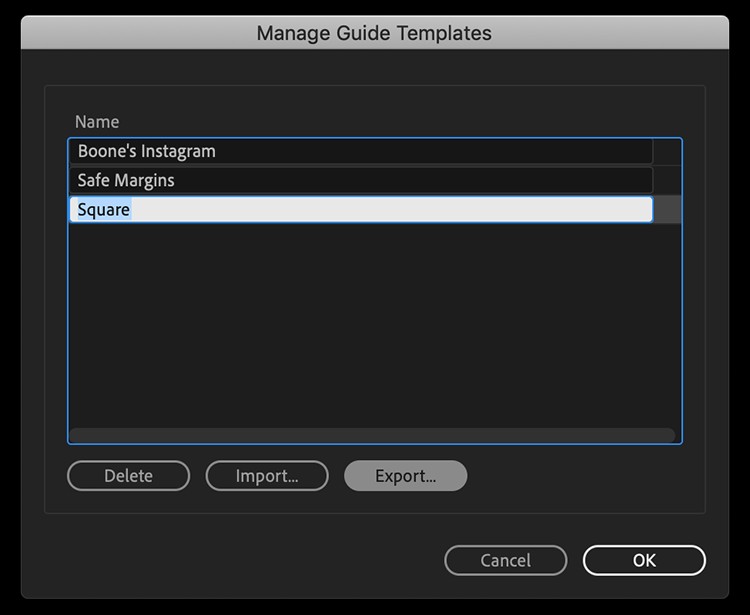
If I’d like to reuse this setup for future use, I’ll go to View > Guide Templates > Save Guides as Template. To rename, import, or export templates, I’ll go to View > Guide Templates > Manage Guides. This can be extremely useful if I’m working on a team and we need to position branding elements. It helps keep everything uniform.
Now that I think of it, how did users perfectly position elements prior to this release?