Recording a PowerPoint presentation with your webcam can transform a static slide deck into an engaging, human‑centered experience. Whether you’re an educator, entrepreneur, or content creator, a polished video that shows you delivering the slides can boost comprehension and retention.
Below is a practical walkthrough of three proven methods to capture your presentation—using PowerPoint’s native recorder, Clipchamp, and Wondershare Filmora. We’ll also cover essential post‑production tips so your final video looks and sounds professional.
1. Record Your Presentation Directly in PowerPoint
Microsoft PowerPoint offers a built‑in recorder that records the slide show, your webcam feed, and voiceover audio—all in one file. It’s ideal for quick, high‑quality recordings without extra software.
- Requirements: High‑definition webcam, external microphone, PowerPoint (2016 or later)
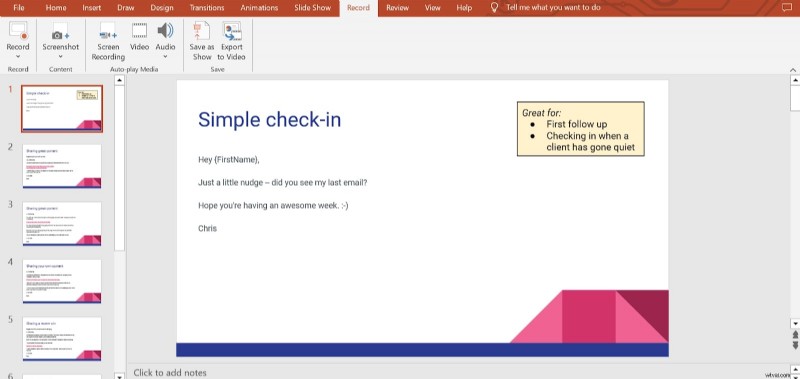
- Open the slide deck you want to record.
- Navigate to the Record tab and click Record Slide Show (you can start from the current slide or the beginning).
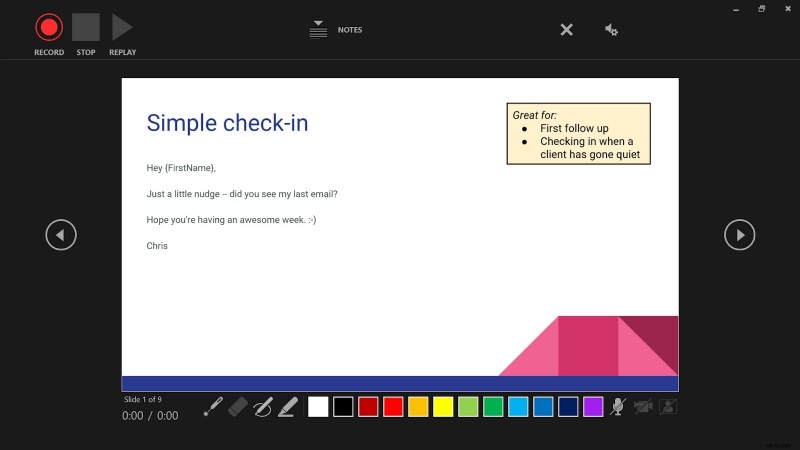
- In the screen that appears, select your webcam and microphone, then click the red Record button.
- When finished, click the red Stop button.
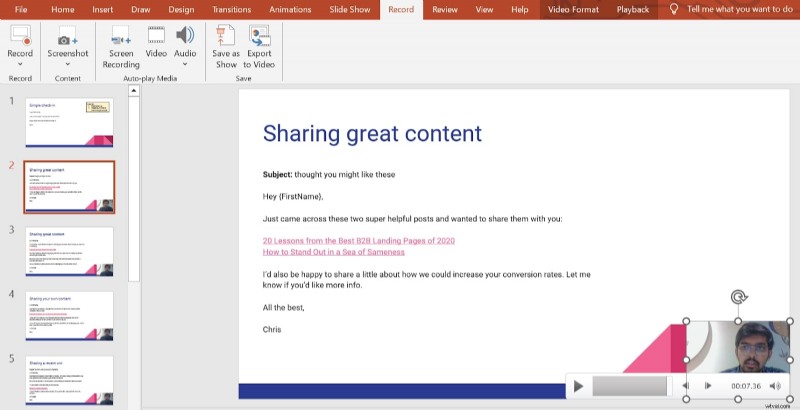
- Return to the Record tab and choose Export to Video to save your recording.
2. Capture Your Presentation with Clipchamp
Clipchamp—available via the Microsoft Store—provides a seamless screen‑recording experience with optional webcam overlay. It’s especially useful if you need to record your entire desktop or a specific application window.
- Install Clipchamp from the Microsoft Store.
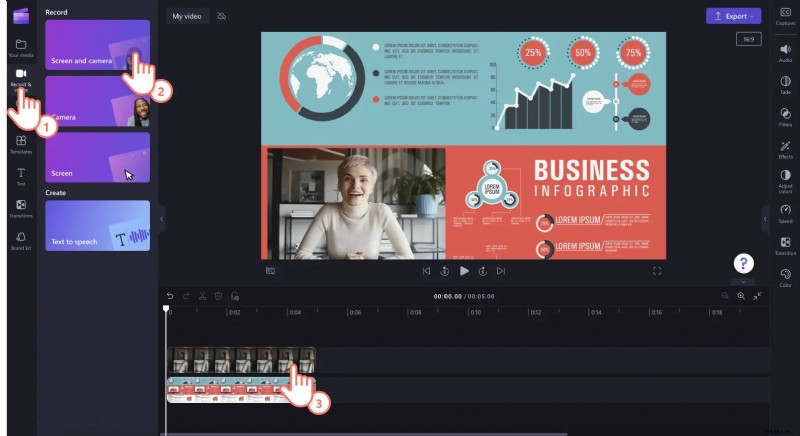
- Open the app and select the Record & Create tab.
- Choose Screen and Camera, then enable both the microphone and webcam.
- Click Rec and choose the area to record (full screen, window, or browser tab).
- After the session ends, click Export to save the video to your device.

Clipchamp automatically places your webcam in a picture‑in‑picture overlay, keeping your audience focused on the slides while you narrate.
3. Record and Edit with Wondershare Filmora Screen Recorder
Filmora offers advanced editing features—auto‑subtitles, AI‑enhanced narration, and visual effects—making it a favorite for users who want to polish their videos post‑recording.
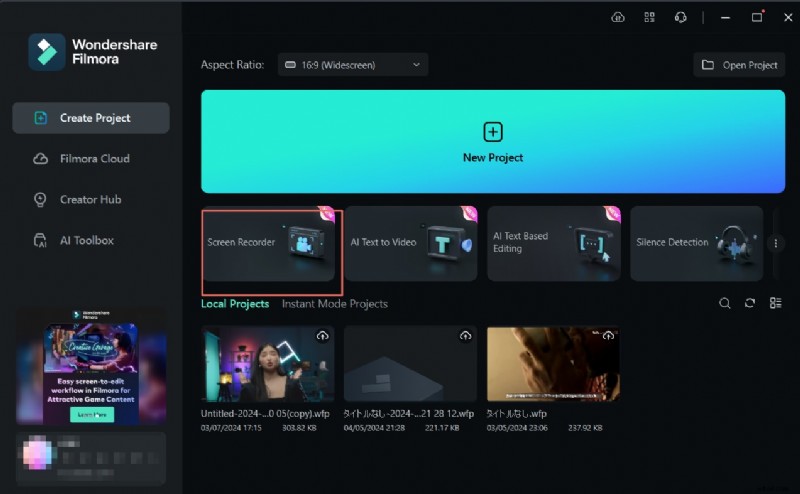
- Launch Filmora and select Create Project > Screen Recorder.
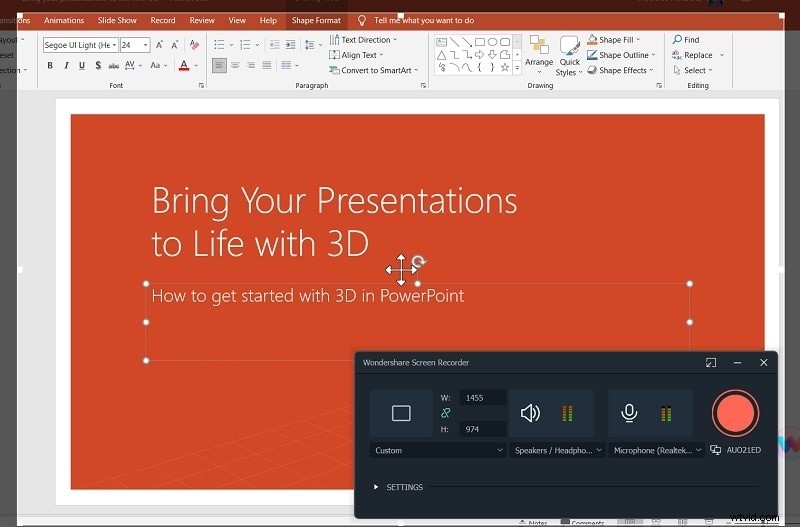
- Define the screen area that contains your PowerPoint presentation.
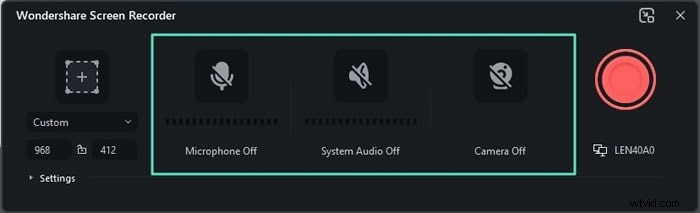
- Enable webcam, system audio, and microphone to capture all audio‑visual inputs.
- Adjust the frame rate and preview your settings before recording.
- Open your PowerPoint file and begin the presentation.
- Click the red REC button to start recording; stop with REC or press F10 when finished.


Editing Your PowerPoint Recording in Filmora
Filmora’s AI‑powered toolkit lets you refine your video without prior editing experience:
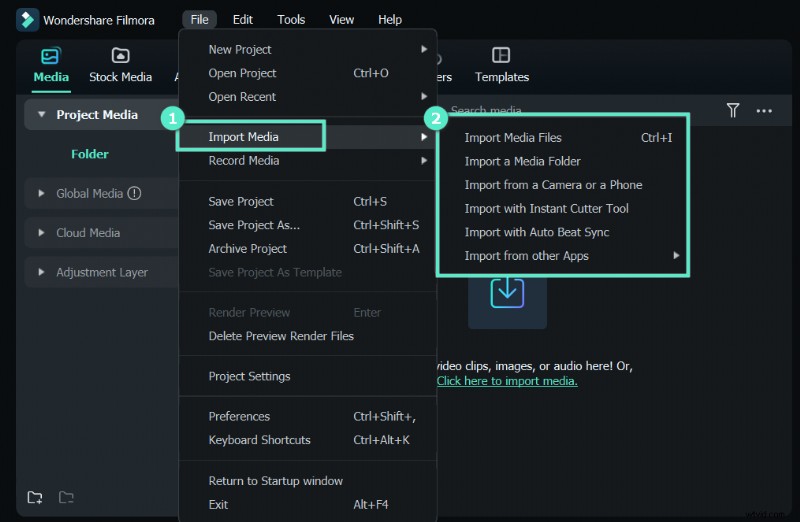
- Import the recorded video into Filmora’s Project Media library.
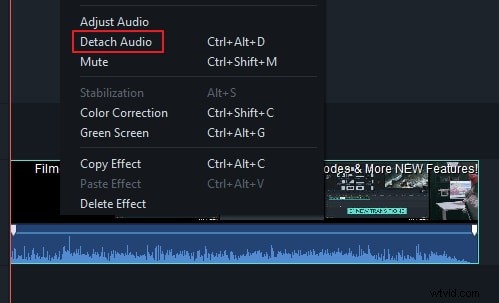
- Trim unwanted sections, split scenes, or detach audio tracks as needed.
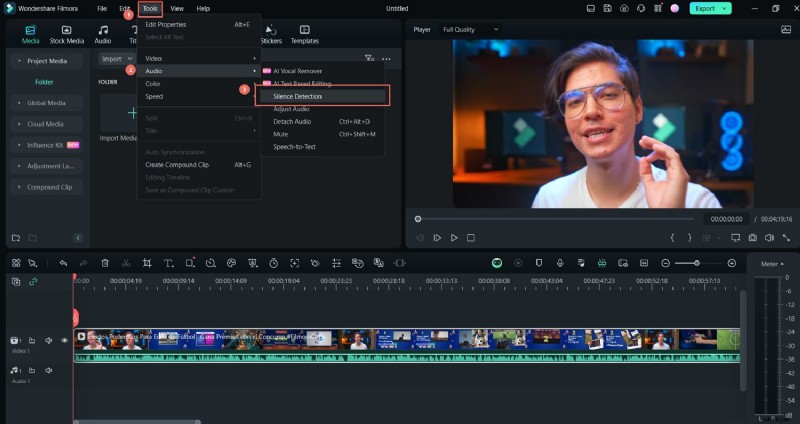
- Apply Silence Detection to remove pauses automatically.
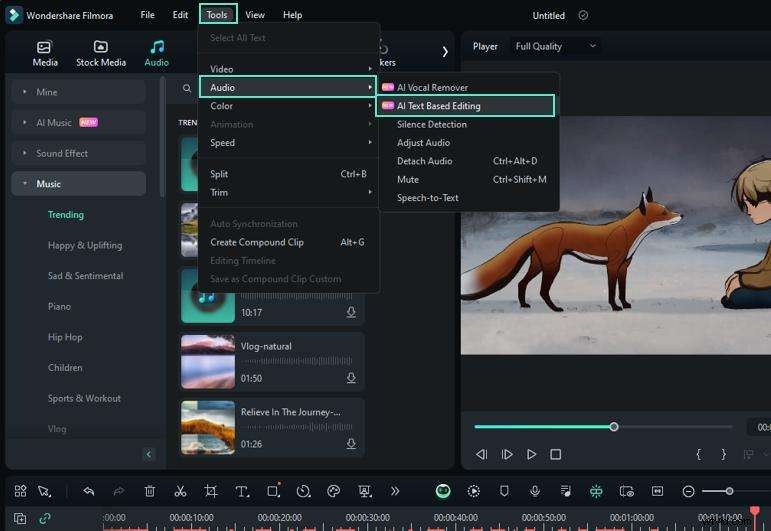
- Use AI Text‑Based Editing to transcribe the audio, then edit the transcript to tighten the narrative.
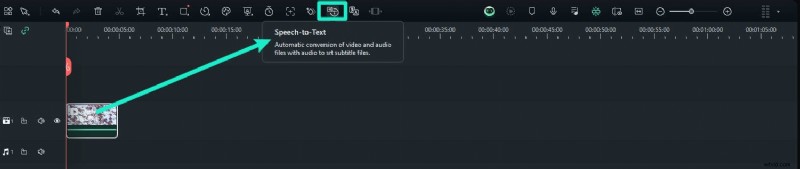
- Generate multilingual subtitles with the Speech‑to‑Text feature.
- Experiment with voice‑change filters if you prefer a different vocal tone.
- Add annotations, zoom effects, or transitions to emphasize key points.
- Create an eye‑catching thumbnail via AI Thumbnail Creator.
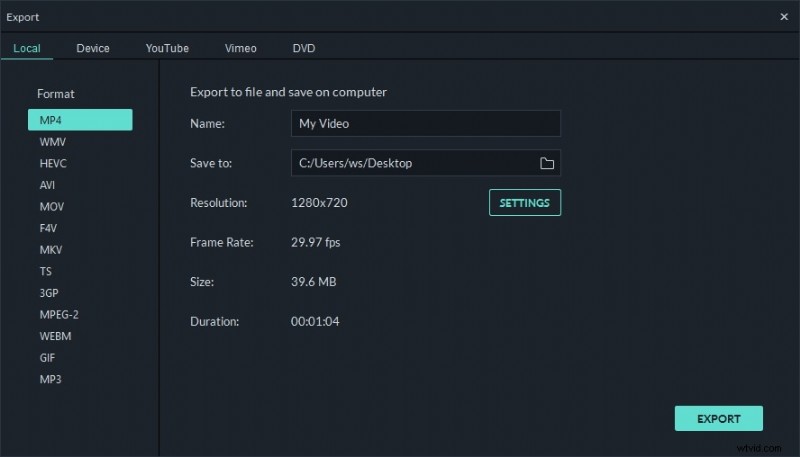
- Export to your chosen format or upload directly to YouTube.


Pro Tips for a Polished Presentation Video
- Set your webcam as the default video source in PowerPoint to streamline recording.
- Use an external microphone for crystal‑clear voiceover audio.
- Test your camera angle and lighting before you begin.
- Consider DemoCreator for advanced recording features, especially if you need to capture multiple camera angles.
- Employ Filmora’s editing suite to trim errors, add captions, and enhance visual appeal.
- Use slide notes and practice your script to maintain a steady pace.
- Ensure consistent lighting and a neutral background to keep viewers focused.
Conclusion
Adding a webcam recording to your PowerPoint presentation elevates engagement, making complex information easier to digest. By using PowerPoint’s built‑in tools or external software like Clipchamp and Filmora, you can produce high‑quality videos that resonate with your audience and can be shared across any platform.
FAQs
Can I make a PowerPoint recording with a webcam?
Yes. Connect a webcam and use PowerPoint’s Record function to capture a live presentation.
What is the best software for recording a PowerPoint presentation with a webcam?
Wondershare DemoCreator offers robust recording options and advanced export settings, making it a top choice for professional-quality videos.
How do I record myself presenting a PowerPoint for free?
Use PowerPoint’s native recorder: enable webcam and microphone, start recording, then export the video. No additional cost or software required.
- Open PowerPoint and go to the Record tab.
- Enable your webcam.
- Adjust the webcam window shape.
- Select your microphone for voiceover.
- Click the red REC button to begin.
- Export and save once finished.