The green‑screen backdrop has become a staple for streamers, gamers, and professional creators. It lets you replace ordinary surroundings with striking, dynamic environments—making every webcam clip look polished and engaging.
In this guide you’ll learn how to build a private facecam green‑screen studio, capture high‑quality footage, and edit it with Wondershare Filmora’s AI‑powered tools.
Table of Contents
- Preparation for a Facecam Green‑Screen Setup
- Recording a Facecam with Filmora
- Editing Your Green‑Screen Video
- Benefits of Green‑Screen Facecam Production
- Conclusion
Preparation for a Facecam Green‑Screen Setup
Before you hit record, gather the essentials that guarantee crisp, professional results:
- **Webcam** – 1080p/60 fps cameras are ideal; many models deliver this performance for under $50.
- **Green Screen** – A foldable or collapsible backdrop keeps costs low and portability high. The Elgato collapsible green‑screen** is a popular choice for its adjustable height and quick setup.
- **Lighting** – A three‑point lighting rig (key, fill, backlight) provides even illumination and eliminates shadows. Position the lights in a triangle around the camera, with you centered.
- **Software** – Wondershare Filmora’s webcam recorder captures high‑quality footage and offers versatile export options.
Quick setup checklist:
- Connect webcam to PC.
- Position the green‑screen backdrop.
- Arrange the three‑point lighting.
- Install Filmora on your computer.
Recording a Facecam with Filmora
Filmora streamlines both pre‑production and post‑production. Its built‑in green‑screen support lets you record or replace backgrounds in real time.
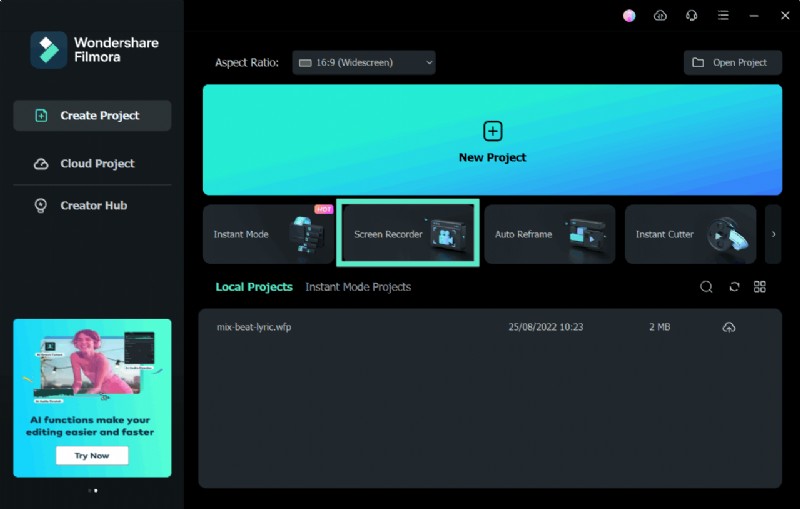
- Launch Filmora and navigate to Screen Recorder from the main menu.
- Connect your webcam.
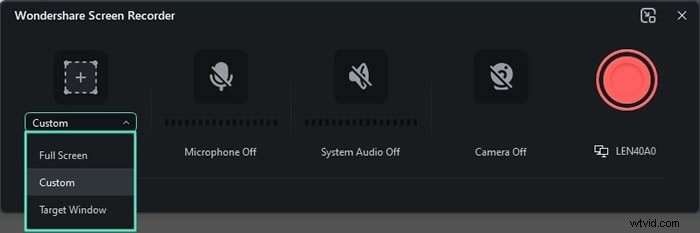
- Adjust webcam settings: enable the external facecam, set frame rate, and choose video quality.
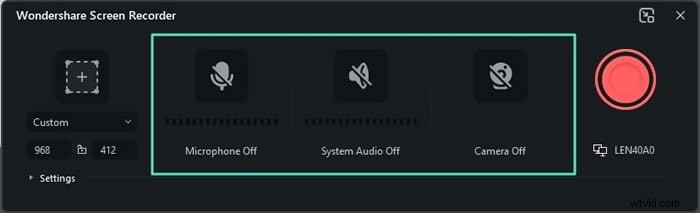
- Enable microphone and system audio if needed:
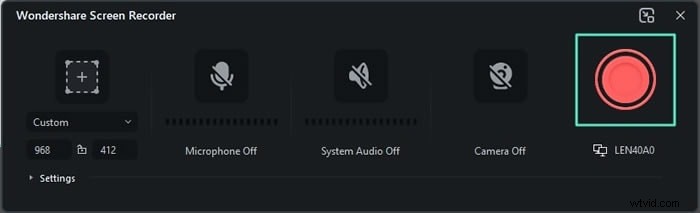
- Position yourself in front of the green screen and click the red REC button to start capturing.
- Click the same button to stop recording.
- Export and save the footage to your desired location.
Editing Your Green‑Screen Video
After recording, polish your clip with Filmora’s AI tools.
- Open Filmora and choose Create Project.
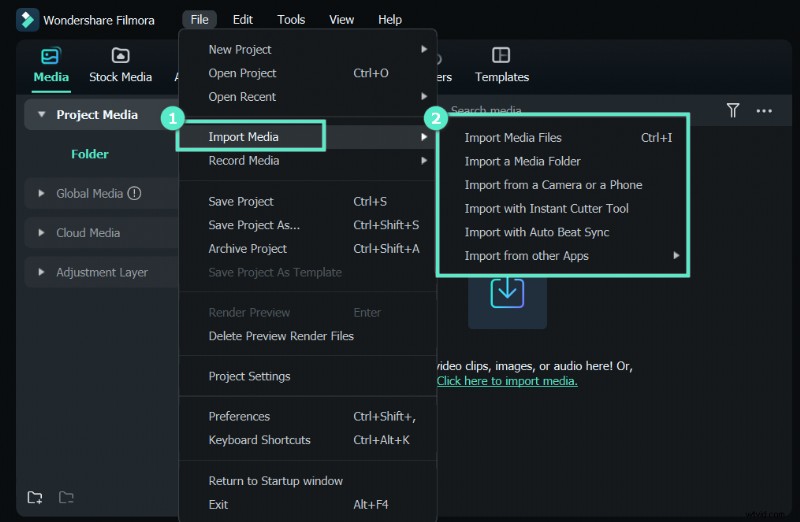
- Import your footage via Media > File > Import Media.
- Drag the clip onto the timeline.
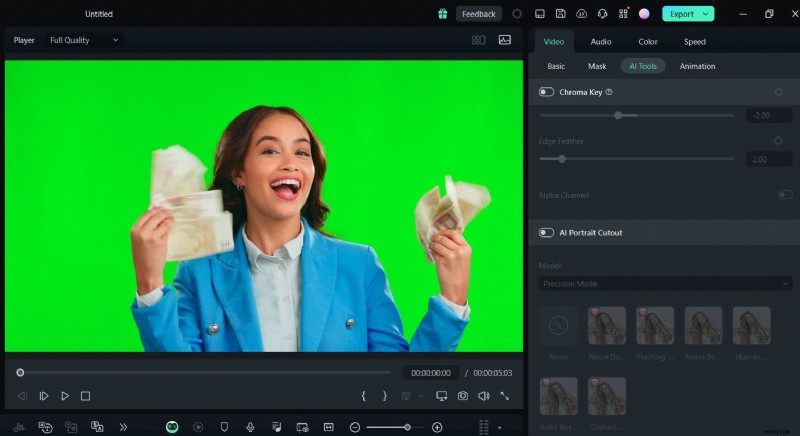
- Activate the Chroma Key effect from Timeline > Video > AI Tools > Chroma Key and enable it.
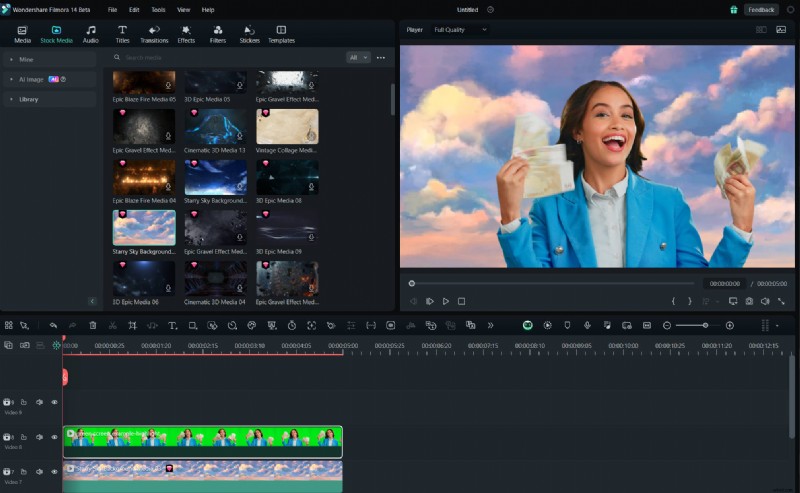
- Choose a new background—video or image—and place it beneath the green‑screen clip on the timeline.
- Export the finished video.
Benefits of Green‑Screen Facecam Production
Using a green screen transforms ordinary webcam footage into versatile, high‑impact content without the need for advanced editing skills.
- Customizable Backdrops – Replace or remove backgrounds on the fly, tailoring each session to your audience.
- Consistency & Reusability – Create reusable templates for a cohesive brand presence across all videos.
- Efficient Repurposing – Adapt a single recording for multiple platforms (TikTok, YouTube, LinkedIn, etc.) by swapping backgrounds.
From online education to gaming streams, the green‑screen effect is a staple across modern digital media.
Conclusion
A well‑set green‑screen setup elevates your webcam content to a professional level, turning everyday footage into Hollywood‑grade visuals. With Filmora’s intuitive interface and AI‑driven tools, you can achieve stunning results without complex editing knowledge. Publish effortlessly to TikTok, Vimeo, YouTube, and more using Filmora’s direct share options.