Screen recording offers a powerful, flexible way to deliver clear, engaging training content. By blending visual demonstrations with live narration, it simplifies complex concepts and lets learners pace themselves.
Below is a step‑by‑step walkthrough that covers everything from planning your video to publishing it on popular platforms.
In this article
- Planning Your Training Video
- Selecting the Right Screen‑Recording Software
- Capturing Your Session
- Editing and Publishing Your Final Video
Part 1: Planning Your Training Video
Before you even open your recorder, map out the learning objectives and structure your content. A clear outline reduces editing time and ensures your video stays focused.
- Define the target audience and key take‑aways.
- Create a storyboard or script to guide the recording.
- Set up a quiet environment with adequate lighting.
- Close background applications that might trigger notifications.
Once your plan is ready, you’re ready to choose the best tool for the job.
Part 2: Selecting the Right Screen‑Recording Software
Wondershare Filmora consistently ranks among the top choices for training video creation. Its intuitive interface and robust feature set make it suitable for beginners and seasoned professionals alike.
Key benefits include:
- Customizable recording area
- Simultaneous system and microphone audio capture
- Keystroke and mouse‑click overlays
- Scheduled recording with a built‑in timer
- Noise reduction for crystal‑clear sound
- Camera split/merge options
- GPU acceleration for smooth playback
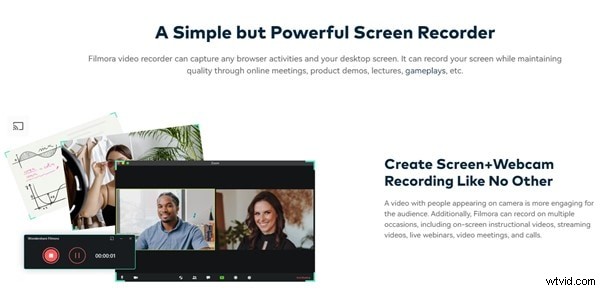
With Filmora’s high‑resolution capture, you can demonstrate intricate software features without sacrificing quality.
Part 3: Capturing Your Session with Filmora
Before launching Filmora, double‑check your preparation list. Then follow these steps:
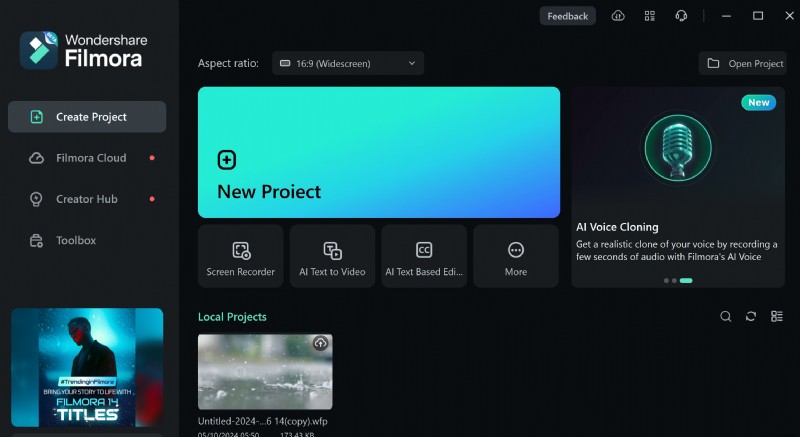
Step 1: Launch Filmora and select the “Screen Record” tab.
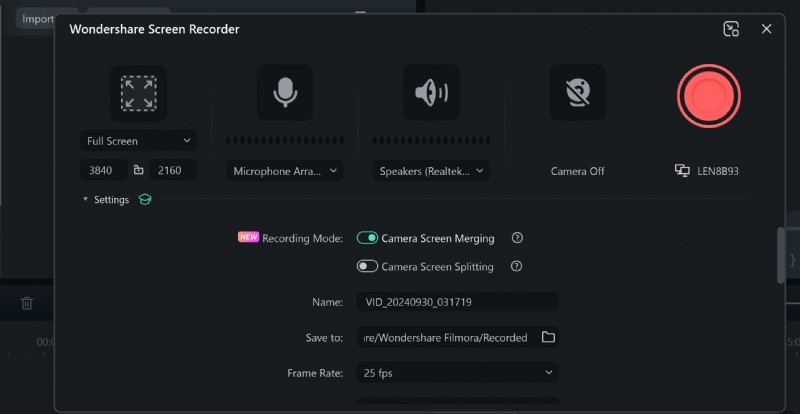
Step 2: Configure recording settings.
- Choose full screen, a specific region, or include your webcam.
- Enable system and microphone audio.
- Activate the mouse cursor overlay if you’ll point out actions.
- Adjust resolution, frame rate, and GPU acceleration as needed.
- Set a record timer or use the hotkeys (F9 to start, F10 to pause).
Click the Record button to begin. Speak clearly and follow your script. When finished, hit Stop—Filmora will automatically save the clip to the media library.
Step 3: Review the recording.
Play the clip to ensure all key points are captured and the audio is balanced.
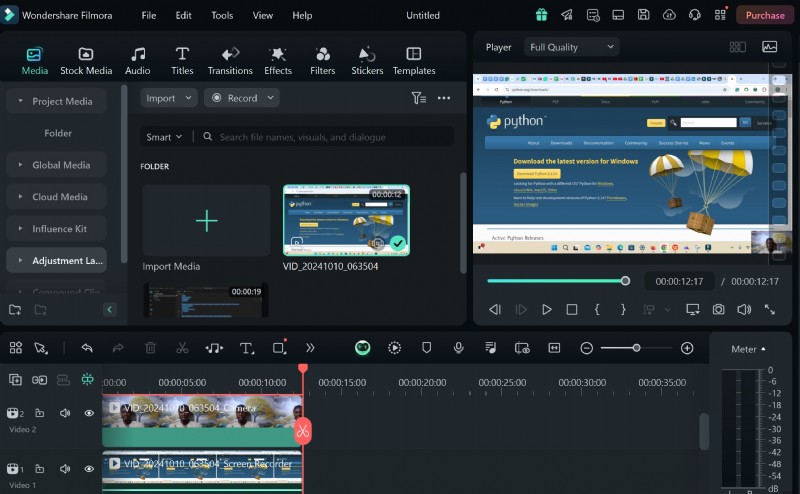
Step 4: Import into the timeline for editing.
Your timeline will contain separate tracks for webcam, screen capture, and audio, allowing granular adjustments.

Part 4: Essential Editing Techniques
Filmora’s editing suite lets you polish your video quickly. Focus on these core edits:
1. Trimming
Remove silent gaps or accidental pauses to keep the flow tight.
2. Adding Text

Use branded titles or captions to emphasize key points and enhance professionalism.
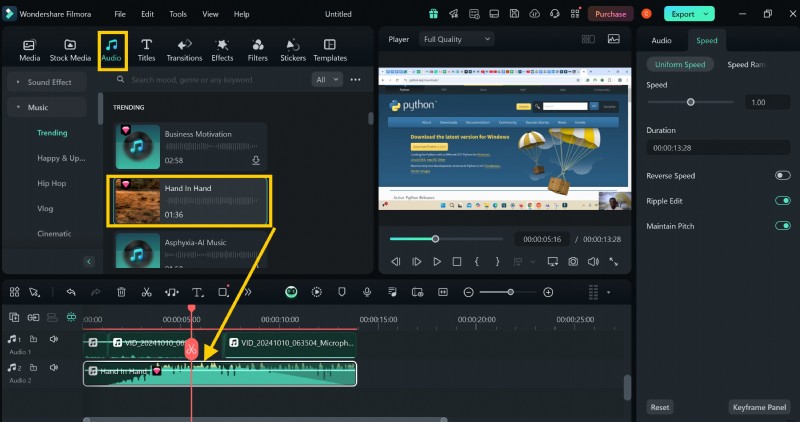
3. Background Music
Light, royalty‑free music can increase engagement—just ensure it never eclipses your narration.
For example, if a segment was inadvertently recorded with an unrelated clip, you can:
- Trim the unwanted portion.
- Add a brief “Hold on” text overlay.
- Insert a smooth transition back to the main content.
- Layer background music to maintain rhythm.
These steps keep the video polished and learner‑friendly.
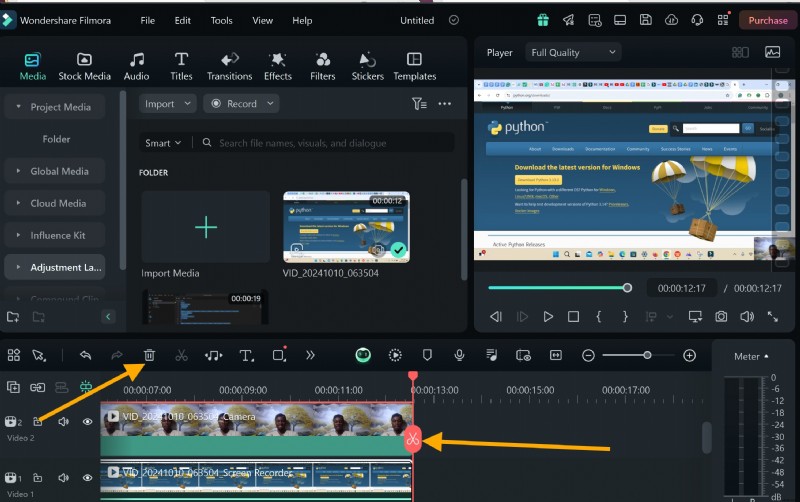
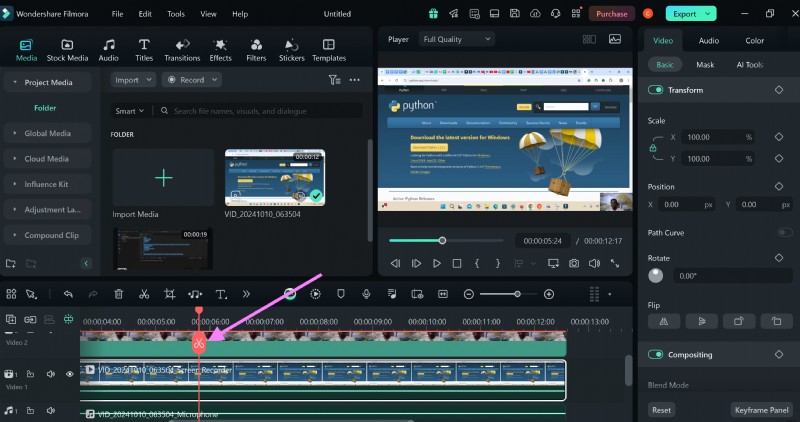
Example: Trimming a Mistake
1. Place the playhead at the split point and press Ctrl+B or click the scissors icon.

2. Drag the removed segment out of the timeline; you may delete it.
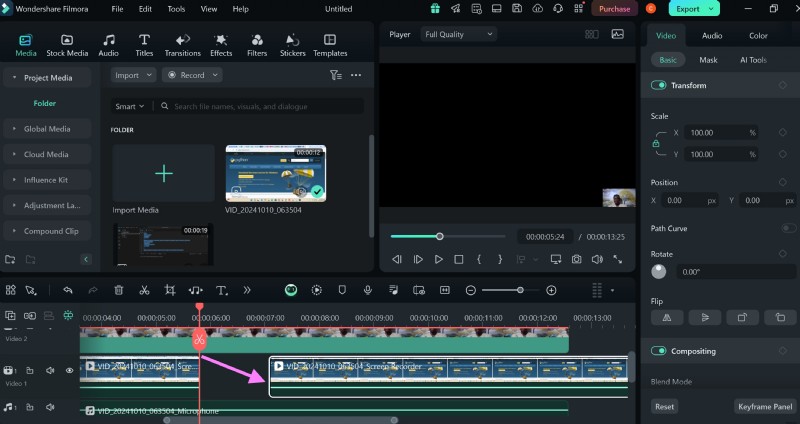
3. Add a text overlay on the split area.

4. Adjust volume levels on the audio track to balance narration and music.
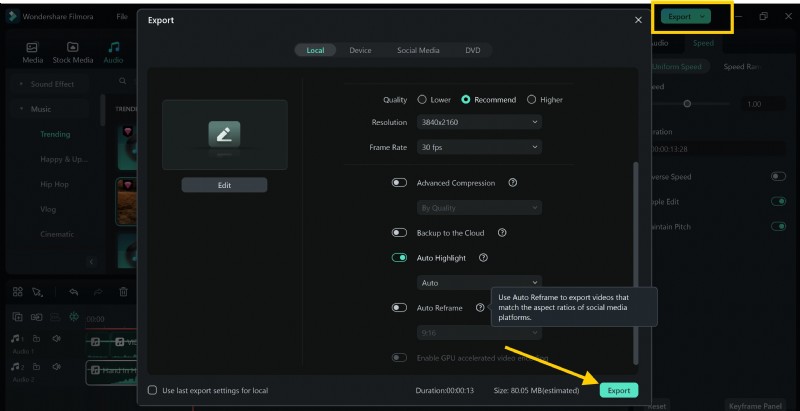
5. Export the finished video.
Conclusion
Screen recording empowers educators to deliver high‑quality, on‑demand training content. By selecting a robust tool like Filmora, meticulously planning your script, and applying thoughtful edits, you can produce videos that are both engaging and instructional. Start recording today and transform complex topics into clear, actionable learning experiences.