Nearly 90 percent of people put “quite a bit” or “a huge amount” of effort into their presentations.
But are you getting the most of your presentations?
Whether you’re creating a presentation to report data to your team or you want to know how to video record yourself presenting a PowerPoint, recording your presentation offers a number of benefits.
You can record a presentation in real-time as you present, or do it in advance to leverage the flipped model or make your presentation available on-demand.
While there are a number of ways to record a presentation, I’ll give you my favorite way to record a high-quality presentation in PowerPoint with audio and video.
How to record a presentation from PowerPoint with audio and webcam
Step 1: Set up your presentation video recording
There are a few different ways to record a presentation if you want it to feel professional and polished.
First, you’ll need a screen recorder and video editing tool. I’d recommend using Camtasia since it lets you record your voice over your slideshow all directly inside PowerPoint.
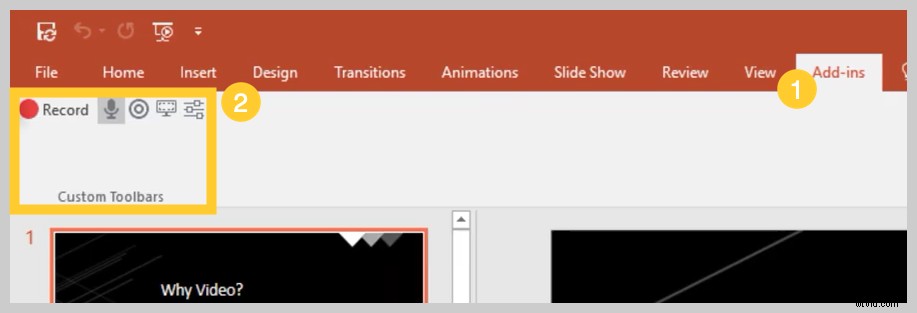
When you install Camtasia, you’ll have the option to include a PowerPoint Add-in Toolbar. The Camtasia Add-in Toolbar allows you to start, stop, and control your recordings right from within PowerPoint — avoiding the need to switch between applications.
Just open the presentation you want to record and locate the add-in toolbar under the Add-ins tab. If you don’t see the add-in toolbar, you may need to enable it.
To do this, go to File > Options > Add-ins. Click on the Manage drop-down, select Disabled Items, then click Go. If the Camtasia Add-in is listed, select it, and click Enable.
Step 2: Customize your recording options
Now let’s walk through each of the options on the toolbar before we begin recording.

Record audio
If you’re planning to record audio, here’s where you select your microphone. The microphone button controls whether or not audio is recorded as part of your presentation.
When you enable it, you’ll be able to record voice narration using a microphone.
Be sure to speak into the mic to test it, and adjust the volume slider as needed. By leaving this box checked, any system audio that comes out of your speakers will also be captured and added to the Timeline.
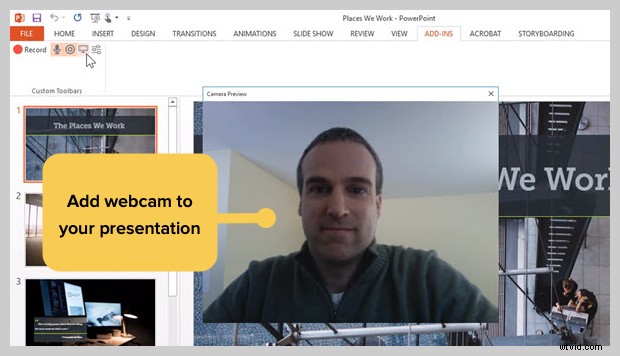
Record webcam
If you have a webcam attached to your computer, you can also record camera video during the presentation. This video clip can then be used as a Picture-in-Picture clip, perfect for showing the presenter during the presentation.
For further customization of your recording settings, click the Recording Options button. Other options include recording with a watermark, opening your recording in Camtasia when you’re finished, and selecting your video frame rate.
There are a few more options to further customize the video and audio settings but leaving everything at the default settings should work just fine.
The bottom of this window displays optional hotkeys to start, pause, and stop your PowerPoint recording. You can customize these to whatever you like, but be sure not to select hotkeys that are already being used by your system.
Click OK to close this window and save any changes made to the settings. You’re now ready to record your presentation.
Step 3: Record your presentation
Finally, click the Record button in the toolbar to launch your slides into a presentation mode and start recording.
When you exit presentation mode or reach the end of your slideshow, you can either continue recording your screen or to stop and save your file.
You can also turn any presentation into a video by importing it into Camtasia.
How to turn your PowerPoint presentation slides into a video
Another method is to create a video from your presentation is to import your PowerPoint slides into Camtasia. Then you can create your video in the editor.
Here’s how to turn your PowerPoint presentation slides into a video:
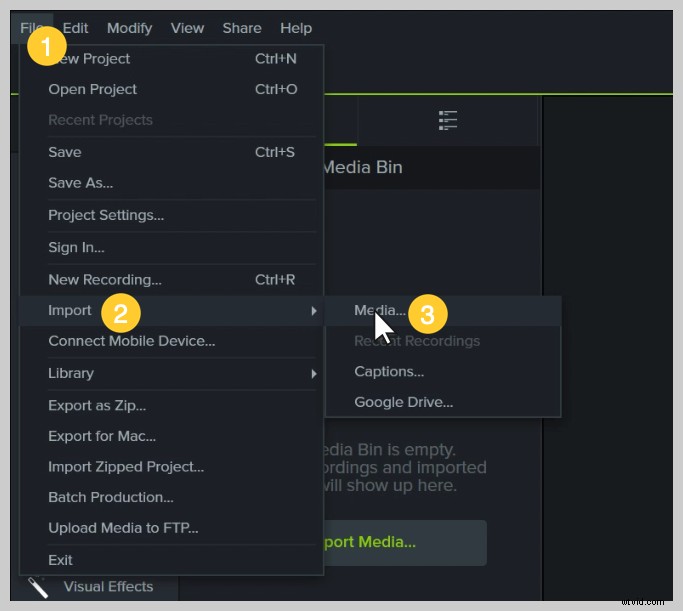
1. Import your PowerPoint slides
First, start by importing your PowerPoint slides directly into Camtasia. Once your media is imported, you can edit and enhance it by dragging your slides into the editing toolbar.
You can now add the images to the timeline, and edit them like any other media in a project.
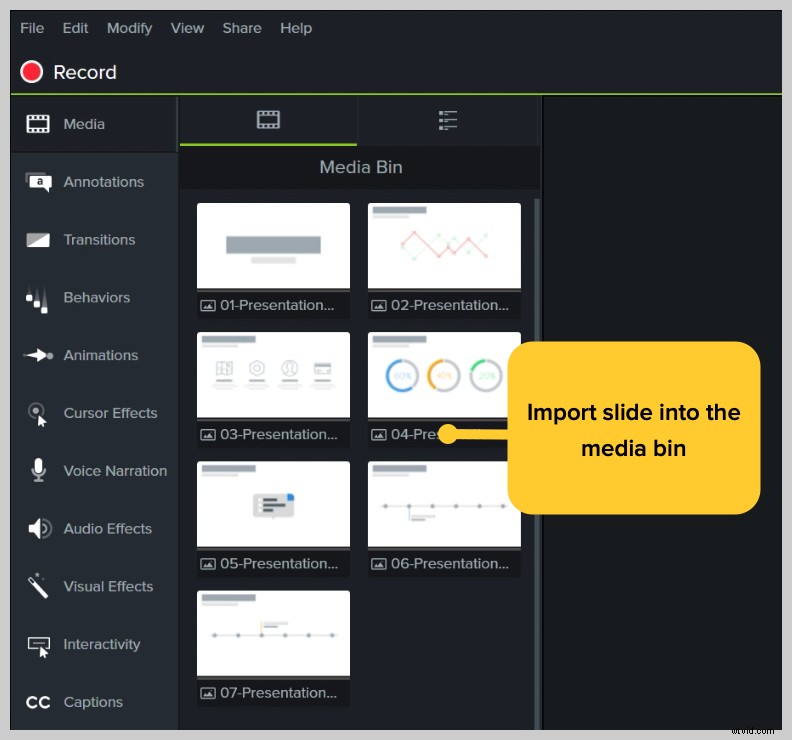
If you drag them to the timeline, the slides are placed in the order of the presentation, each with a default 5 second duration.
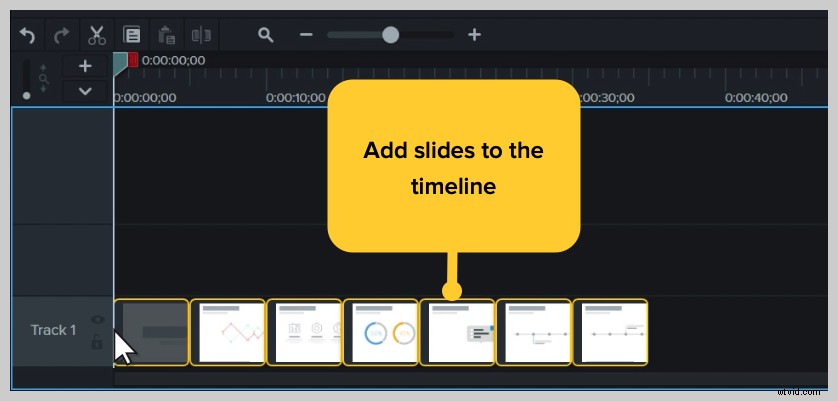
With your presentation on the timeline, use ripple move to create space in between slides to fine tune the timing. To do this, hold shift, then click and drag.

How to edit a presentation video
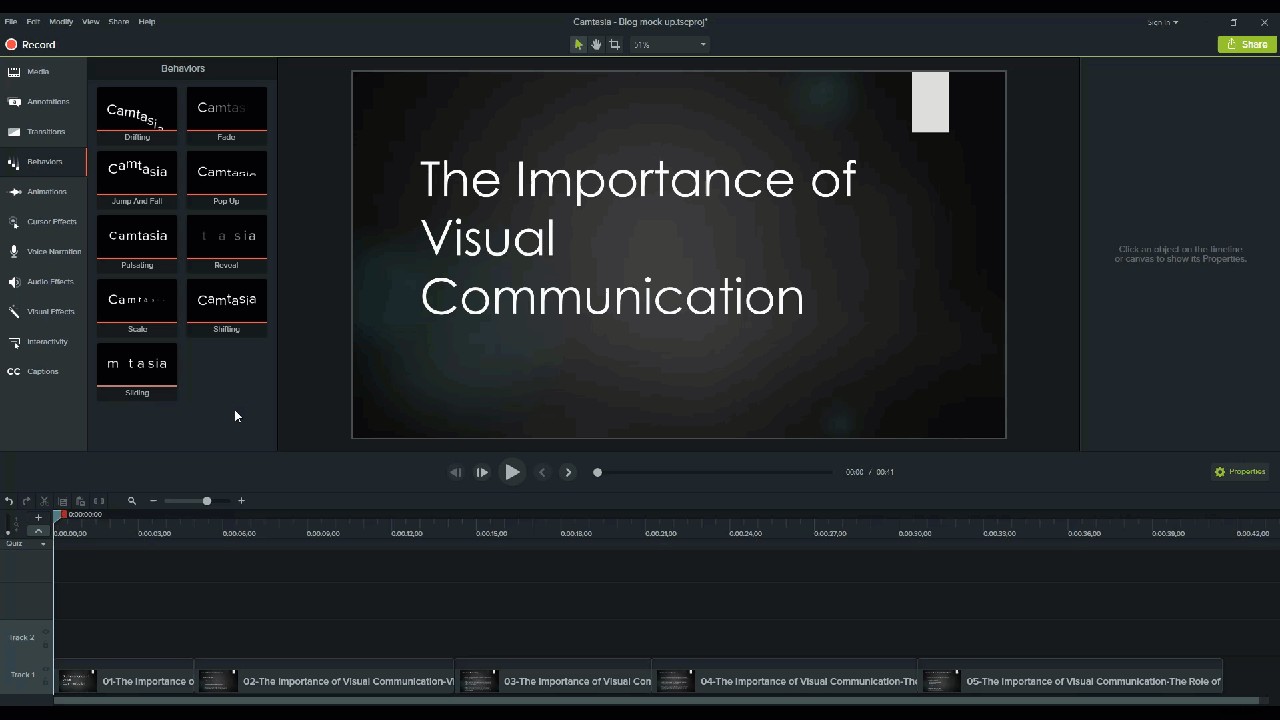
Add Behaviors
Next, add some interest with behaviors. A behavior is an animation that brings movement to your slides, making it pop on your screen, and adding interest for your viewers. You can use Camtasia Behaviors bring parts of your presentation to life and take it from ordinary to extraordinary.
To add a behavior, click and drag the behavior you wish to use and drag it onto the slide you want to animate. Once added, you can adjust the behavior using the properties tab.
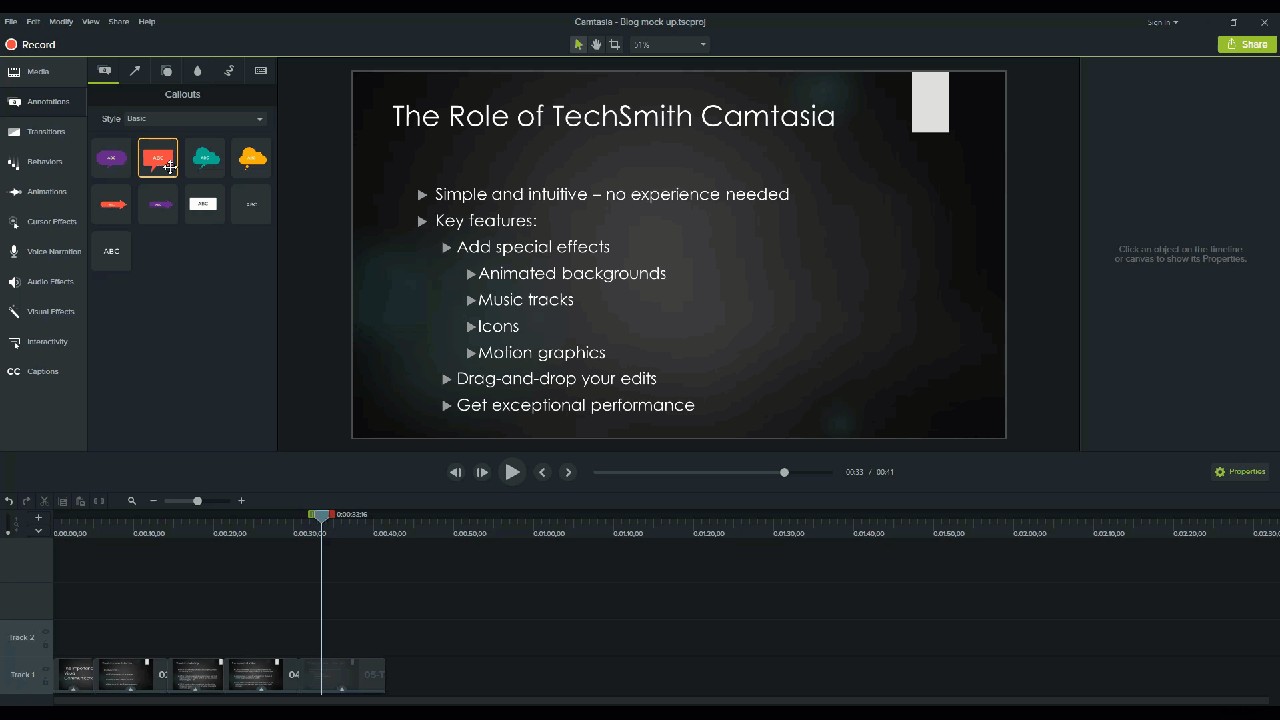
Add annotations
Another attention grabber you can add to your PowerPoint video is annoations. Annotations help draw special attention to important information in your presentation.
To insert an annotation, click the annotation tab on the left side of the screen and drag it into the designated slide. You can then re-position and edit the annotation in the properties tab as needed.
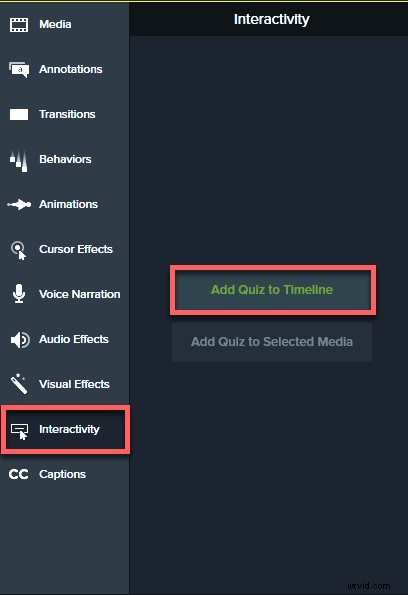
Add quizzes to increase engagement
If you’re making PowerPoint videos for academics or training, implementing quizzes throughout the presentation can get your audience involved, and keep them engaged in your content.
To add a quiz, click the Interactivity tab and choose Add Quiz to Timeline.
Now you have a PowerPoint video!
Now that you’ve seen how easy it is to make a PowerPoint video, it’s time to take all of your PowerPoint slides and turn them into engaging videos.
Frequently asked questions
Can I record a PowerPoint presentation?Absolutely! There are a few different ways to record a presentation if you want it to feel professional and polished. First, you’ll need a screen recording and video editing tool. I’d recommend using Camtasia since it lets you record your voice over your slideshow all directly inside PowerPoint.
How do I record a slide in PowerPoint?Click the Record button in the toolbar to launch your slides into a presentation mode and start recording. When you exit presentation mode or reach the end of your slideshow, you can either continue recording your screen or to stop and save your file.
How do I record audio and video in PowerPoint?If you’re planning to record audio, select your microphone in the recording options. The microphone button controls whether or not audio is recorded as part of your presentation.
If you have a webcam attached to your computer, you can also record camera video during the presentation. This video clip can then be used as a Picture-in-Picture clip, perfect for showing the presenter during the presentation.
The microphone button controls whether or not audio is recorded as part of your presentation.
When you enable it, you’ll be able to record voice narration using a microphone.
Be sure to speak into the mic to test it, and adjust the volume slider as needed. By leaving this box checked, any system audio that comes out of your speakers will also be captured and added to the Timeline.
Editor’s Note: This post was originally published in November 2018 and has since been updated for accuracy and comprehensiveness.